Christmas is just around the corner, and while the joy of gift-giving is undeniable, the cost of wrapping supplies can quickly add up. This year, let's embrace sustainability and creativity by crafting our own unique Christmas gift tags! Forget generic store-bought tags; we're diving into a fun and eco-friendly project that repurposes old greeting cards into charming, personalized ornaments for your presents. This tutorial leverages the power of the Cricut Maker, offering a seamless and efficient way to transform discarded cards into festive masterpieces. Think elegant designs, custom messages, and a wonderfully satisfying feeling of accomplishment.
We’ll be exploring various design ideas and techniques, showcasing the versatility of the Cricut Maker in crafting beautiful, personalized gift tags. From simple shapes and elegant fonts to intricate patterns and festive illustrations, the possibilities are endless! Ready to get started and turn your old cards into stunning Christmas décor? Let's jump into the step-by-step instructions and learn how to create these delightful DIY Christmas gift tags.
Preparation and Safety Guidelines
- Cricut Maker
- Christmas Cards
- Cardstock
- Always supervise children when using the Cricut Maker, especially around cutting blades.
- Ensure the recycled cardstock is clean and free of any sticky residue or debris before feeding it into the Cricut machine to avoid jamming or damaging the machine.
- Use appropriate safety glasses when cutting thicker cardstock to protect your eyes from flying debris.
Step-by-Step Instructions
Prepare the Design in Cricut Design Space
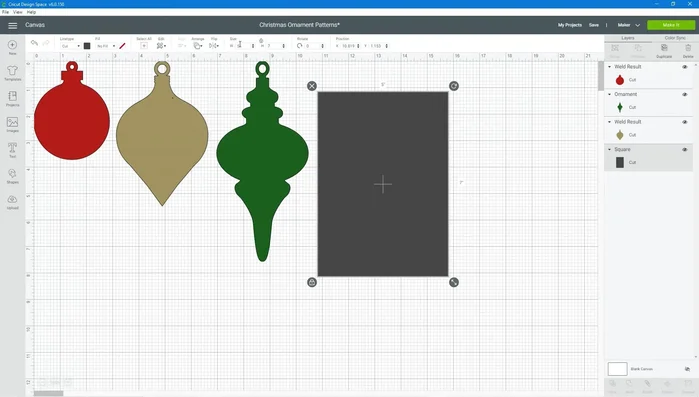
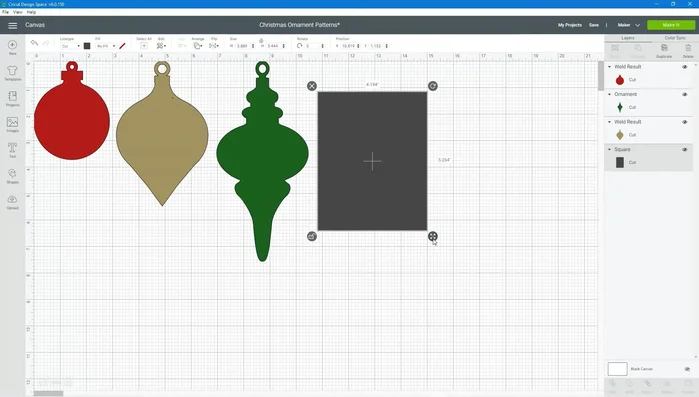
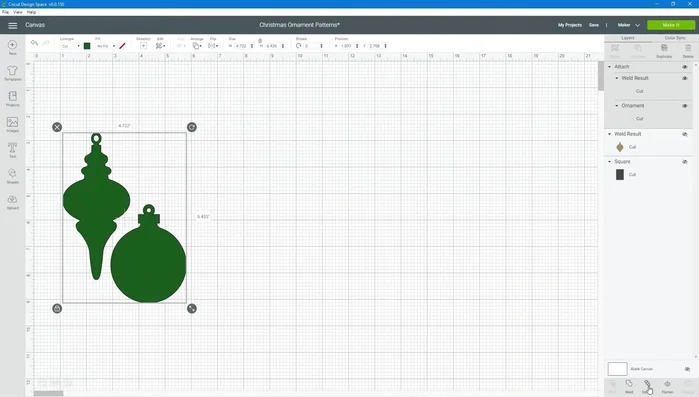
- Measure your Christmas card and add a shape to your Cricut Design Space with the same dimensions (e.g., 5x7 inches).
- Unlock the shape in Design Space to customize width and height, and place it behind your ornament designs.
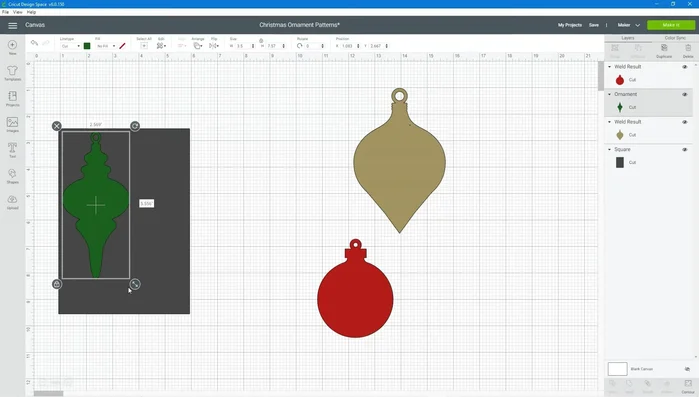
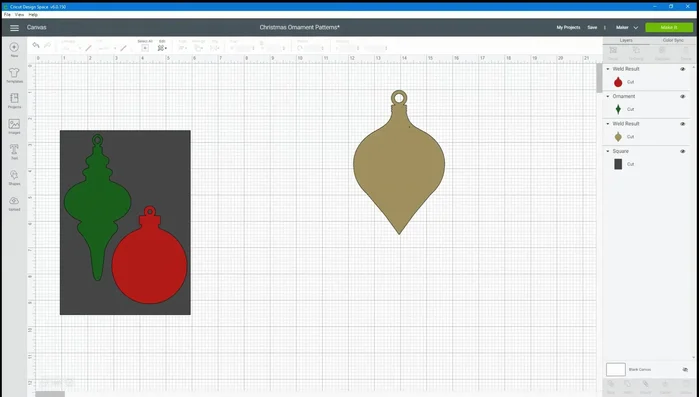
- Select and place the ornament shapes you want to use for your gift tags onto the card.
- Move and resize the ornament shapes until you are satisfied with their placement. Hide any unwanted shapes or rectangles.

Prepare the Design in Cricut Design Space - Select the desired shapes and click 'Attach' in Cricut Design Space.
Prepare the Design in Cricut Design Space Send Design to Cricut Maker
- Click 'Make It' to see the placement of your cutouts on the mat. Adjust as needed.
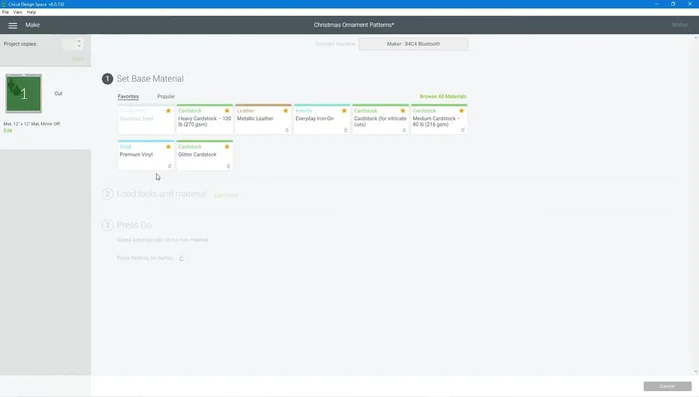
- Connect Cricut Design Space to your machine, select cardstock as the material type, and click 'Continue'.
Send Design to Cricut Maker Cut and Unload
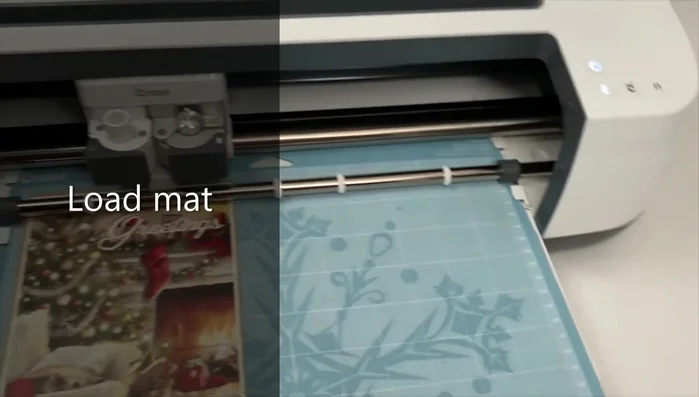
- Place your card (cut along the fold and using only the front) onto the mat, load it into the Cricut, and press the 'Go' button to begin cutting.
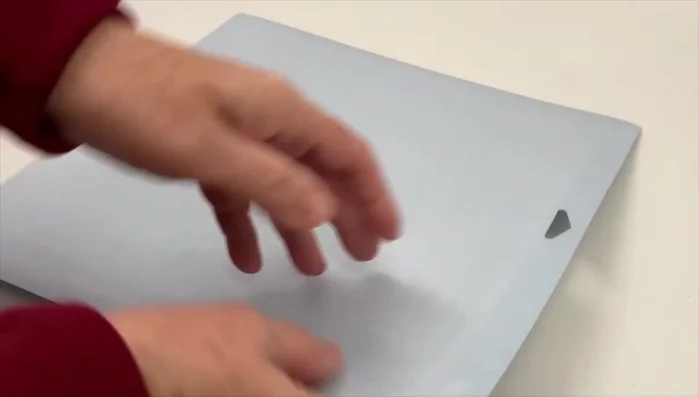
- Once cutting is complete, press the 'Unload' button. Flip the mat over and gently peel the design away to prevent curling.
Cut and Unload

Read more: DIY King-Size Tufted Headboard: Budget-Friendly Guide
Tips
- Use only the front of the Christmas card for better results.
- Gently peel your designs from the mat to prevent curling.