Tired of boring bathroom decor? Ready to add a touch of whimsy and personality to your powder room without breaking the bank? Then get ready to roll up your sleeves (metaphorically, unless you're feeling extra crafty) because we're about to transform humble toilet paper rolls into stunning wall art! This fun and surprisingly easy DIY project uses your Cricut machine to create unique and personalized designs, perfect for adding a touch of your style to any bathroom. Forget expensive, mass-produced decorations; this project is all about upcycling and unleashing your creativity.
Using readily available materials and a few simple steps, you'll be amazed at the transformation you can achieve. We'll guide you through the process of preparing your toilet paper rolls, designing your Cricut cut files, and assembling your masterpiece. Let's dive into the step-by-step instructions and create beautiful, budget-friendly bathroom art that will be the envy of all your guests!
Preparation and Safety Guidelines
- Adobe Illustrator
- Cricut Machine
- Cardstock (white and black)
- Liquid Glue (ballpoint pen type)
- 11x17 inch Frame
- Double-sided tape
- Always unplug your Cricut machine before cleaning or making any repairs. Electricity and water don't mix!
- Ensure your chosen adhesive is suitable for both your Cricut material and your bathroom wall surface. Test in an inconspicuous area first to avoid damage.
- Be mindful of the weight and placement of your finished wall art. Heavy pieces or incorrect placement could damage the wall or create a hazard.
Step-by-Step Instructions
Design and Prepare Artwork
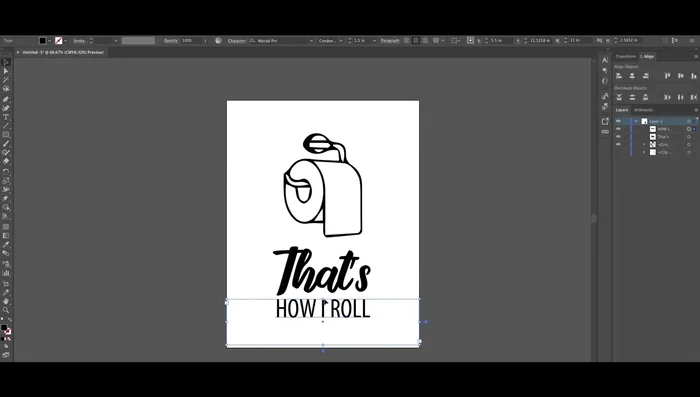
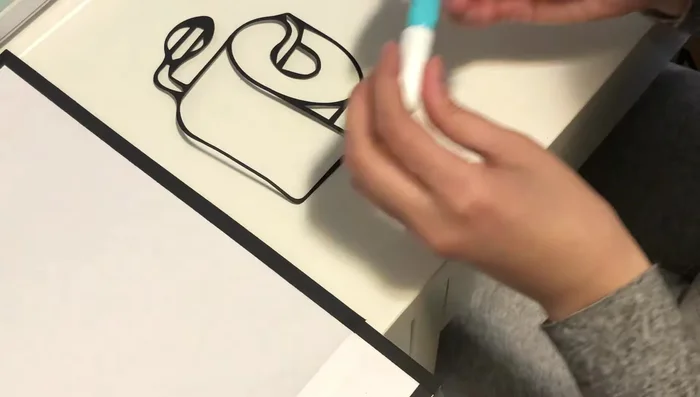
- Design the artwork in Adobe Illustrator. Create a vector icon for toilet paper and pair it with fun text related to toilet paper shortage.
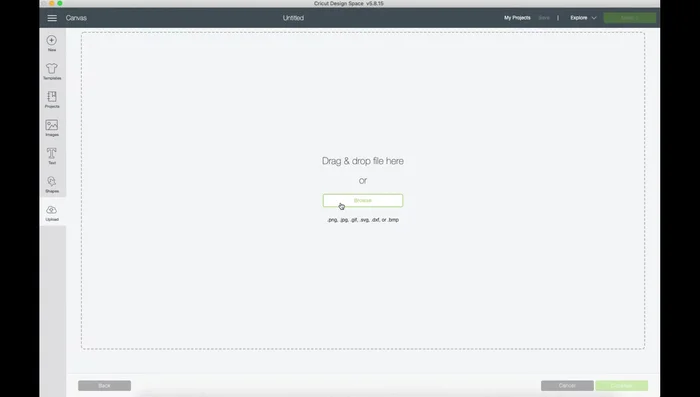
- Save the artwork as JPEG files and upload them into Cricut Design Space.

Design and Prepare Artwork Cut with Cricut
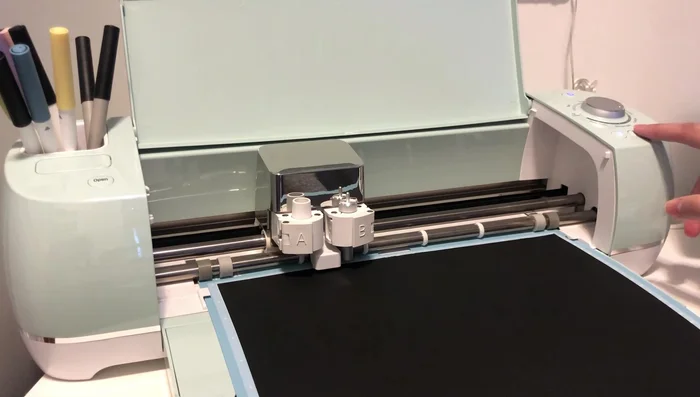
- Load the cardstock into the Cricut machine and let it cut the design. This will cut out the toilet paper icon and text.
Cut with Cricut Remove from Cricut Mat
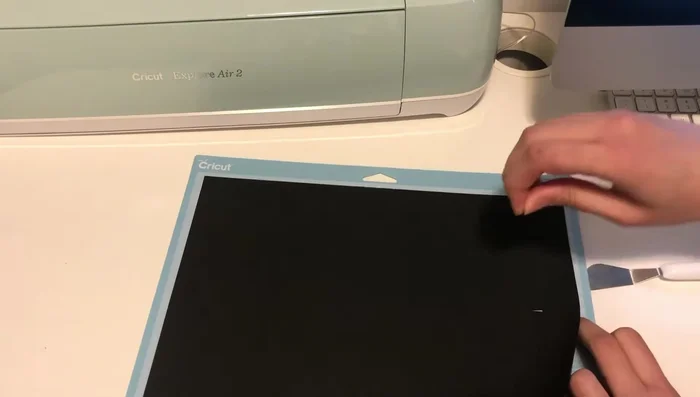
- Peel off the cut cardstock from the Cricut mat.
Remove from Cricut Mat Prepare Background
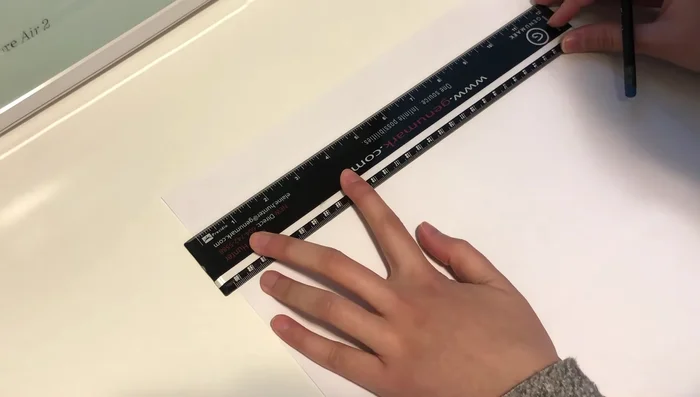
- Cut a piece of white cardstock to the size of your frame (11x17 inches in this case).
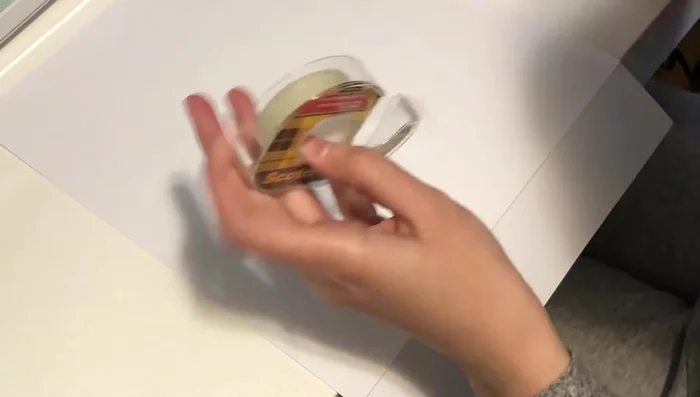
- Cut strips of black cardstock and use double-sided tape to create a border around the white background.
Prepare Background Assemble Artwork
- Glue the cut artwork onto the prepared background using liquid glue.
Assemble Artwork Frame the Artwork
- Place the finished artwork into your chosen frame.
Frame the Artwork

Read more: DIY Mason Jar Soap Dispensers: A Step-by-Step Guide with Two Stunning Designs
Tips
- Use a light adhesive Cricut mat to prevent damaging the cardstock during cutting.
- Use a ballpoint pen type liquid glue for precise application on delicate pieces.
- Test the position of the artwork on the background before gluing.