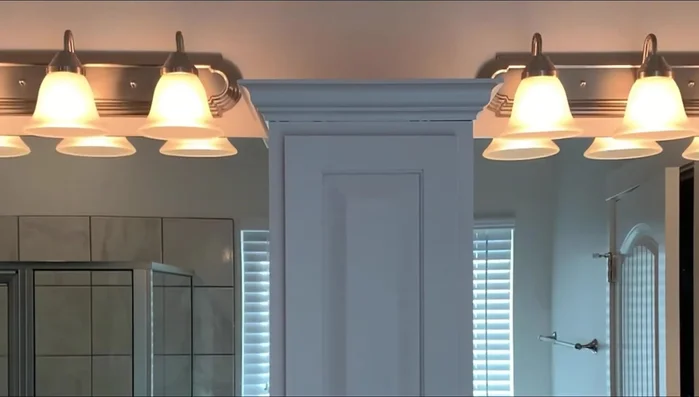
Building custom cabinetry elevates any space, transforming it from ordinary to extraordinary. However, achieving precise, professional-looking results can seem daunting. One key technique that separates amateur projects from truly stunning pieces lies in mastering the dado blade. This powerful woodworking tool allows for the creation of perfectly sized grooves, essential for creating robust and visually appealing joints in cabinet construction, eliminating the wobbles and inconsistencies of less precise methods. Forget frustrating rabbets and shaky shelf supports; the dado blade offers a level of accuracy and strength unmatched by other techniques.
This guide will walk you through building a stunning cabinet, focusing on the efficient and effective use of the dado blade. We'll explore everything from choosing the right blade and setting up your table saw, to cutting precise dados and assembling your cabinet with confidence. Get ready to unlock the secrets of professional-quality cabinetry, step by step.
Preparation and Safety Guidelines
- Home Depot (for plywood cutting)
- Circular saw
- Straight edge
- Clamps
- Table saw
- Dado blade
- Wood glue
- Router (optional)
- 3/4 inch router bit (optional)
- Brad nails
- Wood putty
- Sandpaper (120 grit, 150 grit, 220 grit)
- Paint/Stain
- Brush/Roller
- CA glue
- Activator
- Rubber mallet
- MDF (for door)
- Select pine (for door frame)
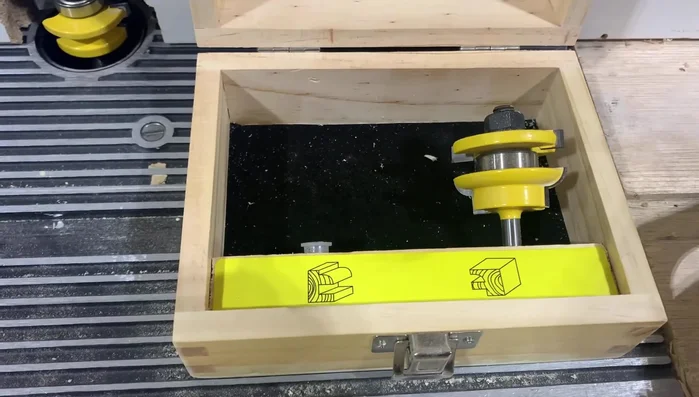
- Router bits (for door frame)
- Always use a dado blade guard. A dado blade is exceptionally dangerous without proper guarding. Failure to do so can result in serious injury.
- Ensure the workpiece is securely clamped to the table saw. Kickback can occur, especially when cutting dados, leading to injury and damage.
- Make multiple passes to achieve the desired dado depth. Never attempt to cut the full depth in a single pass. This reduces the risk of blade binding and kickback.
Step-by-Step Instructions
Prepare Cabinet Sides
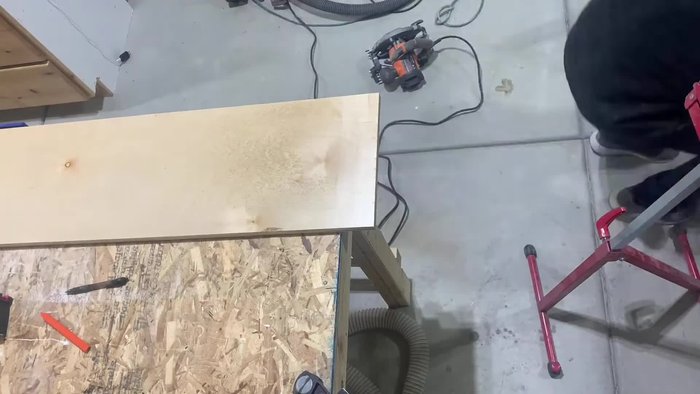
- Cut plywood into 12-inch strips at Home Depot.
- Cut strips to final length using a circular saw with a straight edge guide.
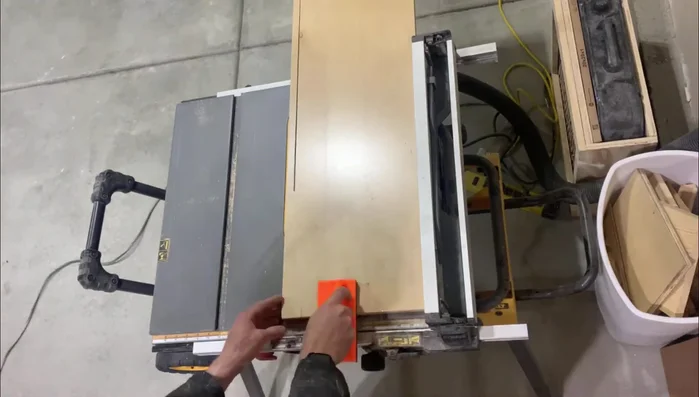
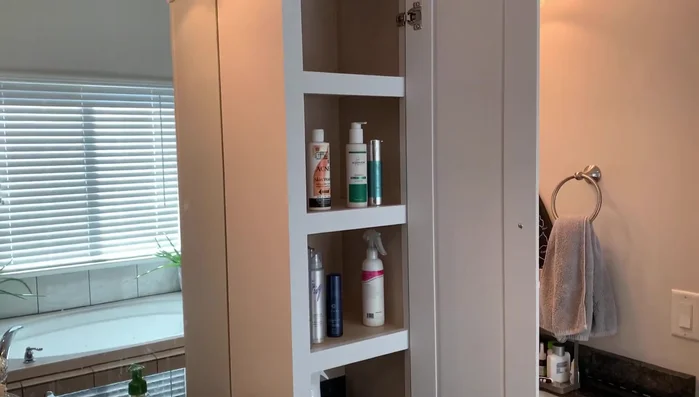
- Cut shelves to width and depth using a table saw.

Prepare Cabinet Sides Cut Dado Slots and Assemble Cabinet
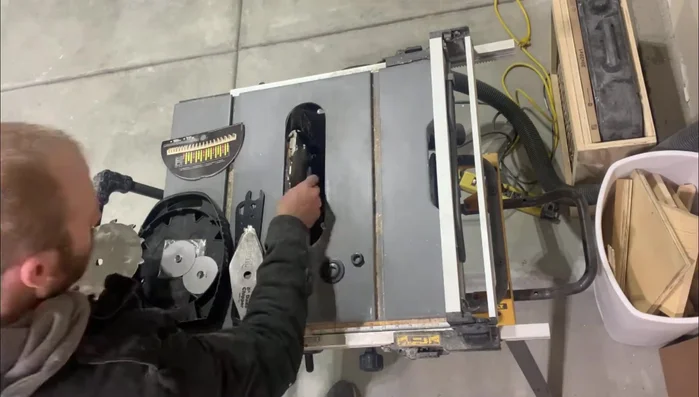
- Install dado blade on table saw and cut slots in cabinet sides for shelves.
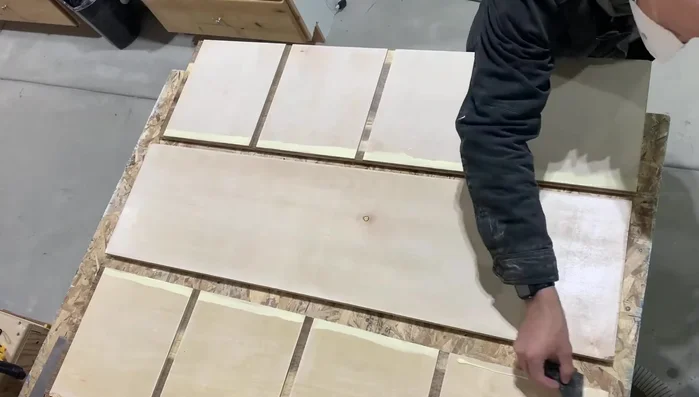
- Apply glue to cabinet sides and shelf joints, ensuring full contact. Clamp firmly.
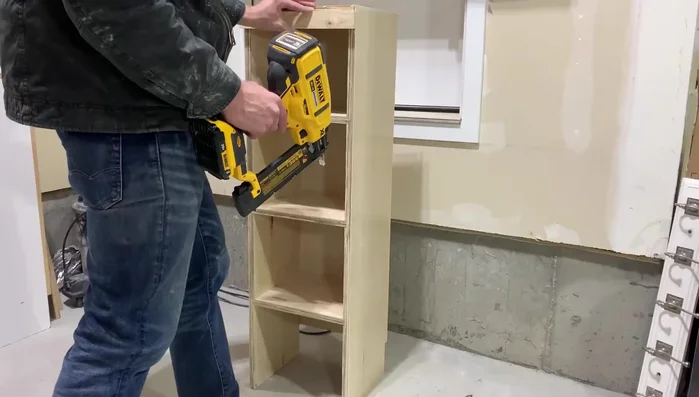
Cut Dado Slots and Assemble Cabinet Install Face Frames
- Cut and install face frames using pine and brad nails/glue.
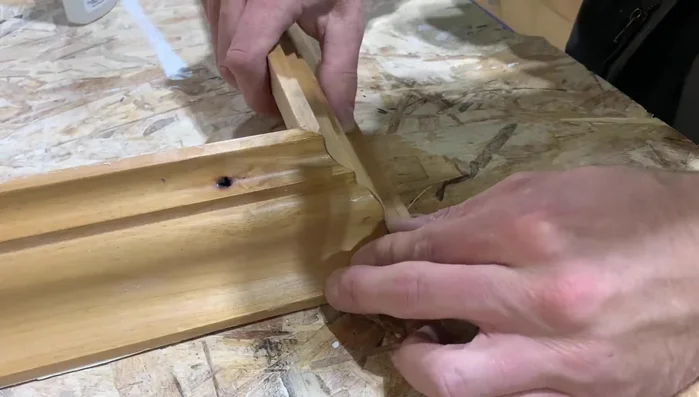
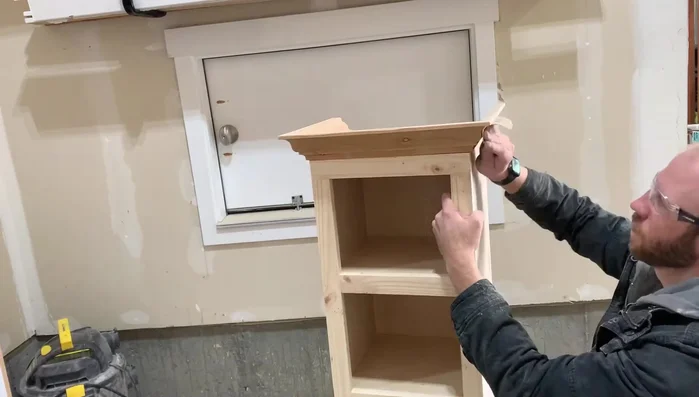
Install Face Frames Add Molding
- Attach molding using CA glue and activator.
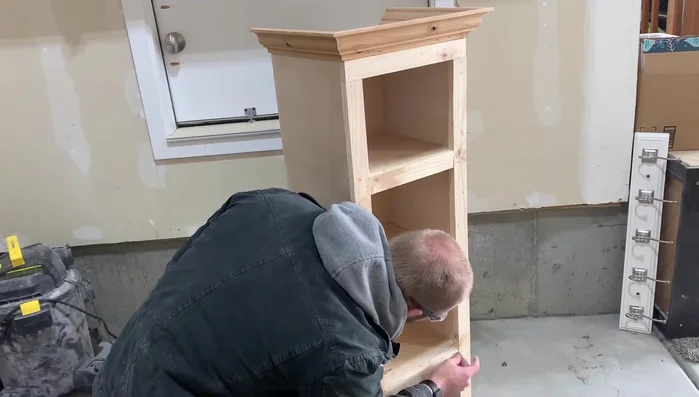
Add Molding Finish Cabinet
- Fill nail holes with wood putty, sand smooth (120, 150, or 220 grit depending on finish).
- Paint or stain the cabinet.
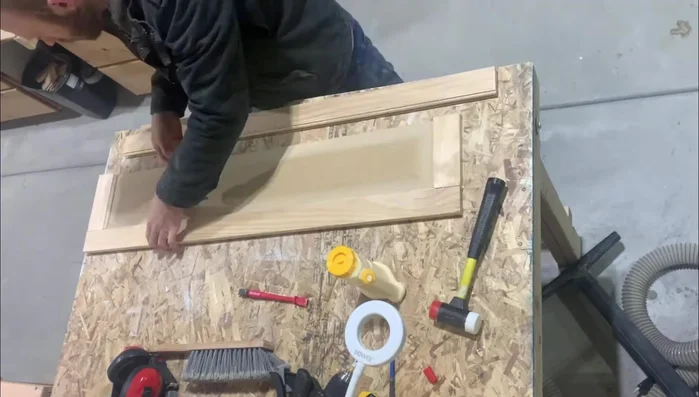
Finish Cabinet Construct Cabinet Door
- Construct the door (MDF panel with raised panel detail).
- Cut and assemble door rails and styles using appropriate router bits and glue.
- Clamp door tightly and ensure squareness.
- Sand and paint the door.
Construct Cabinet Door Install Door
- Install the door.
Install Door


Read more: DIY Mason Jar Soap Dispensers: A Step-by-Step Guide with Two Stunning Designs
Tips
- Use a dado blade for cleaner, easier shelf slots (router bit is a viable alternative).
- Use plenty of glue and clamps to ensure strong joints.
- Wipe off excess glue to avoid staining or painting issues.
- Measure carefully for face frames and use brad nails in the correct direction to avoid blowout.
- Use fingers to apply pink wood putty for easier, faster application.