Feeling insecure about your home's security? A faulty or outdated deadbolt can be a major vulnerability, leaving your family and possessions at risk. Upgrading to a more secure deadbolt is a surprisingly simple DIY project that can significantly enhance your peace of mind. A new, high-quality deadbolt offers not only improved security features like stronger locking mechanisms and pick-resistant cylinders but also a fresh, updated look for your door. Replacing a deadbolt is more affordable than you might think, saving you the cost of hiring a professional locksmith.
This simple guide offers a clear and concise, step-by-step process to replace your old deadbolt with a new one, quickly and efficiently. Whether you're dealing with a broken latch, want upgraded security, or simply desire a style refresh, follow along as we walk you through each stage, ensuring you can complete this crucial home improvement project with confidence.
Preparation and Safety Guidelines
- Screwdriver
- Drill (optional, use with caution)
- Replacement Deadbolt
- Wood scrap
- Cutting pliers
- Hammer
- Always turn off the power to the door's electrical components (if any) before starting. Failure to do so could result in serious injury.
- Ensure you purchase a deadbolt that is compatible with your door thickness and type. Improper fit can compromise security.
- If you are uncomfortable performing this task, hire a qualified locksmith. Improper installation can leave your home vulnerable.
Step-by-Step Instructions
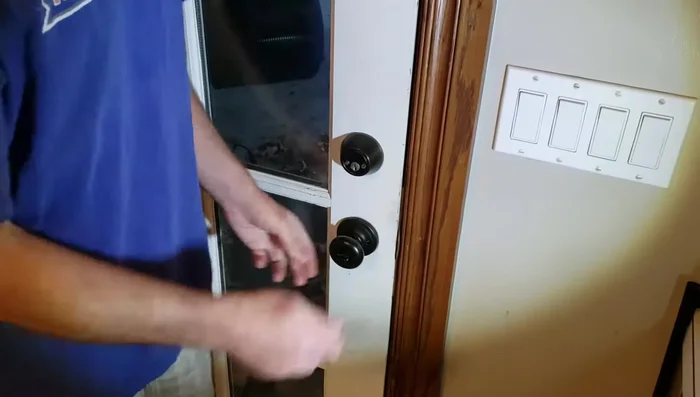
Removing the Old Deadbolt
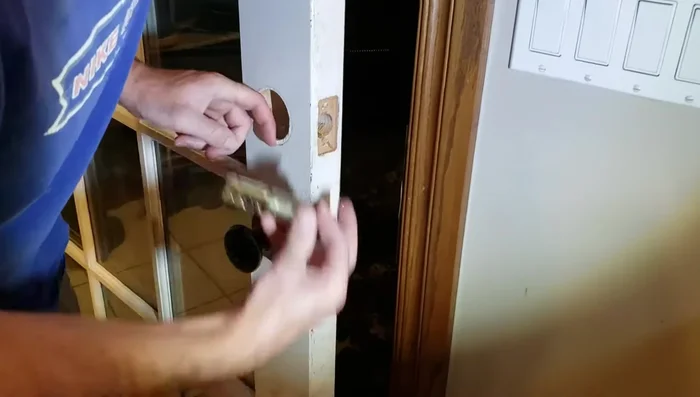
- Remove the existing deadbolt.
- Unscrew the two screws holding the deadbolt faceplate.
- Carefully remove the deadbolt mechanism from the door.
- Remove the two screws securing the deadbolt itself to the door.

Removing the Old Deadbolt - Remove the old deadbolt.
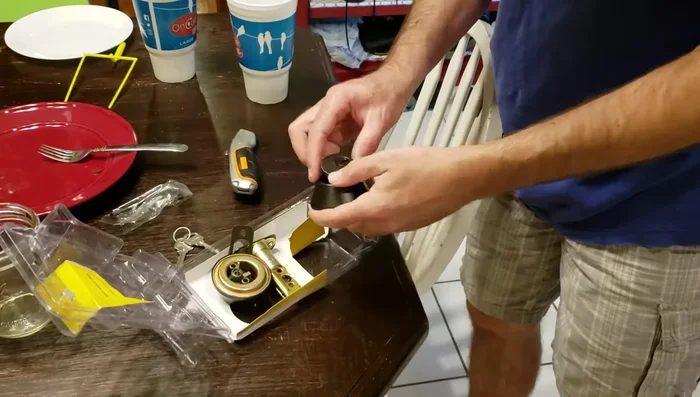
Removing the Old Deadbolt Preparing the New Deadbolt
- Prepare the new deadbolt.
- Adjust the length of the deadbolt as needed to fit your door.
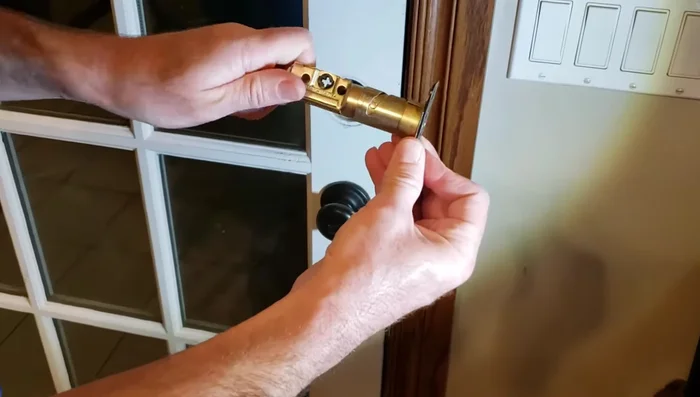
Preparing the New Deadbolt Installing the New Deadbolt
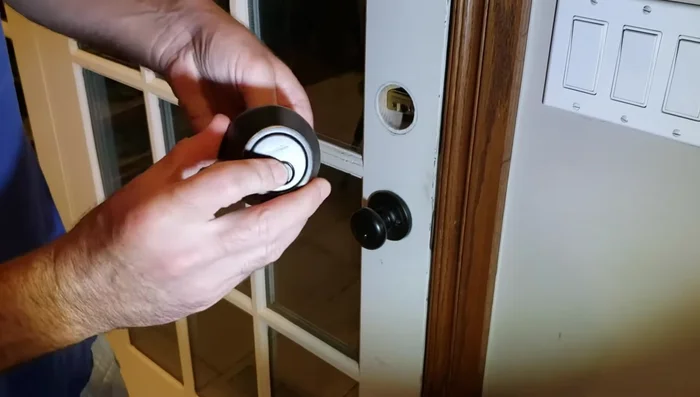
- Install the new deadbolt.
- Ensure the arrow on the deadbolt is facing upwards.
- Center the deadbolt's plus sign with the hole in the door.
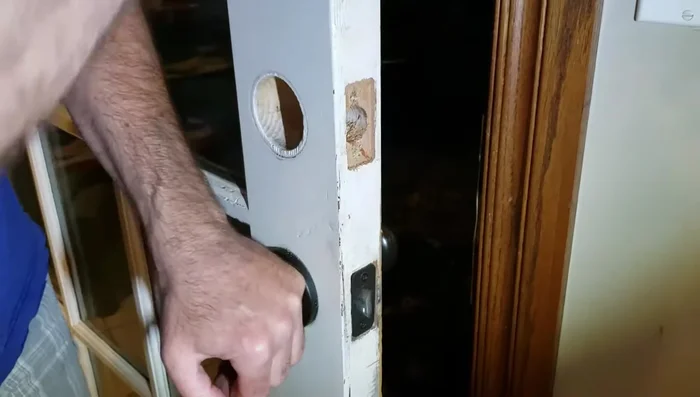
- Address stripped screw holes (if necessary). Create wooden dowels to fill and reinforce stripped holes.
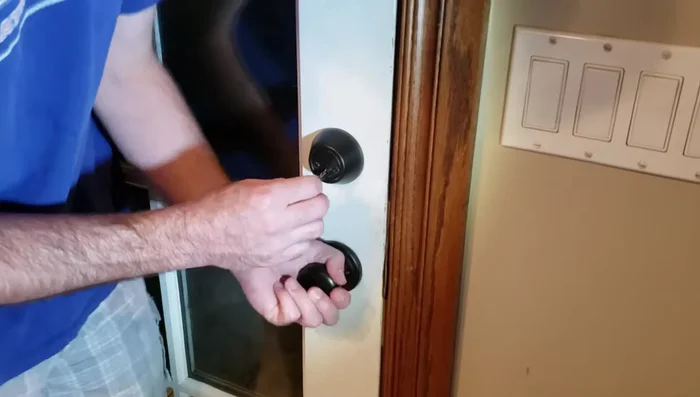
Installing the New Deadbolt - Secure the new deadbolt with screws.
- Install the outside and inside pieces of the deadbolt.
- Tighten screws evenly to avoid stripping.
Installing the New Deadbolt Testing the New Deadbolt
- Test the new deadbolt.
Testing the New Deadbolt


Read more: 3M Thinsulate Window Film Installation: A Step-by-Step Guide
Tips
- Don't use a power drill when removing the initial screws; it's easy to damage the door.
- When installing the deadbolt, make sure the arrow is pointing up.
- Use wooden dowels to repair stripped screw holes for added security.
- Tighten screws gradually and evenly using a manual screwdriver to avoid stripping the threads.