Have you ever gazed at a jigsaw puzzle and felt the urge to transform its ordinary pieces into something extraordinary? The smooth, pristine surfaces of standard puzzle pieces often lack the character and visual interest craved by many artists and crafters. This guide delves into the exciting world of altering puzzle pieces, specifically focusing on creating a distressed, vintage aesthetic. We’ll explore techniques that take those plain pieces and elevate them to unique, textured elements perfect for mixed-media projects, jewellery making, or even just stunning decorative pieces.
Imagine the possibilities: aged, weathered edges, subtle cracks, and a palette of colors hinting at a story waiting to be told. From selecting the right puzzle to the final distressing touches, we will provide a comprehensive, step-by-step process to guide you in creating your own collection of one-of-a-kind distressed altered puzzle pieces. Let's get started!
Preparation and Safety Guidelines
- Puzzle pieces
- Paper (parchment paper recommended)
- Pencil
- Scissors
- Mod Podge
- Gesso
- Distress Ink
- Mixed Media Ink
- Makeup sponge
- Tacky glue
- Hot glue
- Embossing thread
- Tissue paper
- Key
- Button
- Lace
- Stamps
- Glossy Accents
- Stickles
- Always use appropriate safety equipment, such as gloves and eye protection, when working with sharp tools and potentially harmful materials like paints or stains.
- Ensure adequate ventilation when using paints, stains, or other materials with strong fumes. Work in a well-ventilated area or wear a respirator.
- Dispose of used materials responsibly according to local regulations. Some paints and chemicals require special disposal methods.
Step-by-Step Instructions
Prepare the Puzzle Pieces
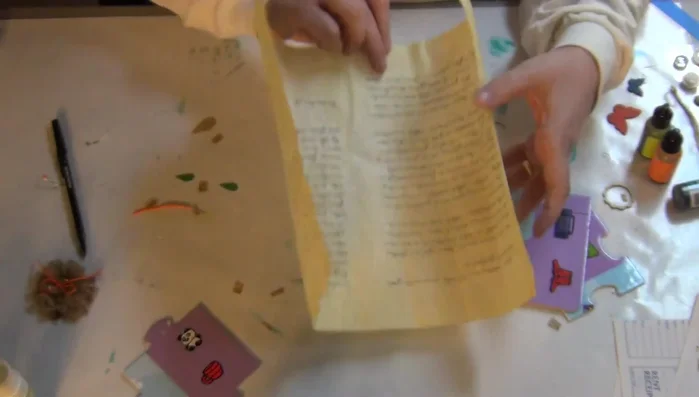
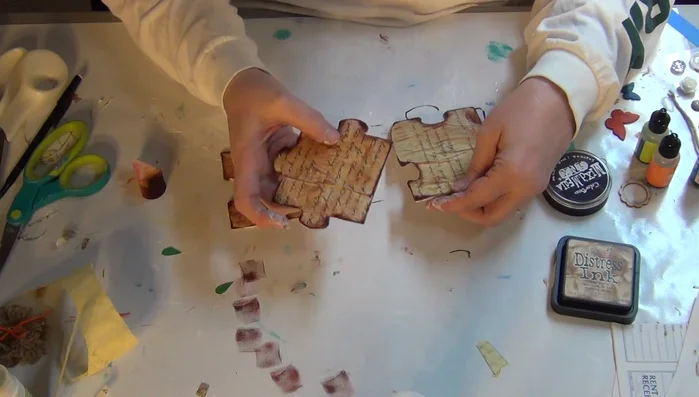
- Choose your paper and trace the puzzle pieces.
- Apply gesso to the puzzle pieces to prepare the surface and prevent the paper color from showing through.

Prepare the Puzzle Pieces Cut and Glue the Paper
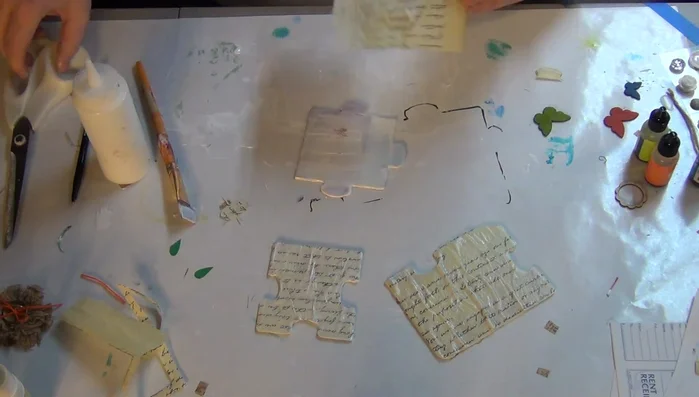
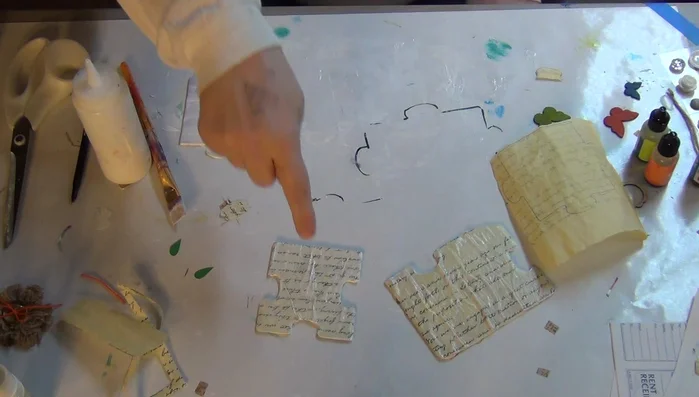
- Cut out the traced shapes carefully, following the lines closely.
- Glue the paper onto the puzzle pieces using Mod Podge.
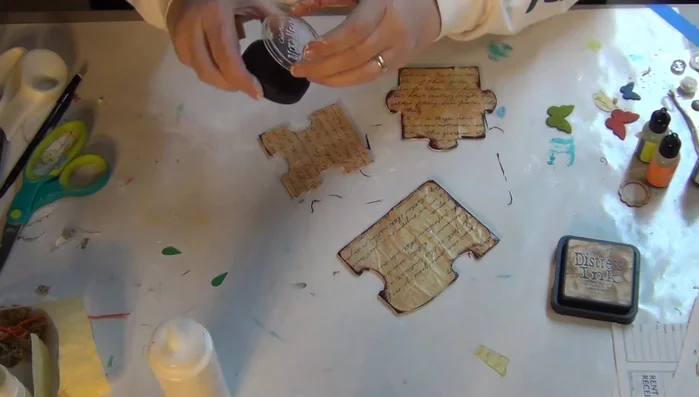
Cut and Glue the Paper Distress and Age the Pieces
- Distress the edges of the puzzle pieces using distress ink and mixed media ink. A makeup sponge can help with application.
Distress and Age the Pieces Assemble the Altered Puzzle
- Assemble the puzzle pieces.
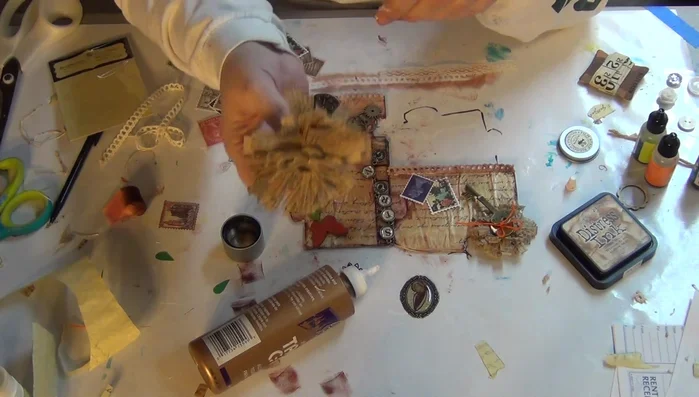
Assemble the Altered Puzzle Add Embellishments
- Add embellishments like flowers, keys, buttons, lace, stamps, and other decorative elements using tacky glue and hot glue where appropriate.
Add Embellishments

Read more: DIY Blender from a Broken Beyblade Launcher!
Tips
- Trace the puzzle pieces very closely to the edge to minimize extra cutting.
- Cut slowly and carefully to ensure accurate cuts and prevent accidents.
- Use a bottle to dispense Mod Podge for easier application.
- Ensure even edges and curves to facilitate easy assembly.
- Experiment with different distressing techniques to achieve desired results.