Tired of bulky, store-bought toy storage solutions that clash with your home décor? Ready to unleash your inner DIY enthusiast and create something truly unique and sustainable? Then prepare to be inspired by this project transforming discarded cribs and wine racks into a charming and adjustable toy shelf! This upcycled masterpiece not only provides a practical storage solution for your little one's treasures but also offers a fantastic opportunity to breathe new life into old furniture, reducing waste and adding a touch of personalized charm to your nursery or playroom.
This project is perfect for those seeking a fun and rewarding DIY challenge, proving that beautiful and functional furniture can be created from repurposed materials. The following step-by-step guide will walk you through the entire process, from dismantling and preparing your chosen materials to the final assembly and customization options. Get ready to transform discarded items into a stunning and practical addition to your home!
Preparation and Safety Guidelines
- Crib
- Wine rack
- Table saw
- Miter saw
- Brad nailer
- Wood glue
- Clamps
- Sandpaper
- Wood filler
- Paint
- Contact paper
- Magnets
- Forstner bit set
- Speed square
- Scrap wood
- Ensure all screws and fasteners are securely tightened and checked regularly to prevent collapse. Children's safety is paramount.
- Thoroughly sand all surfaces, especially those made from upcycled wood, to remove splinters and sharp edges before painting or applying any finish. Remove any existing paint that may contain lead.
- Always supervise young children while they are near the toy shelf. Never allow children to climb or hang on the shelf.
Step-by-Step Instructions
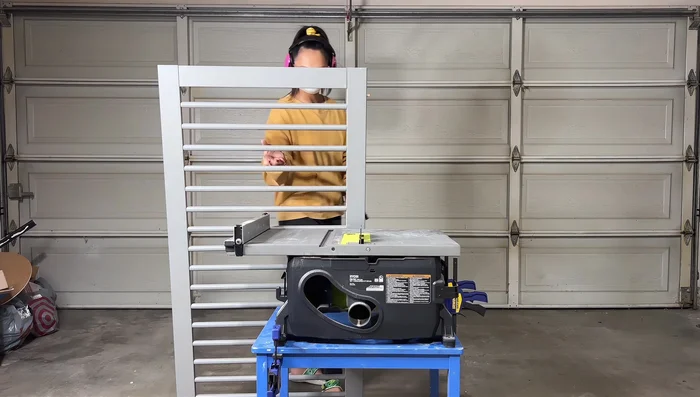
Prepare the Crib Base
- Cut the crib in half and remove excess top to fit playroom dimensions.

Prepare the Crib Base Build the Support Structure
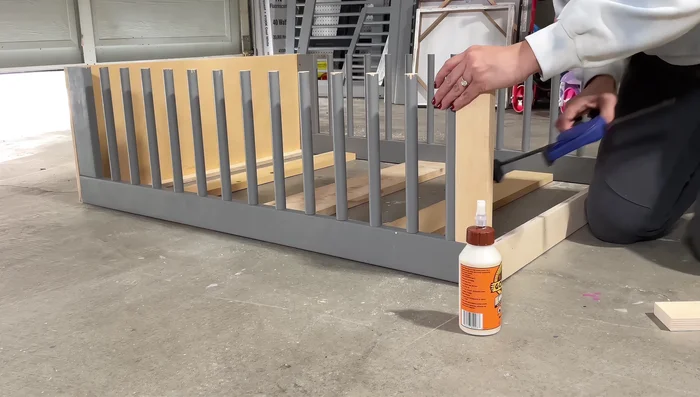
- Gather and prepare scrap wood for support structure. Glue and nail the top support piece.
- Assemble the back support structure using scrap wood. Add a thin board for a smooth finish.
- Add bottom supports to ensure stability.
Build the Support Structure Prepare and Install Shelves
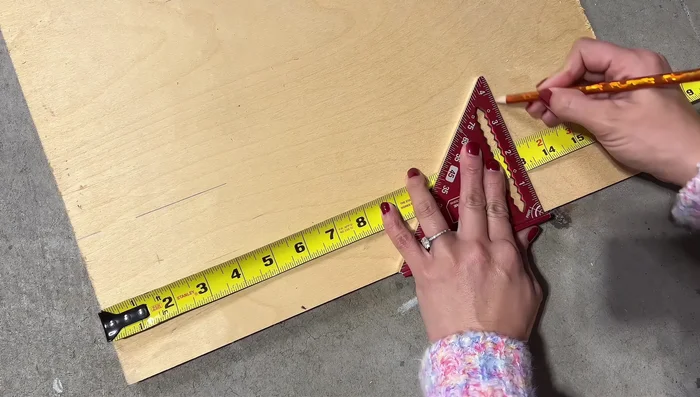
- Measure and cut shelves from reclaimed wood (e.g., old desk). Account for crib divots.
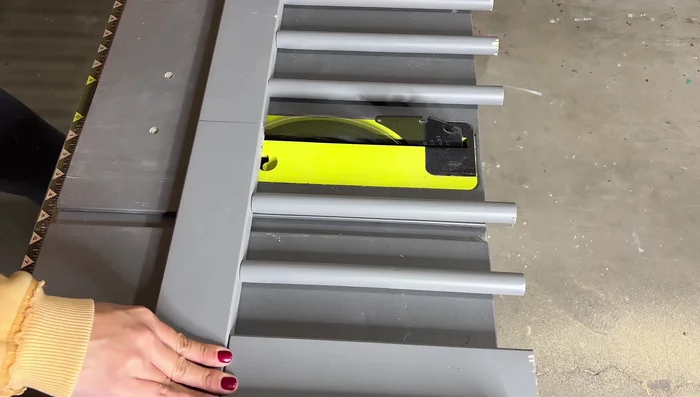
Prepare and Install Shelves Add Decorative Trim
- Prepare and attach decorative trim from wine rack. Cut and glue pieces together to create scalloped design.
Add Decorative Trim Install Adjustable Mechanism
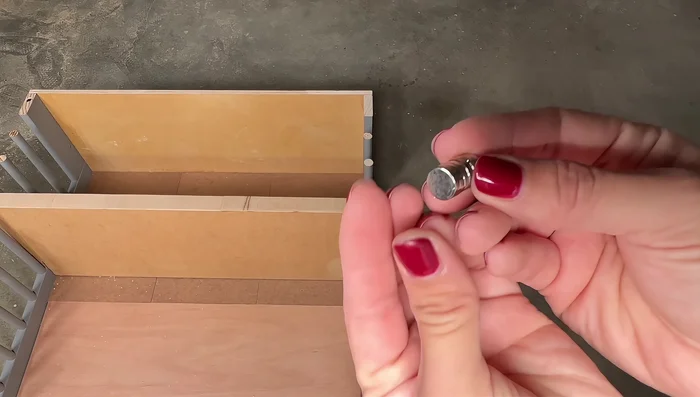
- Attach magnets to shelves and trim for adjustable functionality.
Install Adjustable Mechanism Finish and Seal
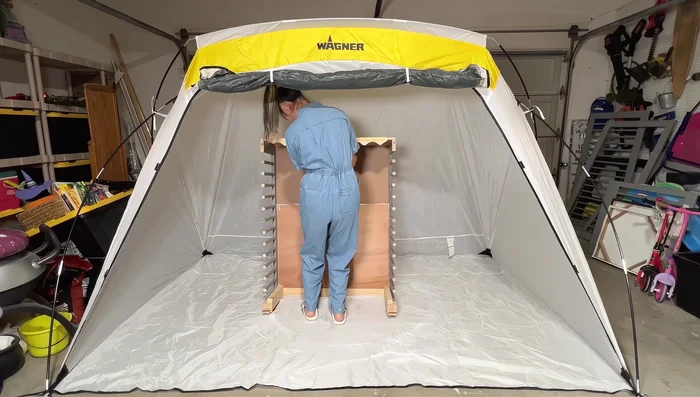
- Paint the entire shelf and apply a protective sealant.
Finish and Seal


Read more: DIY Blender from a Broken Beyblade Launcher!
Tips
- Sand after cutting wood for a smooth finish.
- Use a speed square to ensure evenness in your project.
- Use appropriate wood glue for different materials (hardboard may require a stronger adhesive).
- Use weights to ensure proper adhesion of glue.
- Use lipstick to mark magnet placement for precise alignment.