Transform a forgotten, dusty old clock into a mesmerizing underwater world with this unique DIY project! Instead of discarding that ticking relic, give it a new life as a stunning aquarium wall clock, a captivating centerpiece that blends practicality and artistic expression. This project offers a fantastic opportunity to upcycle an unwanted item and unleash your creativity, resulting in a personalized and eye-catching addition to your home décor. Imagine the tranquil beauty of an underwater scene subtly pulsating with the gentle sweep of the clock's hands.
This detailed guide will walk you through the process of crafting your own DIY aquarium wall clock, from sourcing materials and preparing the clock mechanism to painting a breathtaking underwater scene and sealing your masterpiece. Ready to dive into this rewarding and surprisingly simple project? Let's begin with the step-by-step instructions!
Preparation and Safety Guidelines
- Old wall clock
- Colored chalk papers
- Oil pastels/Poster colors
- Plastic fish toys
- Seashells
- Glue
- Double-sided tape
- Screwdrivers
- Always unplug the clock mechanism before handling any electrical components or working with water. Electricity and water are a dangerous combination.
- Use a sealant specifically designed for aquariums and ensure it's completely cured before adding water to prevent leaks and protect the clock mechanism from moisture damage.
- Avoid using toxic paints, glues, or sealants inside the clock case. These can leach harmful chemicals into the water, potentially harming any aquatic life you might add.
Step-by-Step Instructions
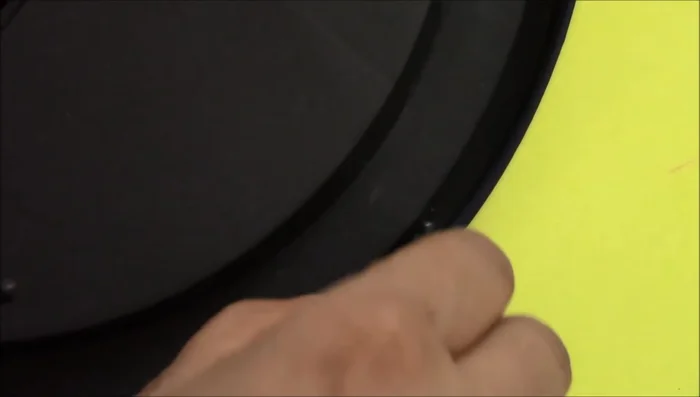
Prepare the Clock
- Dismantle the wall clock by unscrewing it. Remove the frame, glass, needles, motor, and cell.

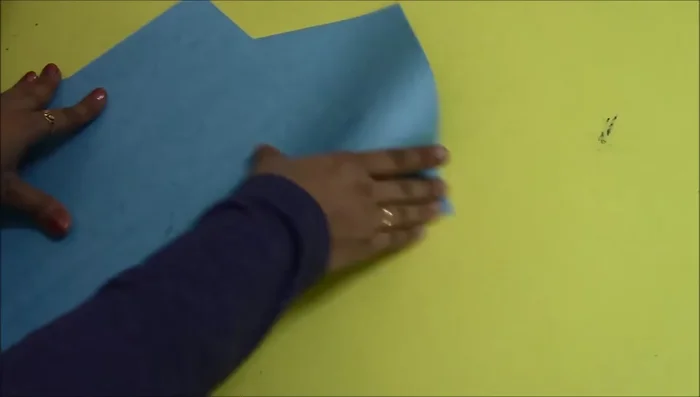
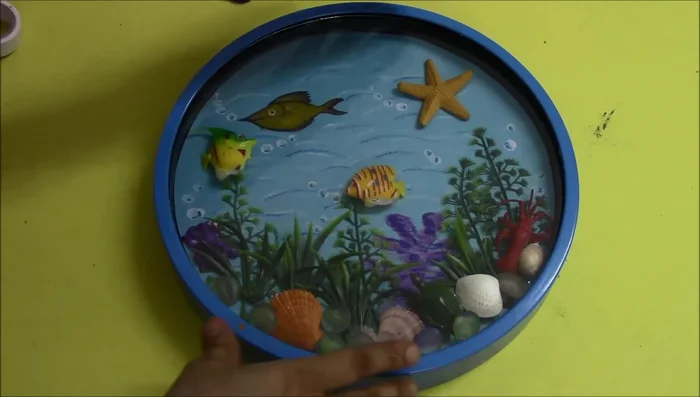
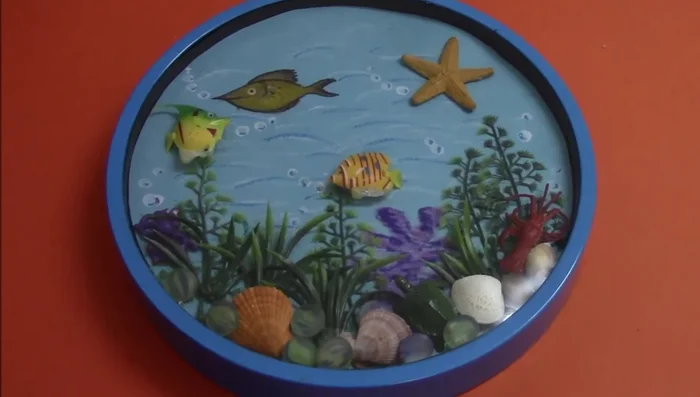
Prepare the Clock Create the Background
- Use the clock's glass as a stencil to cut a circular piece of blue chalk paper for the background.
- Fix the background (blue chalk paper circle) inside the clock.
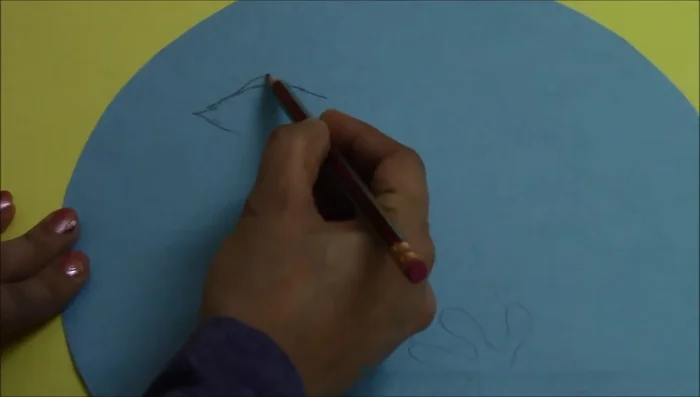
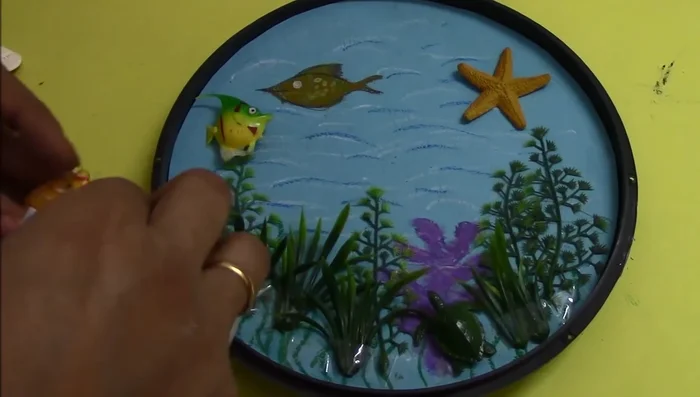
Create the Background Paint the Underwater Scene
- Trace and color the outlines of aquatic plants using oil pastels or poster colors.
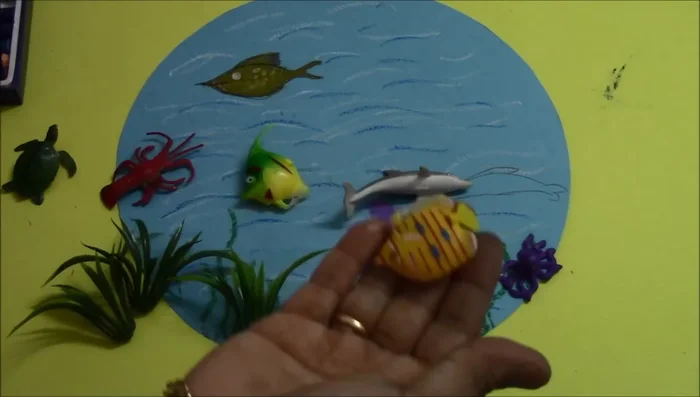
Paint the Underwater Scene Arrange Aquarium Elements
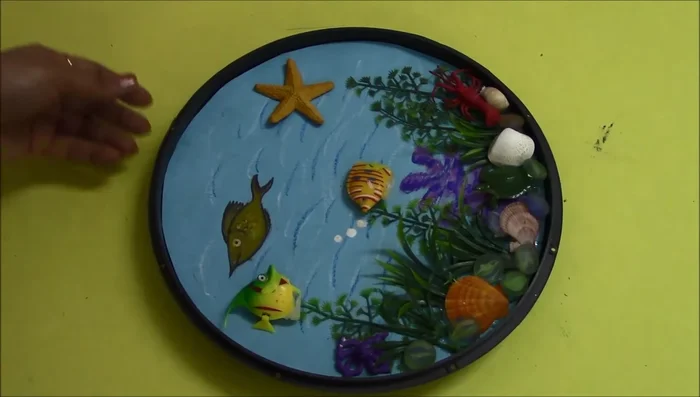
- Arrange and fix plastic plants, seashells, and toy fish to the bottom of the clock using hot glue or double-sided tape.
- arrange and fix remaining fish, seashells, and stones using double-sided tape.
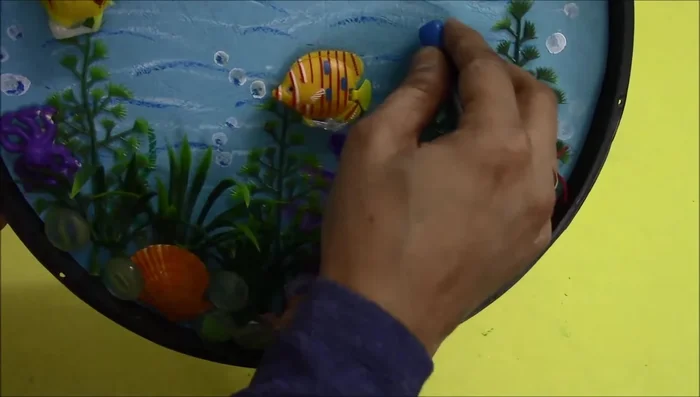
Arrange Aquarium Elements Add Water Bubbles
- Use white correction pen to create water bubbles, and wipe off excess ink with cotton swabs.
- Shade the bubbles with oil pastels.
Add Water Bubbles Reassemble the Clock
- Place the glass and frame back on the clock and secure using screws.
Reassemble the Clock Finish and Cover
- Cover the back of the clock with a cake base (optional).
Finish and Cover
Read more: DIY Blender from a Broken Beyblade Launcher!
Tips
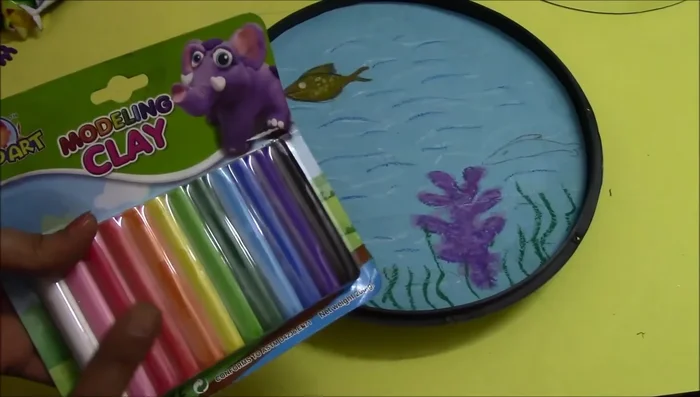
- Consider using clay to create your own fish and aquatic plants instead of relying solely on plastic items.