Bathroom storage often feels like a constant battle – cramped spaces and overflowing shelves are a common frustration. But what if you could transform that cluttered corner into a stylish and functional storage haven, all while embracing sustainability? This guide shows you how to build a DIY bathroom closet using reclaimed materials, maximizing space and minimizing your environmental impact. Forget expensive pre-fabricated units; we'll guide you through crafting a custom-built solution perfectly tailored to your bathroom's unique dimensions and your personal style.
Reclaimed wood, repurposed doors, and salvaged hardware offer a unique charm and character, resulting in a closet that's as individual as you are. This project is surprisingly achievable even for beginner DIYers, combining basic carpentry skills with a little creativity. Ready to get started? Let's dive into the step-by-step instructions and build your dream bathroom closet.
Preparation and Safety Guidelines
- Drill
- Kreg Jig
- Table Saw
- Hammer
- Screws
- Nails
- Drywall
- Plywood
- Mesh Tape
- Drywall Mud
- Primer
- Paint
- Sandpaper
- Polyurethane
- Cabinet Hinges
- Clamps
- Measuring Tape
- Level
- Square
- Iron
- Edge Banding
- Tack Cloth
- Caulk
- Polyester Bristle Brush
- Paint Roller
- Frog Tape
- Wood Filler
- Cabinet Jig
- Always disconnect the power to the bathroom's electrical outlets and lighting before starting any work. Improper handling of electricity can lead to serious injury or death.
- Wear appropriate safety gear throughout the project, including safety glasses, gloves, and a dust mask. Reclaimed materials may contain unseen hazards.
- Ensure proper ventilation during and after the project, especially when working with paints, stains, or adhesives. Inhaling fumes can be dangerous.
Step-by-Step Instructions
Framing the Closet
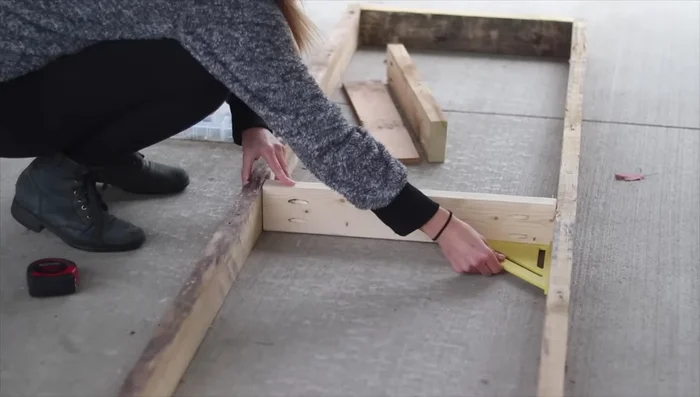
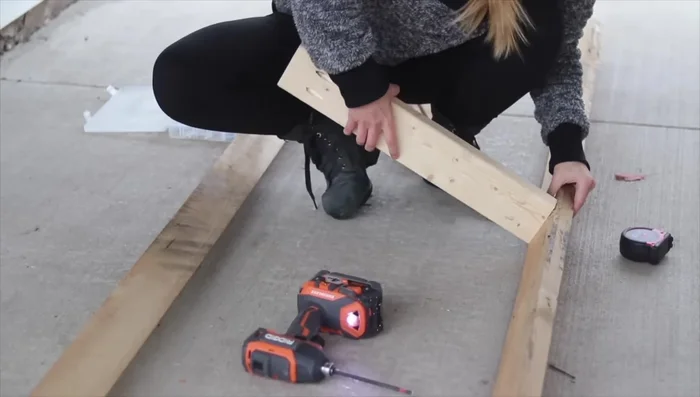
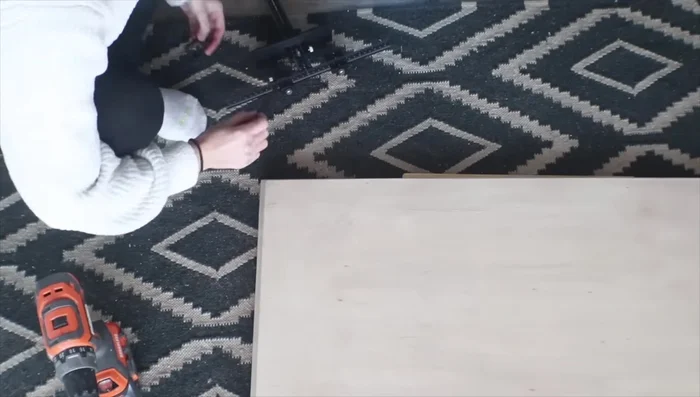
- Frame the closet using leftover 2x4s. Drill Kreg jig holes for center supports, connecting them and forcing them against the cement driveway to ensure alignment despite warping.
- Frame one side of the closet to determine depth and width (22 inches deep, 21 inches wide). Add additional studs for drywall support.
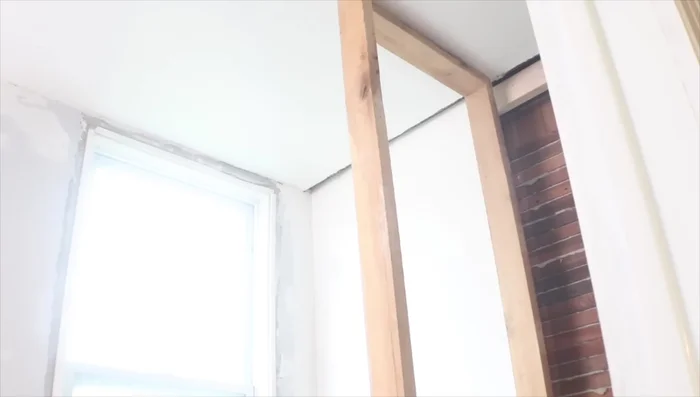
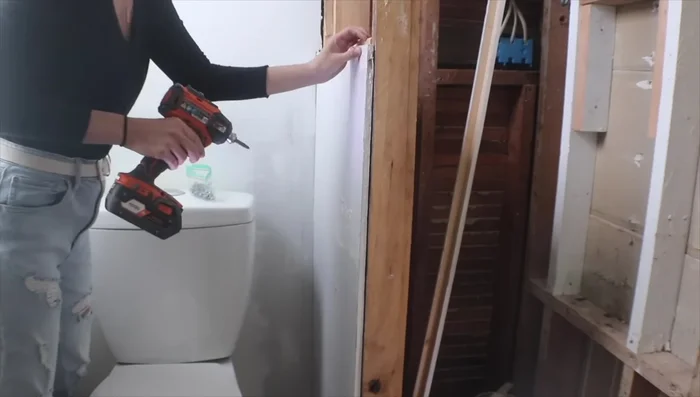
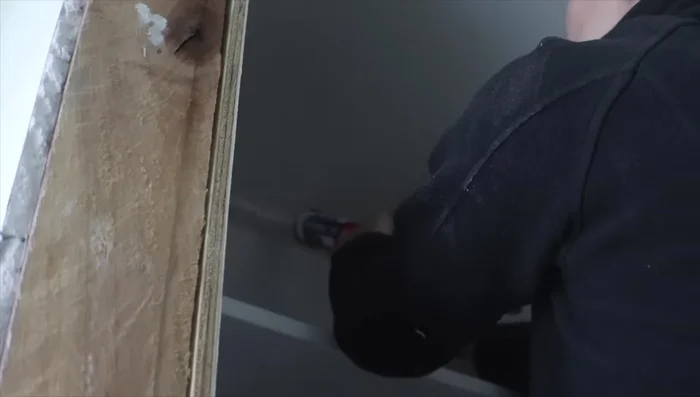
- Install plywood on most closet walls. Screw the framing into existing wall framing, adding additional 2x4s where needed.

Framing the Closet Drywall and Interior Plywood
- Reuse existing drywall from a previous shower removal. Check for squareness throughout the framing process.
- Install drywall, tape, and mud the seams. Use mesh tape for flat seams and corner tape for inside corners.
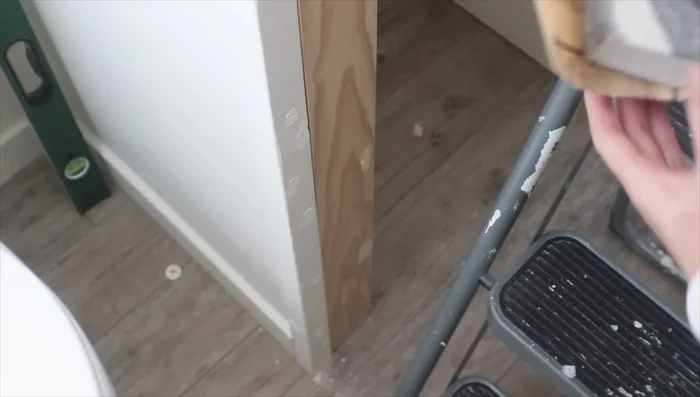
- Install plywood on the closet's interior. Cut plywood into sections if necessary due to wall irregularities.
Drywall and Interior Plywood Building the Shelves
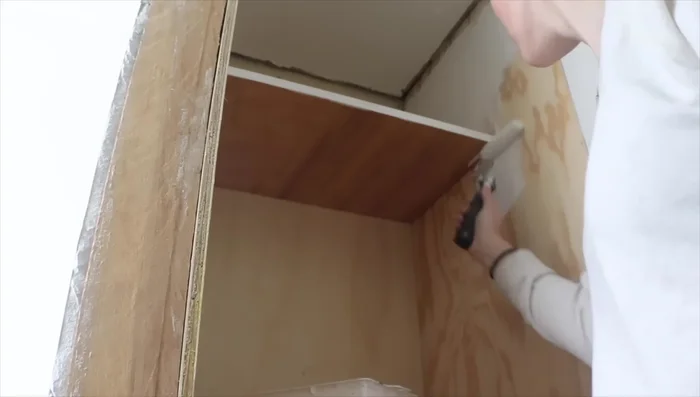
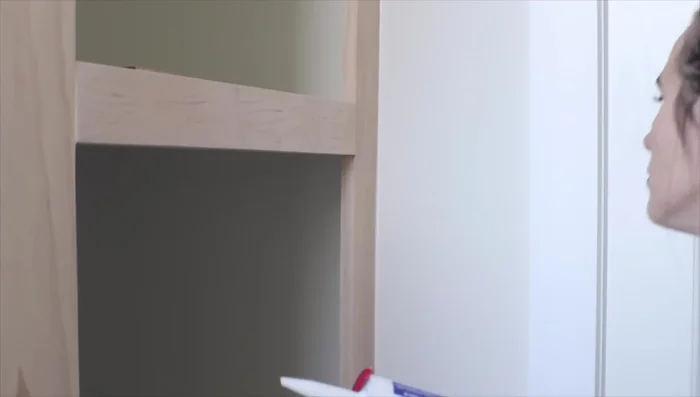
- Create shelves using ¾-inch thick plywood. Pre-drill holes for screws into the back and sides of the closet, and into the face frame.
Building the Shelves Surface Preparation
- Prime and sand all plywood surfaces for a smooth paint finish.
- Repair gaps in the ceiling using pine strips, heavy-duty adhesive, and tape.
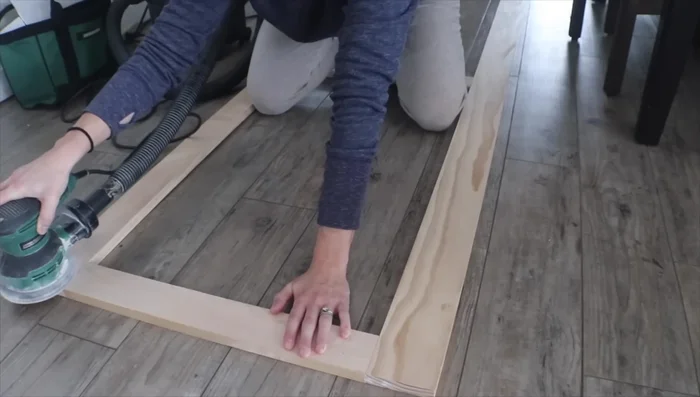
- Sand the face frame and doors to create a smooth surface for painting or finishing.
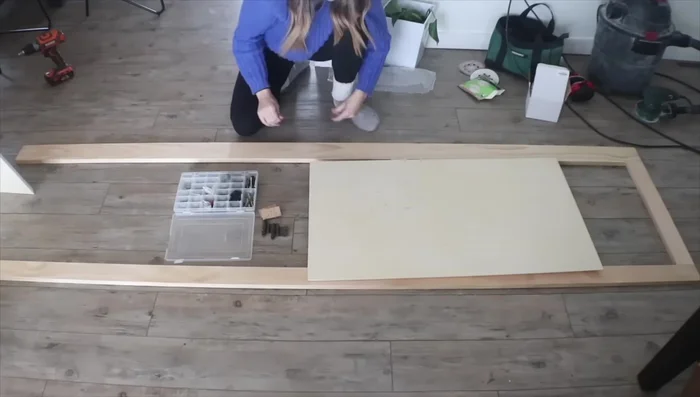
Surface Preparation Creating and Finishing the Doors
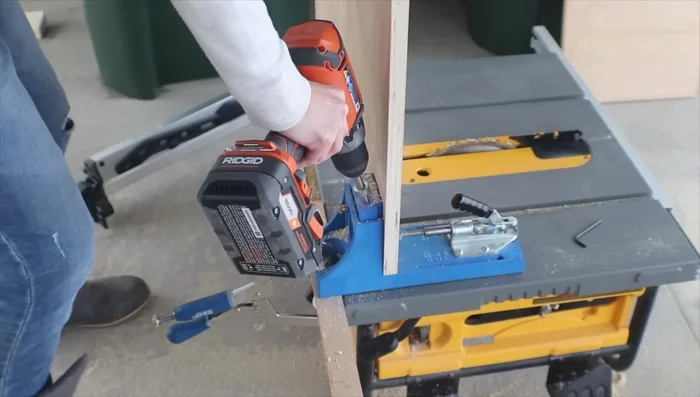
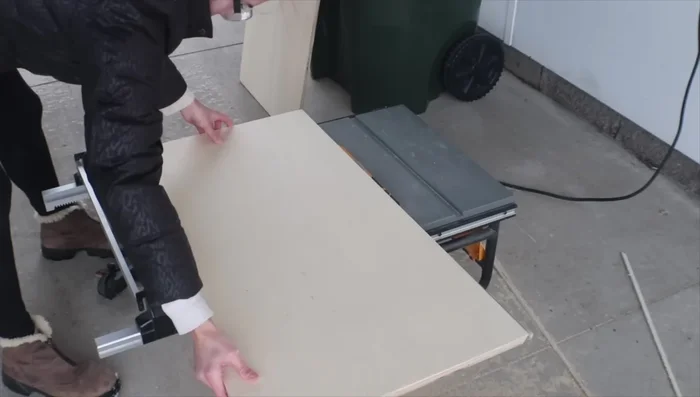
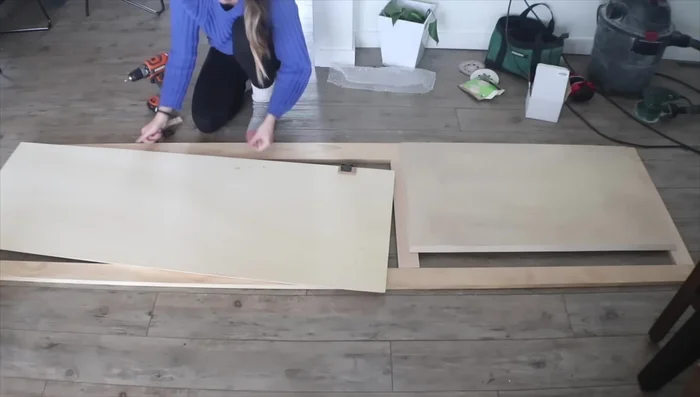
- Create beveled-edge doors from ¾-inch plywood using a table saw.
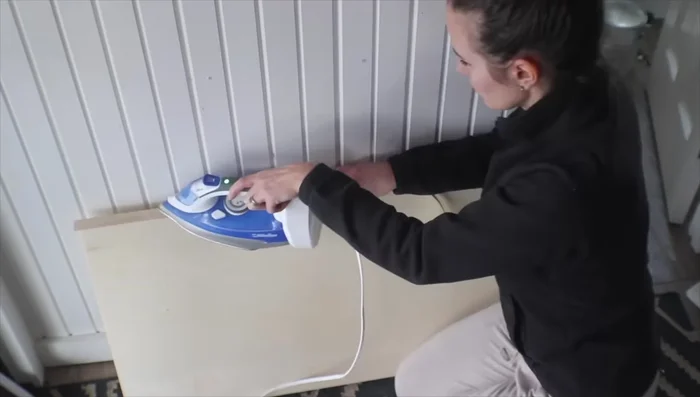
- Apply edge banding to the doors to cover the raw plywood edges and improve aesthetics.
- Apply polyurethane to the face frame and doors. Consider using a custom color wash on the doors to match the face frame color if necessary. Apply multiple coats for durability.
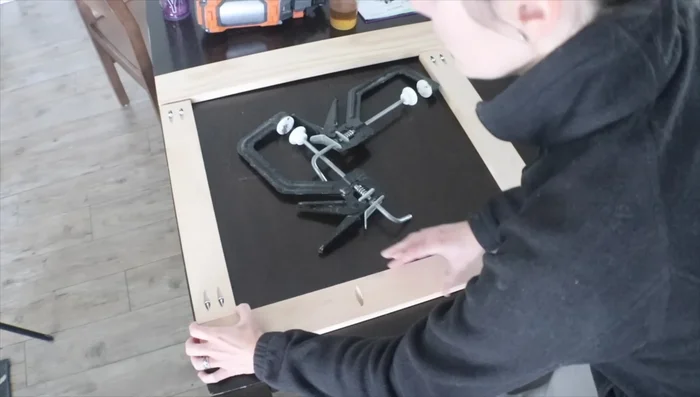
Creating and Finishing the Doors Building and Installing the Face Frame
- Assemble the face frame using select pine and Kreg jig pocket holes. Pre-drill holes for screwing the face frame into the wall studs for added support.
- Install the face frame, pre-drilling holes to attach the hinges to the doors.
Building and Installing the Face Frame Installing Doors and Hardware
- Attach hinges to doors, adding small wood pieces behind the hinges for adaptation if needed.
- Install the doors, and use a cabinet jig for precise handle placement.
Installing Doors and Hardware Final Touches
- Caulk and paint the closet interior using the same white paint as the bathroom walls.
- Fill holes with drywall compound and wood filler, sand smooth, and apply another coat of polyurethane.
- Caulk all seams and touch up paint. Add baseboards and additional hooks or baskets as desired.
Final Touches


Read more: DIY Mason Jar Soap Dispensers: A Step-by-Step Guide with Two Stunning Designs
Tips
- Use leftover materials to save money.
- Pre-drill holes for accurate screw placement, especially when working with multiple layers of material.
- Use a Kreg jig for fast, strong, and visually appealing joinery.
- Check your squareness frequently during framing to ensure accurate dimensions and a professional finish.
- Pre-assemble components for easier installation.