Is your bathroom closet a chaotic jumble of toiletries and towels? Do you dream of a neatly organized space where everything has its place, yet the cost of custom shelving seems prohibitive? Then get ready to transform your bathroom storage with this comprehensive guide to DIY bathroom closet shelving! A cluttered bathroom can feel cramped and stressful, but with a little time and effort, you can create a customized storage solution that perfectly fits your needs and budget, significantly improving your daily routine. Forget expensive contractors and frustrating trips to the home improvement store searching for the perfect pre-made unit.
This project is simpler than you might think, requiring only basic tools and readily available materials. We’ll walk you through each step, from measuring your space and choosing the right materials to installing the shelves and adding finishing touches. Let's dive into the step-by-step process and finally conquer that bathroom closet clutter!
Preparation and Safety Guidelines
- Saw
- Measuring tape
- Stud finder
- Construction screws
- Drill
- Level
- 1x2s
- Plywood
- Brad nailer
- Drywall anchors
- Hammer
- Wood filler
- Caulk
- Paint
- 1x3 pre-primed trim
- Pine trim (1x2)
- Always turn off the power to the bathroom circuit breaker before working near electrical outlets or wiring.
- Wear safety glasses and gloves to protect yourself from potential injuries from sharp objects or chemicals.
- Ensure proper ventilation when using paints, stains, or other potentially harmful chemicals. Work in a well-ventilated area or wear a respirator.
Step-by-Step Instructions
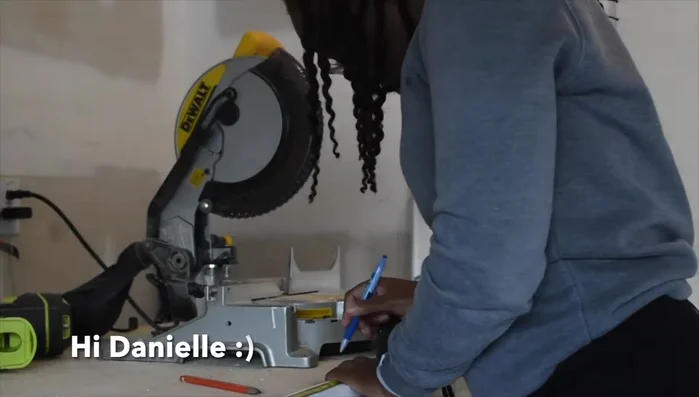
Planning and Cutting
- Measure and cut the plywood shelves and 1x2s.

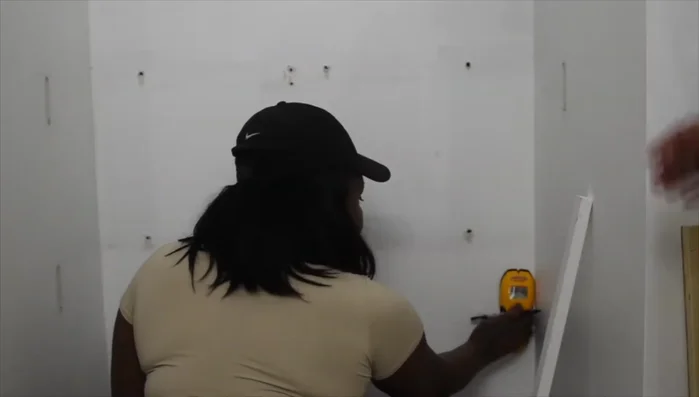
Planning and Cutting Wall Preparation
- Locate studs in the wall using a stud finder.
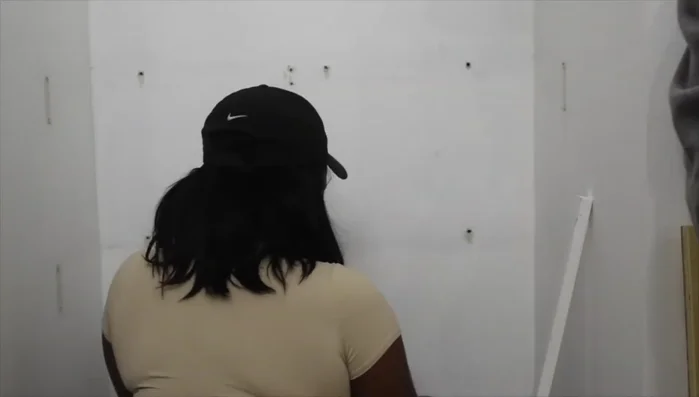
Wall Preparation Installing the Frame
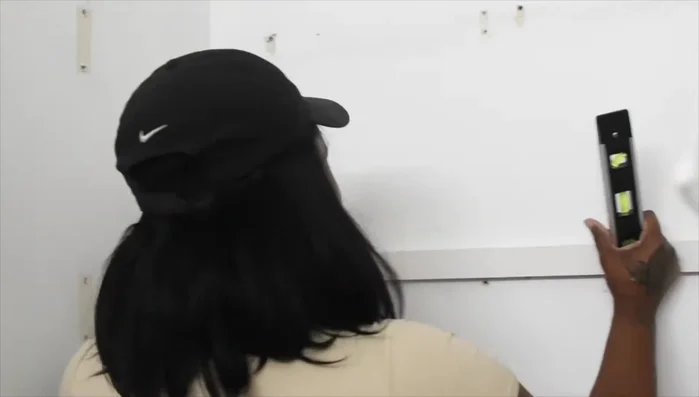
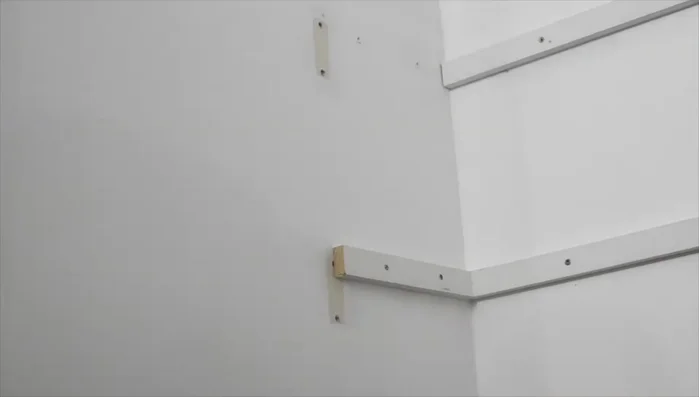
- Install 1x2 cleats to the wall, securing them into studs or using drywall anchors where studs are absent.
- Ensure the cleats are level.
- Install additional 1x2s to the sides for extra support, using studs and anchors.
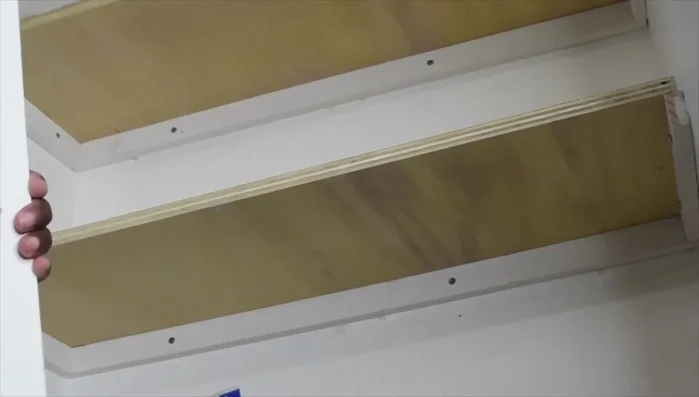
Installing the Frame Installing Shelves
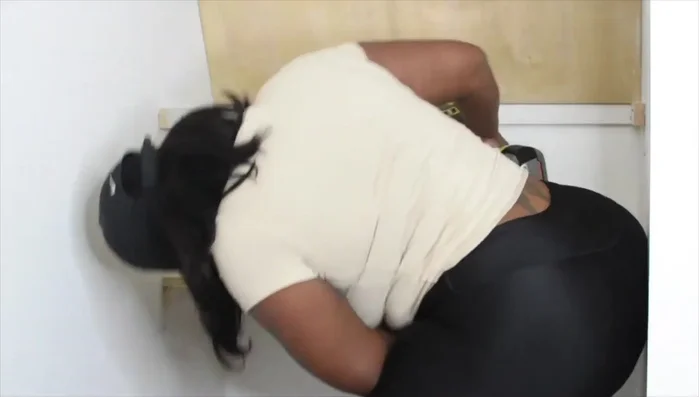
- Install the cut plywood shelves, carefully fitting them into the 1x2 frame. Use a hammer if necessary to adjust for slight wall imperfections.
- Secure the plywood shelves to the 1x2 cleats with a brad nailer for added stability.
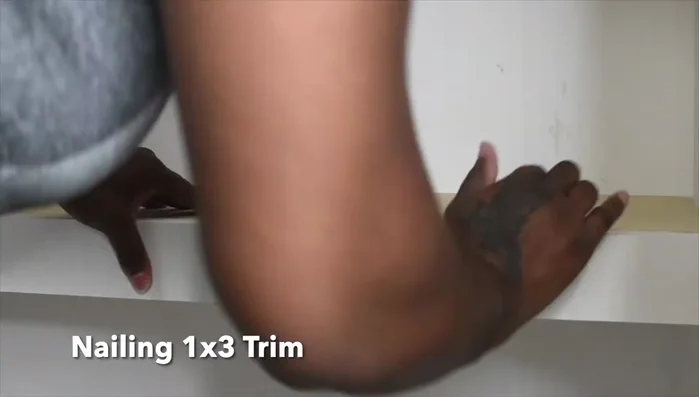
Installing Shelves Adding Trim
- Attach pre-primed 1x3 trim to the front of the shelves, nailing into the upper side of the plywood.
- Add a pine trim (1x2) to the front of the 1x3 for a warmer aesthetic.
Adding Trim Finishing Touches
- Fill nail holes with wood filler and caulk the seams before painting.
Finishing Touches

Read more: DIY Mason Jar Soap Dispensers: A Step-by-Step Guide with Two Stunning Designs
Tips
- Even with careful measurements, walls may be uneven. Be prepared to adjust shelves with a hammer.
- Consider adding extra support cleats to the sides for heavier items.
- Pre-priming trim simplifies the finishing process.
- Use wood filler and caulk to create a smooth, paintable surface.