Tired of plastic cling film piling up in your kitchen drawer? Yearning for a sustainable and stylish alternative that actually works? Then you've come to the right place! Beeswax wraps offer a reusable, eco-friendly solution for food storage, keeping your fruits, vegetables, and leftovers fresh while minimizing your environmental impact. Their natural beeswax coating provides a gentle, pliable seal that conforms to any shape, making them incredibly versatile for wrapping sandwiches, covering bowls, or even bundling herbs. But not all beeswax wraps are created equal; some just don't stick well enough.
This ultimate guide will equip you with the knowledge and techniques to create extra-sticky DIY beeswax wraps, ensuring a truly effective and long-lasting solution. We'll delve into the best ingredients, share expert tips for achieving that perfect sticky consistency, and explore different design options to personalize your eco-friendly kitchen essentials. Ready to ditch the plastic and embrace the delightful stickiness? Let's dive into the step-by-step process!
Preparation and Safety Guidelines
- Cotton fabric
- Beeswax
- Jojoba oil
- Pine resin
- Grater
- Mason jar
- Double boiler (or saucepan and mason jar)
- Measuring cup
- Parchment paper
- Iron
- Small brush
- Fabric scissors
- Pinking shears
- Always use heat-safe containers when melting beeswax. Never overheat beeswax as it can ignite.
- Ensure your work surface is clean and free of debris before applying beeswax. Contaminants can affect the wrap's integrity and food safety.
- Avoid contact with sharp objects. Beeswax wraps are delicate and can easily be torn or punctured.
Step-by-Step Instructions
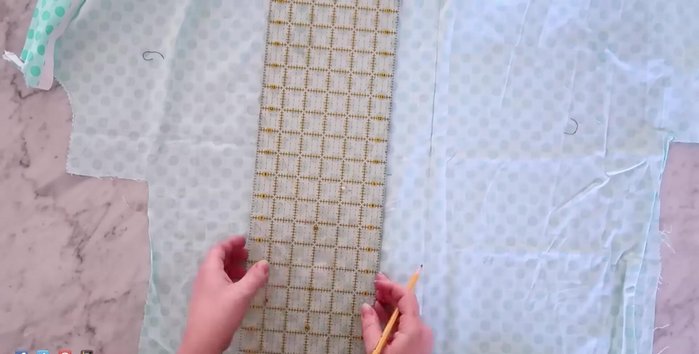
Prepare the Fabric
- Pre-wash and cut cotton fabric into squares (8x8 inches or 11x11 inches recommended).

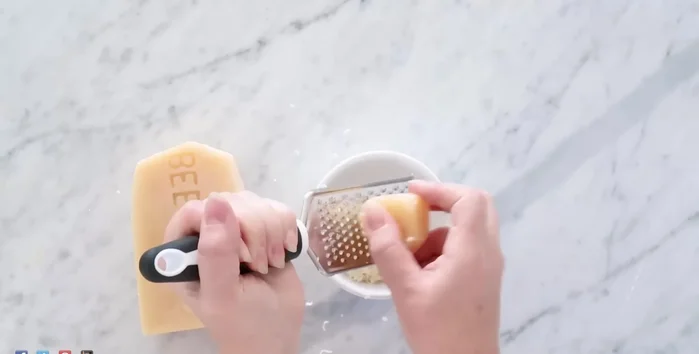
Prepare the Fabric Prepare the Wax Mixture
- Grate approximately ½ cup of beeswax.
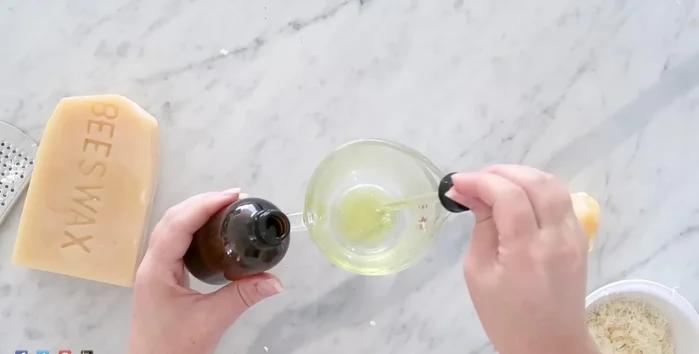
- In a mason jar or double boiler, combine 1 tablespoon jojoba oil, 3 tablespoons pine resin, and the grated beeswax.
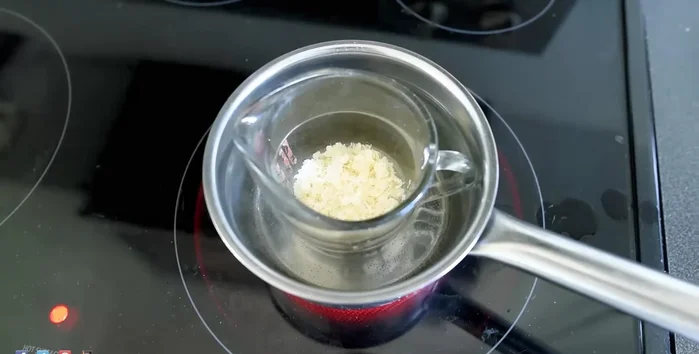
Prepare the Wax Mixture Melt the Wax Mixture
- Melt the mixture in a double boiler until completely liquefied.
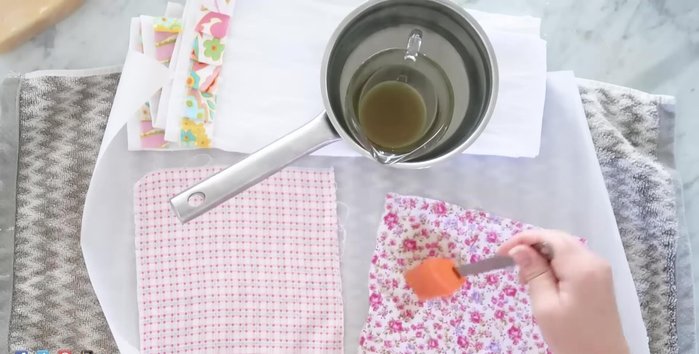
Melt the Wax Mixture Apply the Wax to Fabric
- Place fabric squares on parchment paper. Brush the melted wax mixture onto the fabric, spreading from the center outwards.
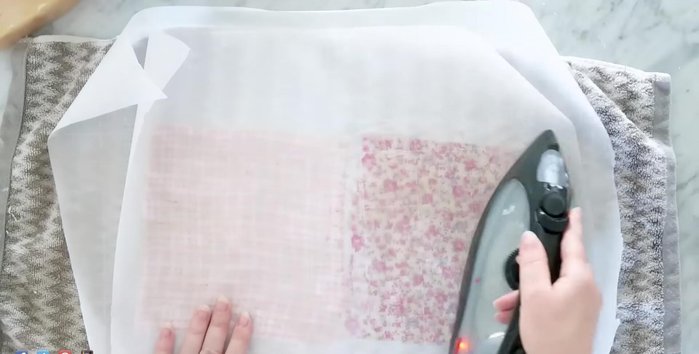
Apply the Wax to Fabric Iron and Set the Wax
- Cover with another sheet of parchment paper and iron on a cotton setting to ensure even distribution and seep to the other side.
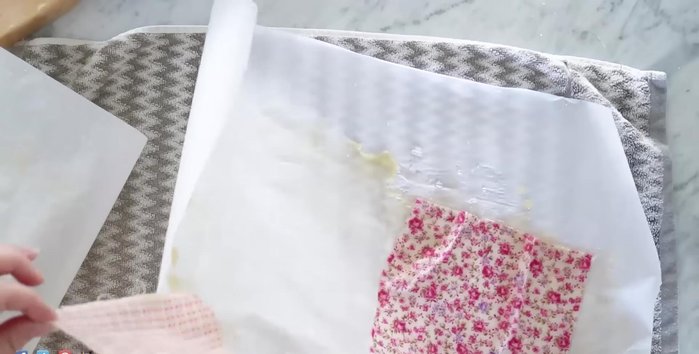
Iron and Set the Wax Dry the Wraps
- Remove wraps from parchment paper and let them dry (air drying or flipping them in the air).
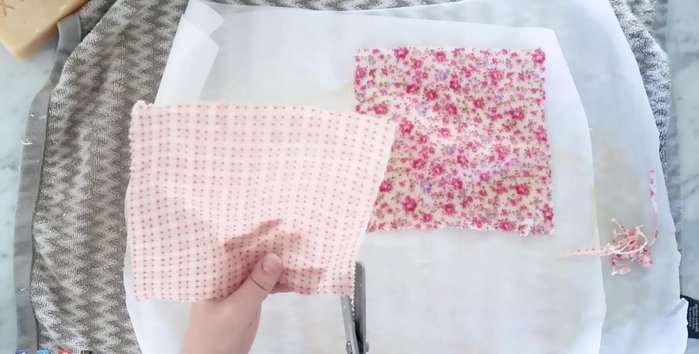
Dry the Wraps Finish and Trim
- Trim the edges with pinking shears.
Finish and Trim
Read more: DIY Vibrant Car Organizer: A Step-by-Step Quilting Tutorial
Tips
- Pre-washing the fabric is crucial.
- Use a double boiler to melt the beeswax; never microwave it.
- Pine resin makes the wraps extra sticky.
- Ironing ensures even wax distribution.
- Wash the wraps in lukewarm water with mild detergent after each use and hang to dry.