Clutter. It's the nemesis of a tidy home, lurking in drawers and cabinets, stealing precious space and sanity. But what if conquering this chaotic enemy didn't require a hefty investment? With a little creativity and some readily available materials, you can transform your disorganized drawers into havens of order with DIY drawer organizers. This budget-friendly approach offers a fantastic solution for achieving a more organized home without breaking the bank. You’ll be surprised at the incredible transformation you can achieve using simple supplies you likely already own!
Forget expensive, pre-made organizers; this article will guide you through the simple steps of creating custom drawer organizers that perfectly fit your specific needs and style. From repurposing cardboard boxes to utilizing repurposed materials, we’ll explore several easy-to-follow methods, ensuring a streamlined and satisfying organization project. Ready to get started? Let's dive into our step-by-step guide to creating your perfect DIY drawer organizers!
Preparation and Safety Guidelines
- Cardboard
- Adhesive paper
- Measuring tape
- Scissors
- Glue
- Always prioritize safety when using sharp tools like knives or scissors. Adult supervision is recommended, especially when children are involved.
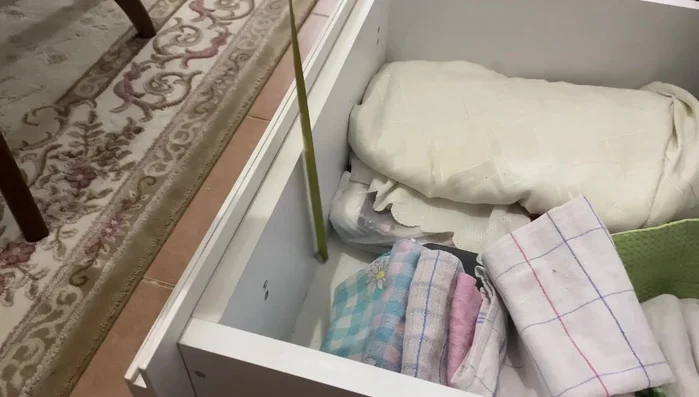
- Ensure drawers are fully emptied and cleaned before starting your organizing project to prevent damage to your supplies and ensure a clean base.
- Measure your drawers carefully before beginning your DIY project to avoid creating organizers that don't fit properly.
Step-by-Step Instructions
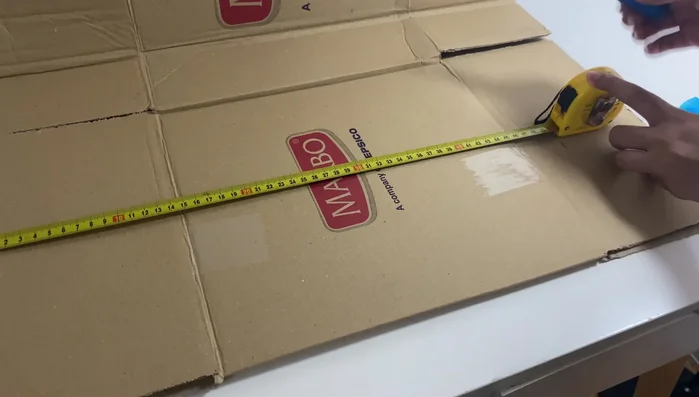
Planning and Measuring
- Measure your drawers and plan the layout of your dividers.

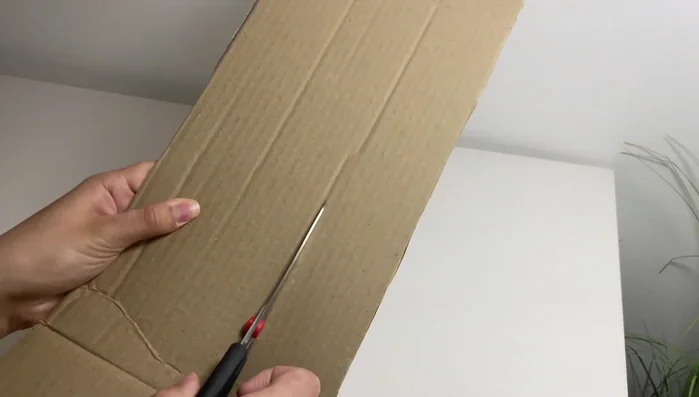
Planning and Measuring Cardboard Preparation
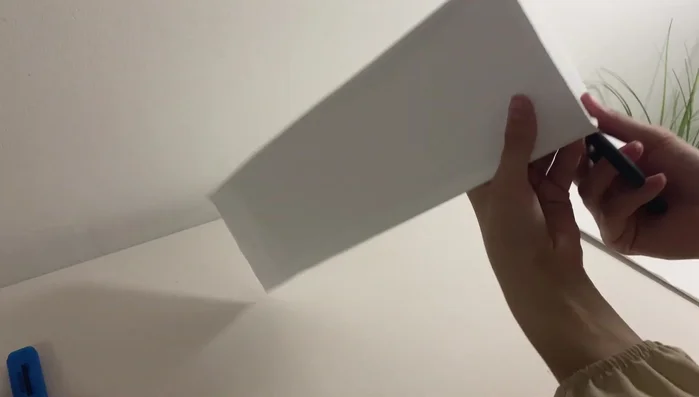
- Transfer your design onto the cardboard.
- Cut the cardboard according to your design.
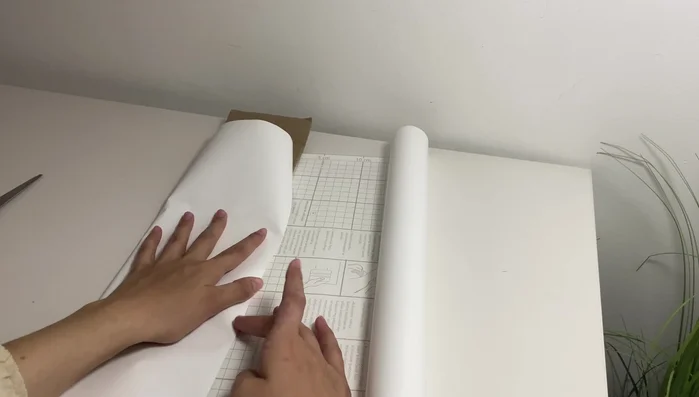
- Apply adhesive paper to cover the cardboard.
Cardboard Preparation Dividers Assembly
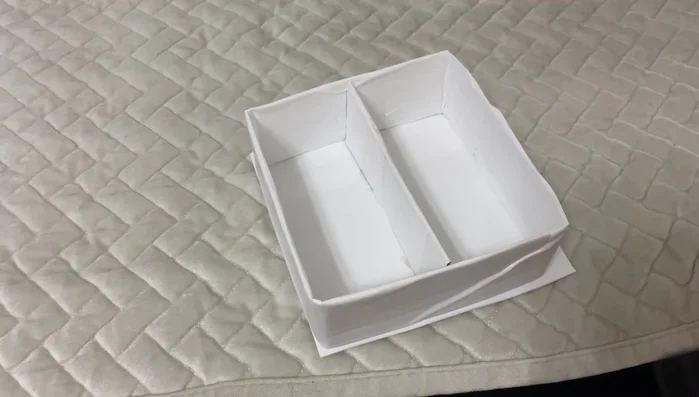
- Assemble the dividers; cut pieces slightly longer than half and overlap to join them securely.
Dividers Assembly Drawer Organization
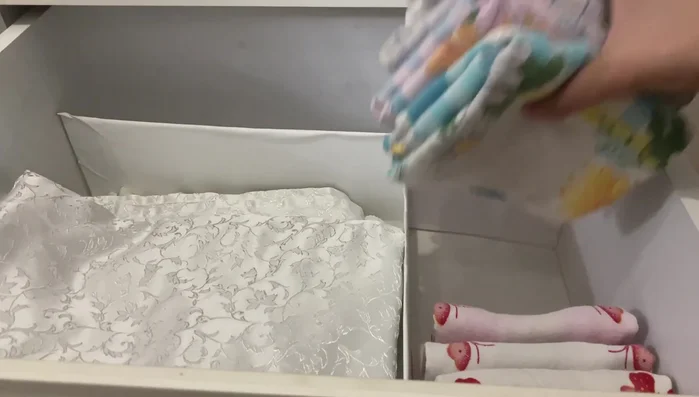
- Place the dividers into your drawers.
Drawer Organization Small Item Boxes (Optional)
- For smaller items, create small boxes from cardboard and tape.
Small Item Boxes (Optional)
Read more: DIY Mason Jar Soap Dispensers: A Step-by-Step Guide with Two Stunning Designs
Tips
- Use more adhesive tape than you think you'll need.