Drape your windows in elegance without breaking the bank! Ready to transform your living space with custom-made curtains, but hesitant about the cost of store-bought curtain rods? Fear not, because creating a stunning, budget-friendly curtain rod is easier than you think. This DIY project allows you to personalize your home décor with a touch of sophistication, showcasing your creativity while saving significantly on expenses. You’ll be surprised at how simple and effective the materials are, transforming ordinary items into beautiful, functional window dressings.
Forget overpriced hardware stores; this guide will walk you through creating a simple yet elegant curtain rod using readily available and affordable materials. We’ll explore various stylish options, from rustic wood to sleek metallic looks, catering to any interior design style. Ready to get started? Let's dive into the step-by-step instructions to create your own DIY budget-friendly curtain rod.
Preparation and Safety Guidelines
- Metal conduit
- Pipe cutter
- PVC end cap
- Drill
- Decorative knobs
- Heavy-duty glue (or sandpaper)
- 1.5-inch corner braces
- 0.5-inch one-hole straps for conduit
- 0.5-inch machine screws with nuts
- Spray paint
- Measuring tape
- Ensure the rod is securely fastened to the wall or ceiling. Use appropriate screws and anchors for your wall type to prevent accidents from falling rods.
- Always check the weight capacity of your chosen materials before hanging curtains. Overloading a DIY rod can lead to breakage and potential injury.
- If working at heights, use a sturdy ladder or step stool and have someone assist you. Never overreach or attempt to install a rod alone if it requires reaching high places.
Step-by-Step Instructions
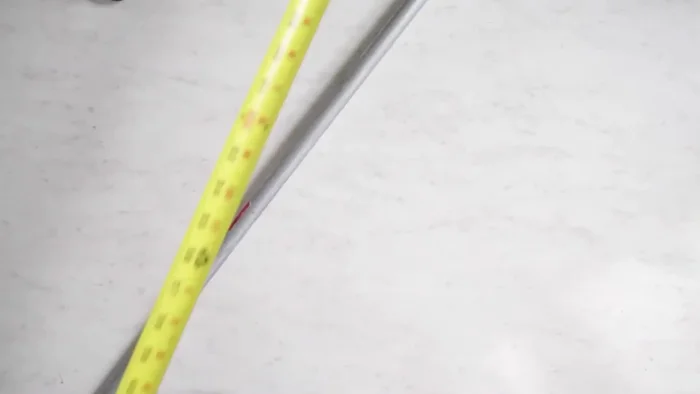
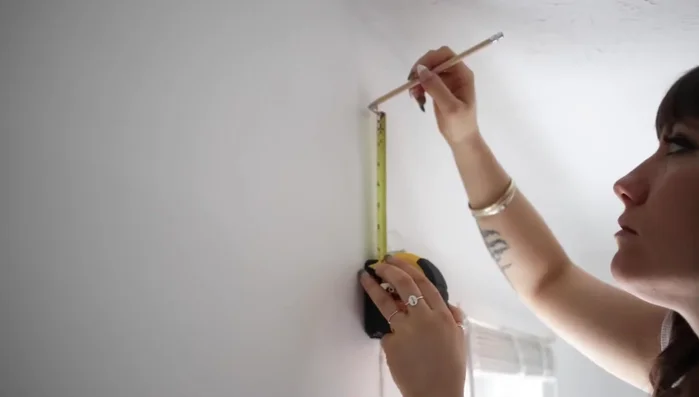
Measure and Cut Conduit
- Measure your windows, adding 5 inches on each side for extra curtain room.
- Mark the measurement on your metal conduit and cut it using a pipe cutter.

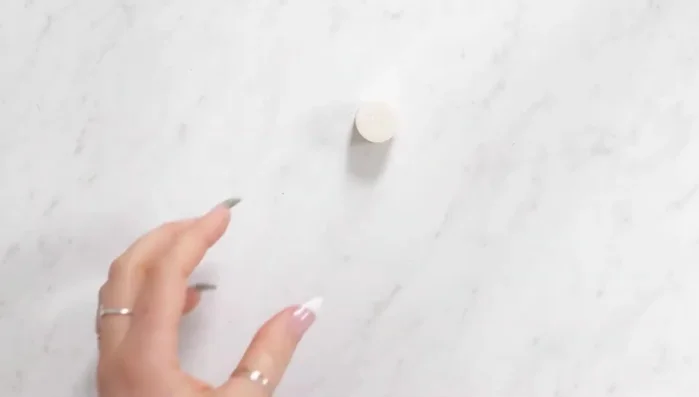
Measure and Cut Conduit Prepare End Pieces
- Drill a hole in the center of a PVC end cap to create an end piece for the curtain rod.
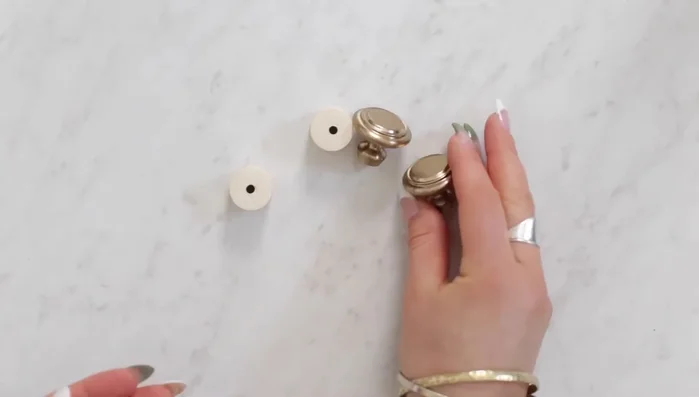
- Attach decorative knobs to the PVC end pieces using heavy-duty glue (or by sanding down the PVC's inside for a sliding fit).
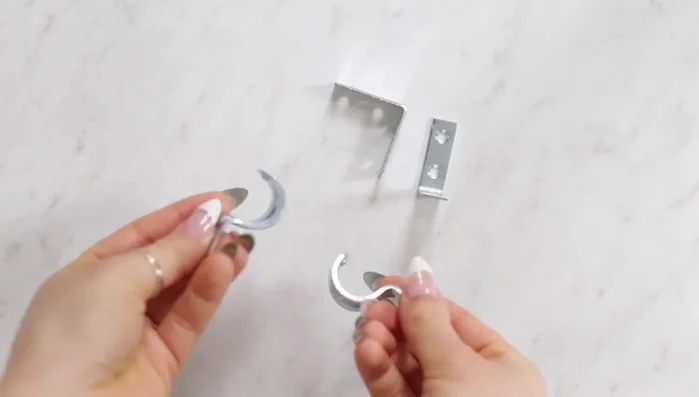
Prepare End Pieces Make Wall Brackets
- Create wall brackets using 1.5-inch corner braces, 0.5-inch one-hole straps, and 0.5-inch machine screws with nuts.
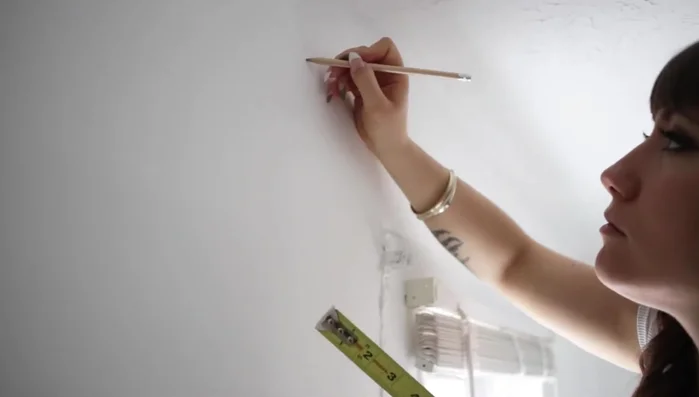
Make Wall Brackets Install Brackets and Hang Rod
- Mark bracket positions 5 inches higher and 5 inches wider than the window, screw them in place, and hang the curtain rod.
Install Brackets and Hang Rod Paint the Curtain Rod
- Spray paint the entire assembly for a finished look.
Paint the Curtain Rod
Read more: DIY Mason Jar Soap Dispensers: A Step-by-Step Guide with Two Stunning Designs
Tips
- Consider using sandpaper instead of glue to attach the decorative knobs to the PVC for a potentially more secure and adjustable fit.