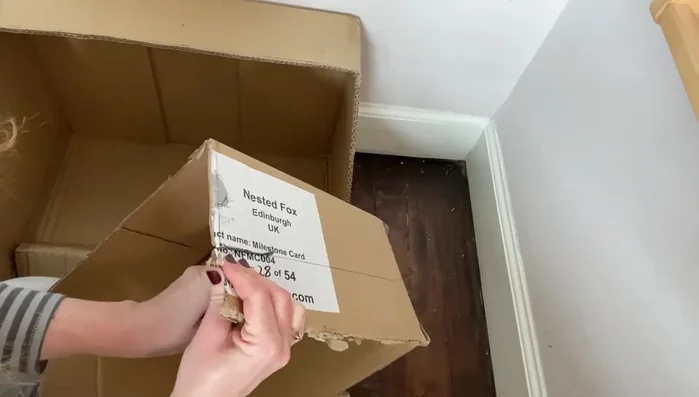
Looking for a fun, affordable, and eco-friendly project to tackle with your kids? Building a DIY cardboard bookcase is the perfect solution! This exciting upcycling project transforms discarded cardboard boxes into a charming and surprisingly sturdy storage solution for all those beloved books and toys. Not only is it a fantastic way to teach children about recycling and resourcefulness, but it also allows for incredible creativity and personalization. You can decorate your bookcase to match any room's theme, fostering a sense of pride and accomplishment in the finished product. Forget expensive store-bought furniture; let's unleash your inner artist and create something truly unique.
This simple yet rewarding project requires minimal tools and readily available materials, making it ideal for a family afternoon. Get ready to transform those discarded boxes into a functional and stylish addition to your home! Let's dive into the step-by-step instructions and begin building your very own kid-friendly cardboard masterpiece.
Preparation and Safety Guidelines
- Craft knife
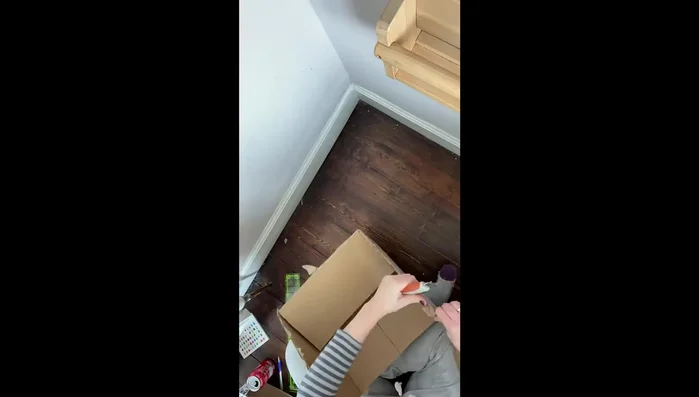
- Heavy-duty glue
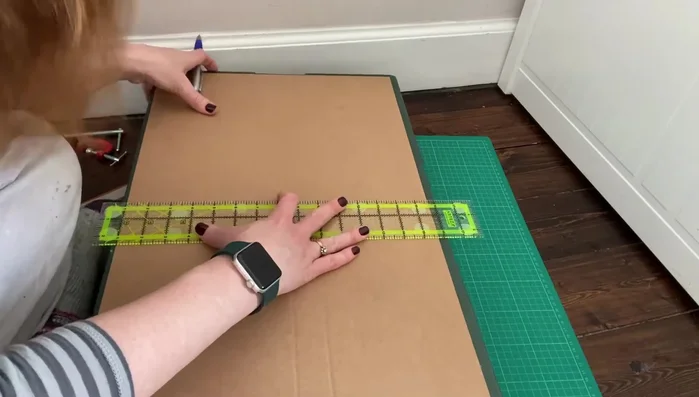
- Ruler or measuring tape
- Pen or pencil
- Cutting mat (optional)
- Clamps (optional)
- Adult supervision is required throughout the project, especially when using cutting tools.
- Ensure all edges of the cardboard are thoroughly smoothed and taped to prevent cuts and splinters. Use strong, wide tape for durability.
- Do not overload the bookcase. Cardboard is not as strong as wood and may collapse under excessive weight.
Step-by-Step Instructions
Prepare the Top Shelf
- Measure and cut the vegetable crate in half to create the top shelf.
- Glue the two halves of the crate together and clamp until dry.

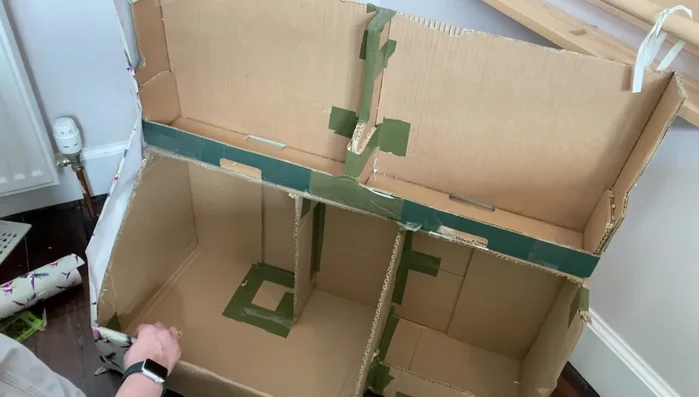
Prepare the Top Shelf Prepare the Bottom Shelves
- Measure and cut additional cardboard boxes to form the bottom shelves, ensuring they fit the desired space and support the top shelf.
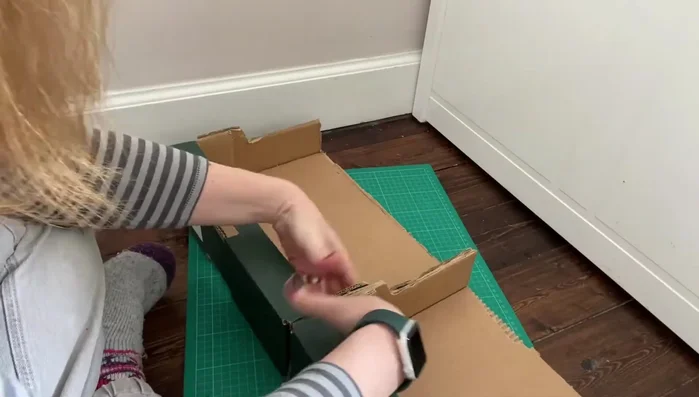
- Cut and glue a flap from one box to create a lip on the front of the bottom shelf, similar to the top shelf.
- Cut and glue the bottom shelf pieces together, making sure the top part is the same depth as the top shelf for support.
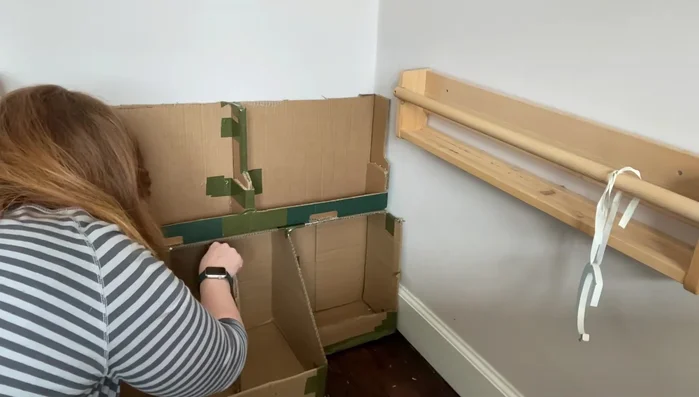
Prepare the Bottom Shelves Reinforce and Assemble
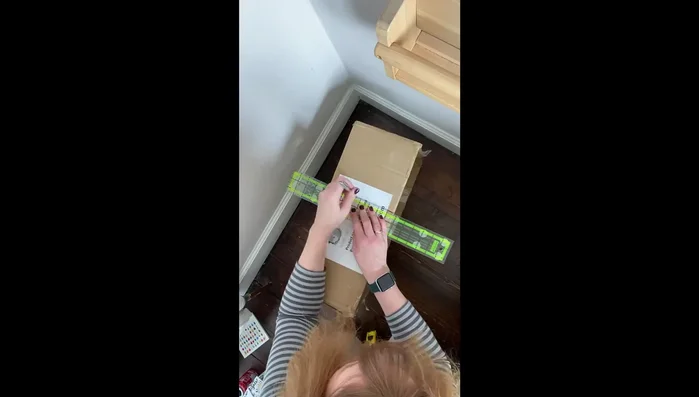
- Reinforce all glued sections with duct tape (or strong packing tape) for added stability.
- Glue the top and bottom sections of the bookcase together. Add a central support piece for added strength.
Reinforce and Assemble Decorate
- Wrap the finished bookcase with decorative paper or contact paper.
Decorate
Read more: DIY King-Size Tufted Headboard: Budget-Friendly Guide
Tips
- Use a sharp craft knife for easier cutting.
- Clean your glue nozzle after each use.
- Use clamps or heavy objects to hold pieces together while the glue dries.
- Consider using contact paper instead of wrapping paper for easier application.
- Reinforce the structure with duct tape, especially in crucial areas like joints and supports.