Unleash your inner engineer and embark on a thrilling crafting adventure with this DIY Cardboard Jeep project! Perfect for kids and adults alike, this fun and surprisingly easy craft transforms humble cardboard boxes into a miniature, fully functional (well, almost!) off-road vehicle. Forget expensive toys; with a little creativity and readily available materials, you can build your own custom jeep, sparking imagination and fostering a love for hands-on creation. This project is a fantastic way to spend a rainy afternoon, encouraging problem-solving and collaborative teamwork. You'll be amazed at the results achievable with simple supplies and a dash of ingenuity.
Get ready to roll because we’ll guide you through each step of this exciting journey, transforming simple cardboard into a miniature masterpiece. From selecting the right boxes to adding those essential finishing touches, we'll provide clear instructions and helpful tips to make the process smooth and enjoyable for everyone involved. So grab your glue, scissors, and let's build a cardboard jeep that's ready for any adventure!
Preparation and Safety Guidelines
- Large cardboard box
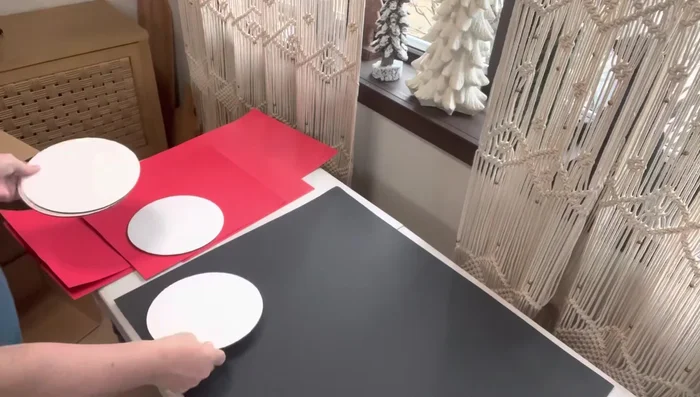
- Poster board (red and black)
- Cardboard circles
- Hot glue gun
- Paper towel roll
- Popsicle sticks
- Yellow cardstock
- Pie tins (aluminum foil)
- Permanent marker
- Bubble wrap
- Shelf liner
- Metal ring
- Optional: Push lights, steering wheel cover, plastic keys, doormat, wall hanging knobs, little wooden pieces
- Adult supervision is required at all times, especially when using cutting tools.
- Use caution when handling sharp objects like box cutters or scissors. Always cut away from yourself.
- Ensure the finished cardboard jeep is not used in a way that could cause injury, such as riding it down hills or using it as a vehicle.
Step-by-Step Instructions
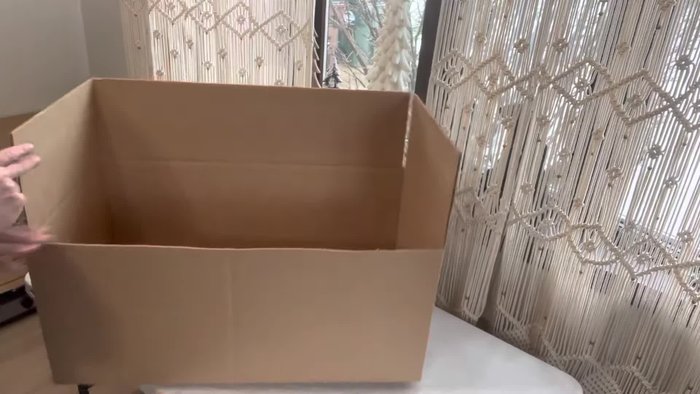
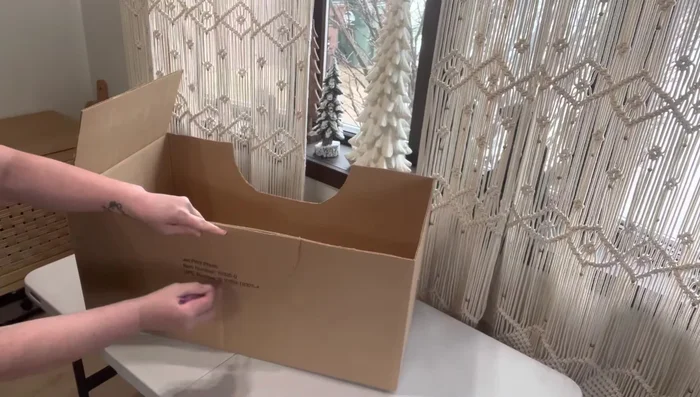
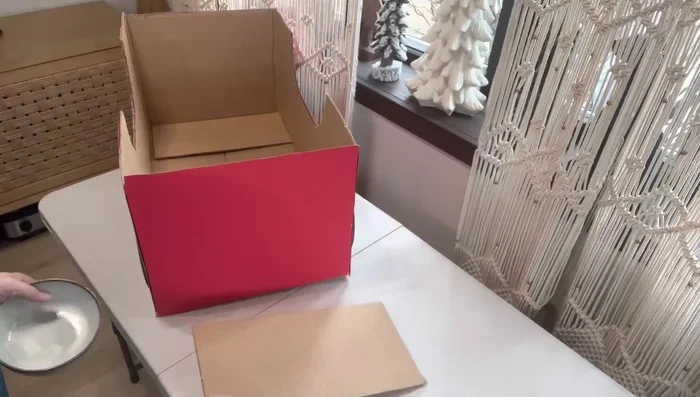
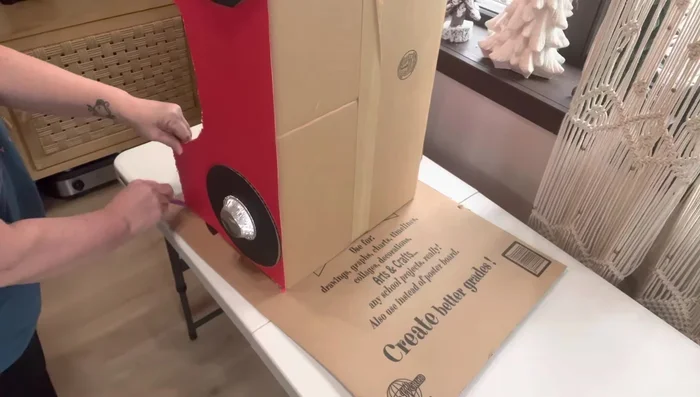
Prepare the Cardboard Base
- Cut off both sides, front, and back flaps.

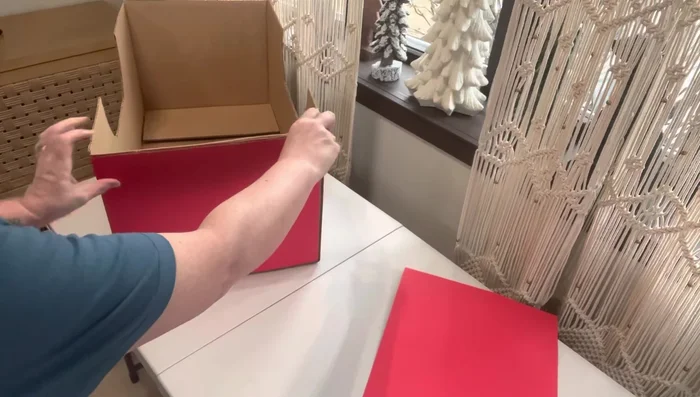
Prepare the Cardboard Base Cover the Car Body
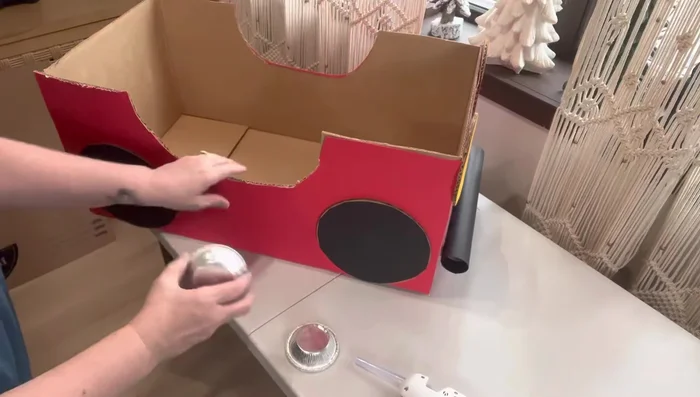
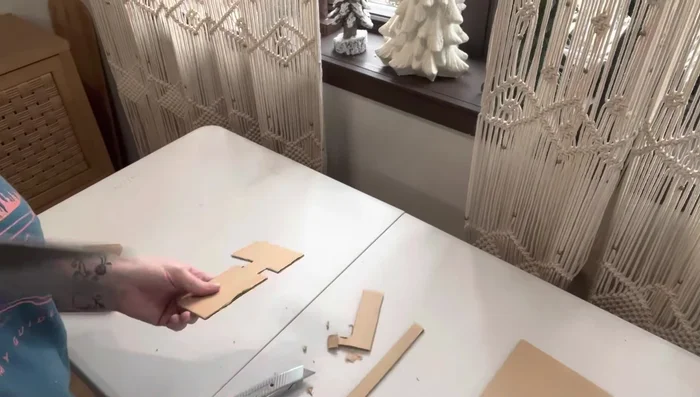
- Trace and cut out door shapes from circular cardboard pieces. Cover the entire cardboard structure with red poster board.
- Hot glue the red poster board onto the front and back of the cardboard structure, then attach the side pieces. Trim excess poster board.
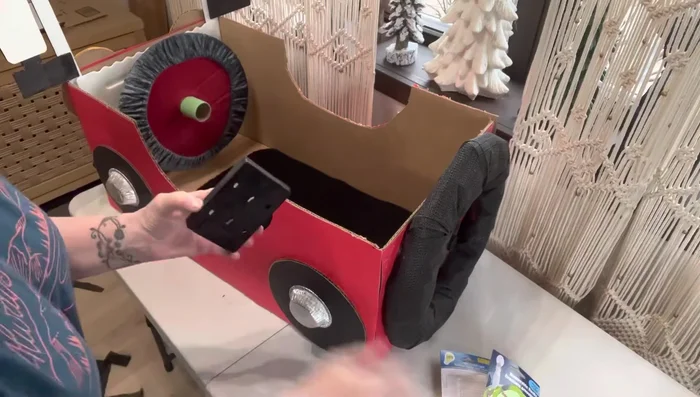
Cover the Car Body Make and Attach the Tires
- Trace and cut out tire shapes from black poster board. Hot glue them onto smaller circular cardboard pieces.
- Hot glue the tires to the car body.
- Hot glue pie tins to the tires for hubcaps.
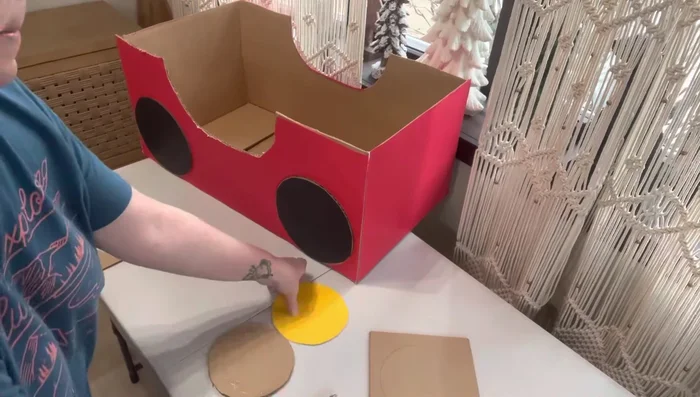
Make and Attach the Tires Add Front Details
- Trace and cut out headlight shapes from cardboard, cover with yellow cardstock, and glue to the front.
- Hot glue popsicle sticks onto a piece of poster board, cut them out, and attach to the front. Add a paper towel roll bumper/grill.
- Cut a windshield frame from cardboard and attach it to the front of the car.
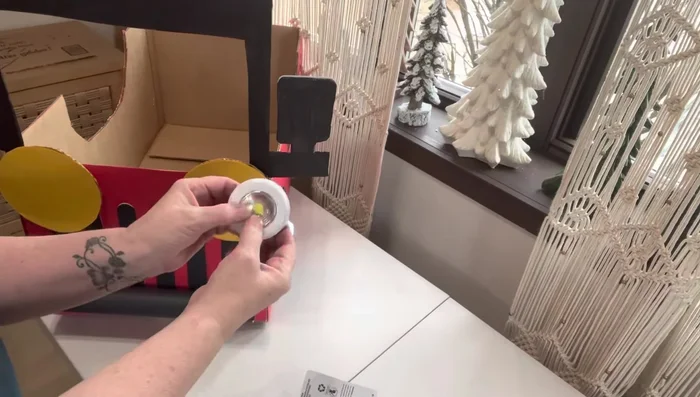
- Hot glue push lights to the front of the car.
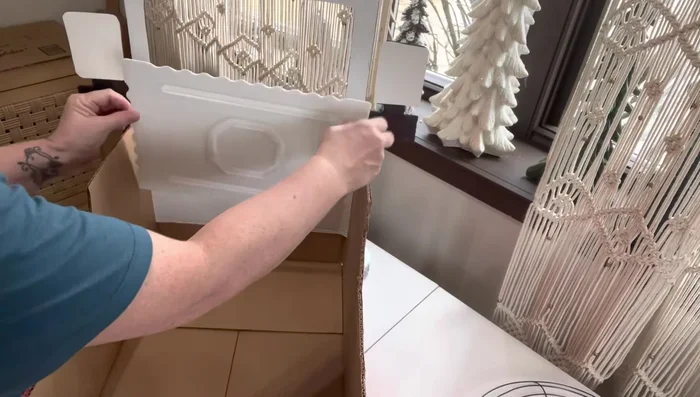
Add Front Details - Hot glue a styrofoam-like piece to cover up extra cardboard.
Add Front Details Create and Attach the Steering Wheel
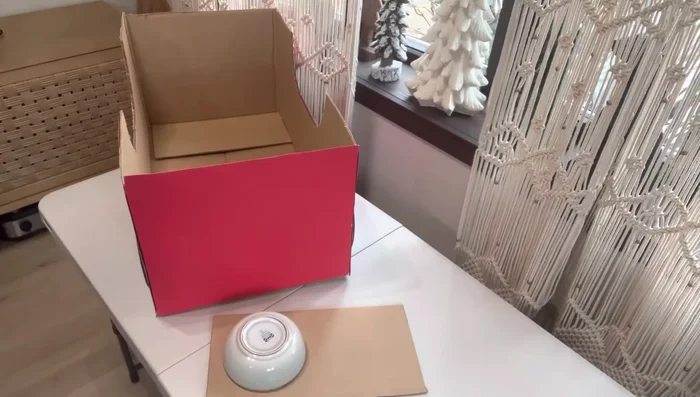
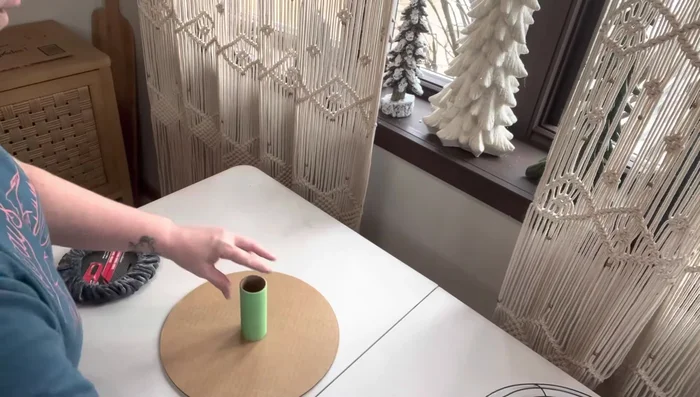
- Cut a hole in a circular cardboard piece and insert a toilet paper roll. Add a steering wheel cover.
Create and Attach the Steering Wheel Make and Attach the Spare Tire
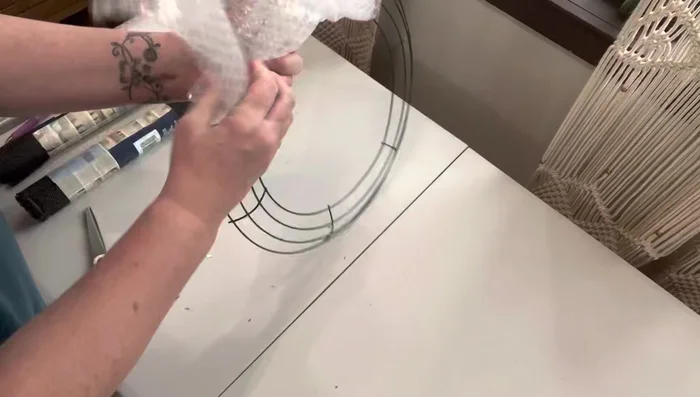
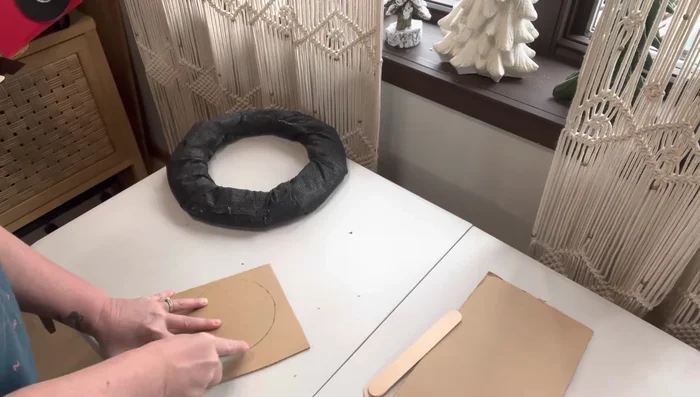
- Cover a metal ring with bubble wrap and shelf liner to create a spare tire.
- Add popsicle sticks to the spare tire for detail, and then attach to the back of the car.
Make and Attach the Spare Tire Add Finishing Touches
- Create side mirrors from cardboard and white cardstock, color them with a marker, and attach to the windshield.
- Attach decorative elements such as door handles, keys, a light switch, and a doormat.
Add Finishing Touches
Read more: DIY King-Size Tufted Headboard: Budget-Friendly Guide
Tips
- Use hot glue for a cleaner look than tape.
- Buy extra black poster board to avoid having to color it with a marker.