Tired of bulky, expensive storage solutions that dominate your living space? Craving a unique and personalized organizational system that reflects your creativity? Then look no further! This guide will walk you through the exciting process of building your own DIY cardboard step chest using an innovative stacking method. Forget generic plastic bins; prepare to transform readily available cardboard into a stylish and functional piece of furniture. This project is not only incredibly budget-friendly, but it also offers a fantastic opportunity to upcycle materials and reduce waste.
We'll guide you through a simple yet effective design that maximizes space and minimizes effort. The unique stacking method ensures stability and allows you to customize the height and width of your step chest to perfectly fit your needs. Ready to get started and transform your storage woes into a creative success story? Let's dive into the step-by-step instructions and unleash your inner DIY expert!
Preparation and Safety Guidelines
- Cardboard boxes (four, two matching pairs)
- Glue
- Exacto knife (with sharp blades)
- Packing paper
- Ensure all cardboard edges are securely taped to prevent cuts and splintering. Rough edges are a major safety hazard.
- Do not overload the chest. The weight capacity of cardboard is limited. Distribute weight evenly across all levels.
- Never use this chest as a climbing aid or step stool for children unsupervised. The structure is not designed for that purpose.
Step-by-Step Instructions
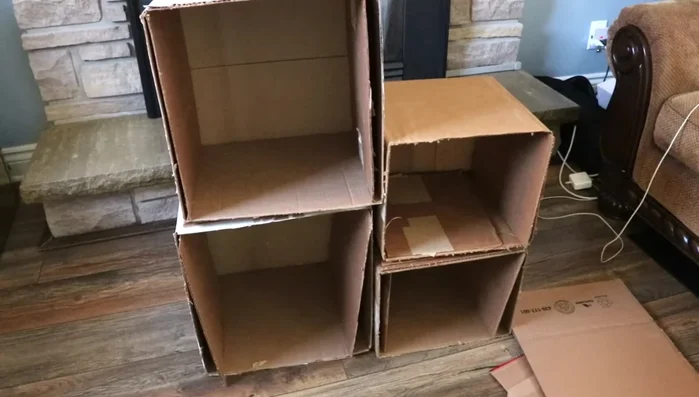
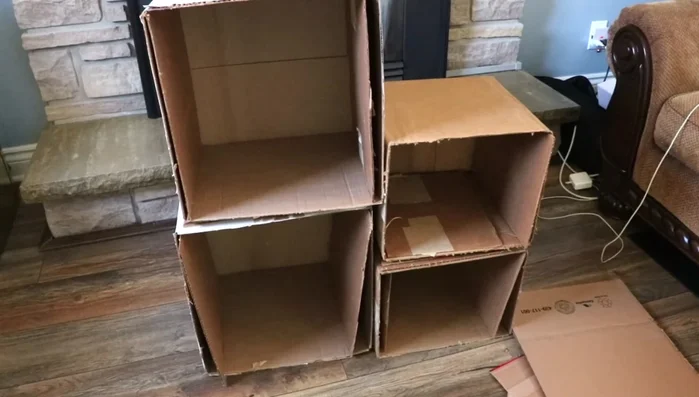
Prepare Base Structure
- Use existing boxes to form the base structure instead of cutting every piece individually.
Cut Reinforcement Pieces
- Cut pieces to reinforce the sides and create supportive structures between the stacked boxes.

Cut Reinforcement Pieces Glue Internal Supports
- Apply glue to reinforce the base boxes and the additional cardboard pieces, making sure all sides are secured and strengthened.
- Glue additional cardboard pieces to form strong, supportive layers between the stacked boxes, adding multiple layers for strength.
Glue Internal Supports Glue Outer Layers
- Add outer layers of cardboard to further reinforce the structure and create a more finished look.
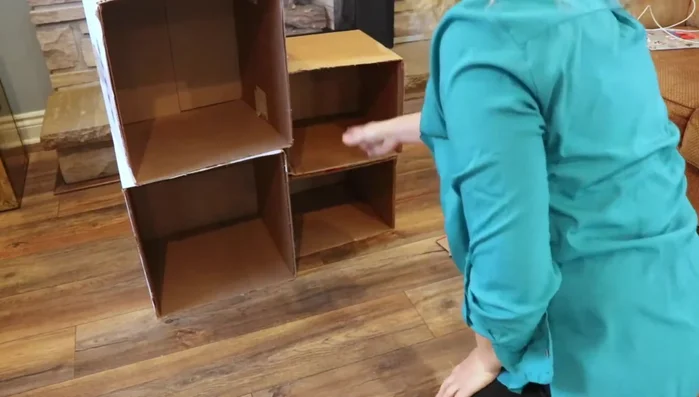
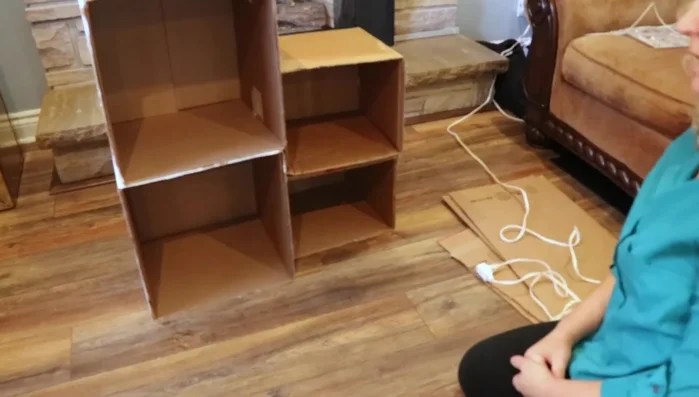
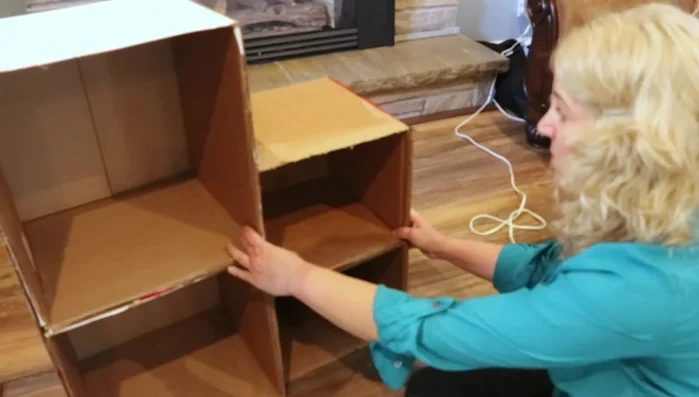
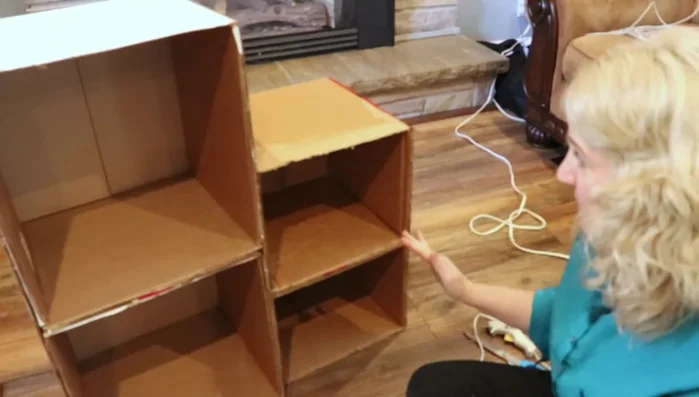
Glue Outer Layers Assemble Sections
- Attach the two main sections together carefully.
Assemble Sections Finish and Decorate
- Cover the entire step chest with packing paper to improve aesthetics and provide a more finished look.
Finish and Decorate
Read more: DIY King-Size Tufted Headboard: Budget-Friendly Guide
Tips
- Use sharp exacto knife blades for cleaner cuts.
- Pay attention to glue application and ensure complete drying for a sturdy structure.
- Strengthen the top of the chest with additional cardboard after initial assembly.