Are you overwhelmed by the ever-growing mountain of toys scattered throughout your home? Do you dream of a neat, organized play space without resorting to expensive, mass-produced storage solutions? Then you're in the right place! This guide offers a fun and budget-friendly alternative: a DIY cardboard toy organizer. Using readily available materials and simple techniques, you can transform discarded cardboard boxes into a customized storage system that perfectly suits your child's toys and your home's aesthetic. This project is perfect for crafty parents and caregivers who want to add a personal touch while decluttering their space.
Forget expensive plastic bins and complicated assembly instructions. This project utilizes the strength and versatility of cardboard to create a durable and visually appealing solution. Ready to get started on creating your own personalized toy organizer? Let's dive into the step-by-step process and transform those overflowing toy bins into a beautifully organized playroom.
Preparation and Safety Guidelines
- Cardboard boxes
- Hot glue gun
- Contact paper
- Wooden cubes (optional)
- Adult supervision is required, especially when using cutting tools. Children should not handle sharp objects or participate in cutting.
- Ensure all edges of the cardboard are smoothed and taped securely to prevent cuts and injuries. Use strong tape to avoid pieces coming loose.
- Do not overload the organizer. Too much weight could cause it to collapse, potentially leading to injury or damage.
Step-by-Step Instructions
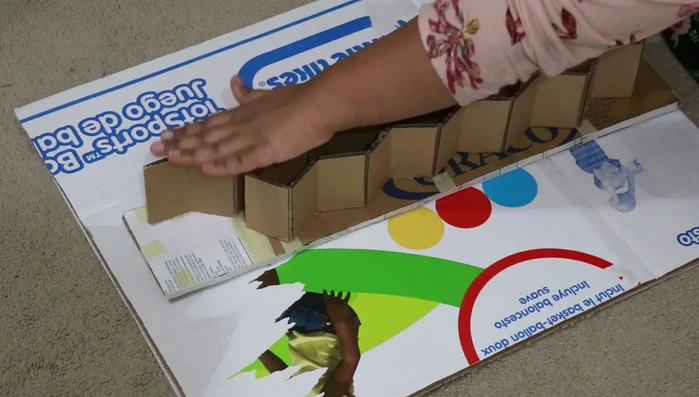
Prepare Cardboard Pieces
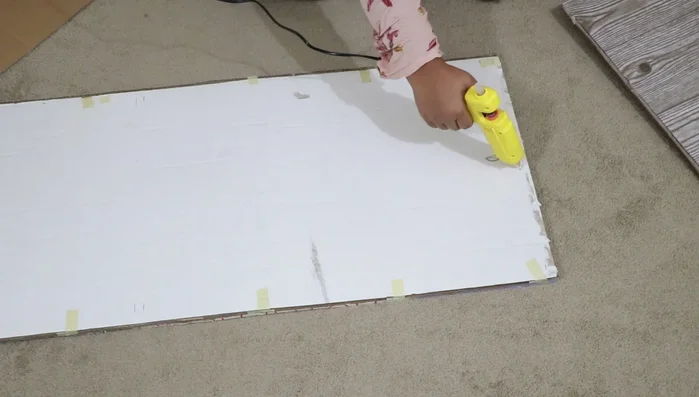
- Cut cardboard boxes into desired sizes for the base and shelves. Glue multiple layers together for strength.

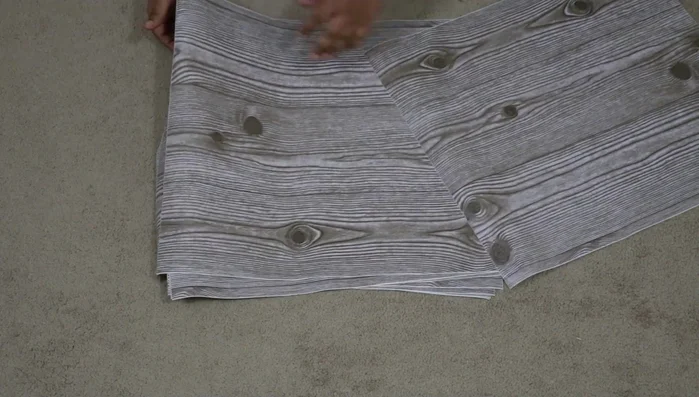
Prepare Cardboard Pieces Decorate Cardboard
- This adds durability and aesthetics. Leave some areas unglued for better glue adhesion later.
Decorate Cardboard Assemble the Organizer
- A full-sized hot glue gun is recommended for better adhesion.
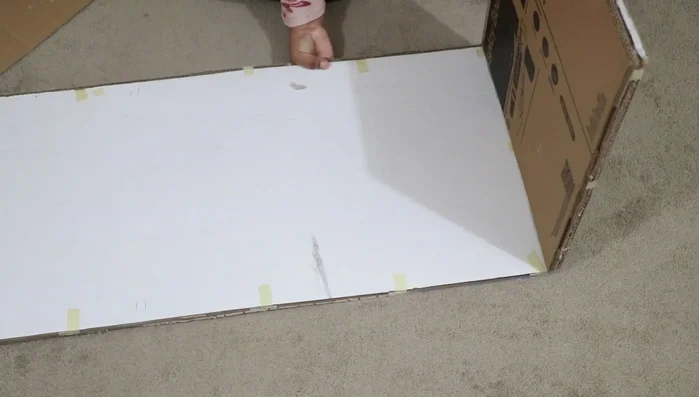
- Glue the cardboard pieces together according to your design, allowing time for the glue to dry completely.
- Use additional cardboard or other materials to elevate the shelves.
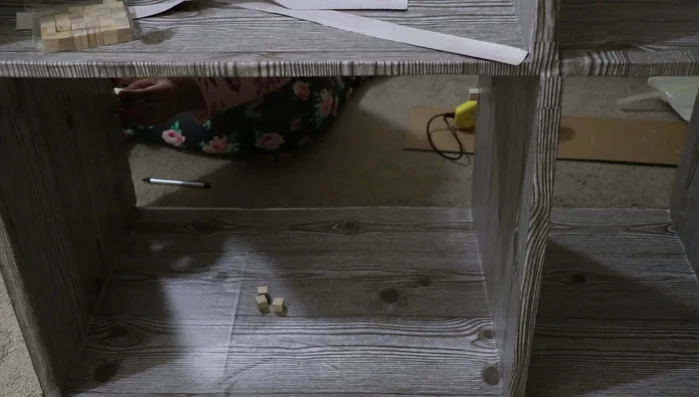
Assemble the Organizer Add Optional Features
- Expand the organizer with extra storage compartments.
- Use wooden cubes or other materials to create dividers within the shelves.
Add Optional Features

Read more: DIY Blender from a Broken Beyblade Launcher!
Tips
- Use a full-sized hot glue gun for better adhesion and prevent the cardboard from falling apart.
- Allow ample drying time for the hot glue to ensure sturdiness.
- Leave some areas of cardboard uncovered for better glue adhesion.