Step into a world of luxurious comfort and effortless style with a DIY cedar bath mat – a project that’s surprisingly easy to accomplish and yields incredible results. Forget flimsy, quickly-mildewing mats; this guide unveils the secrets to crafting a beautiful, water-resistant bath mat from the naturally aromatic and durable cedar wood. Imagine the rich scent of cedar welcoming you after a long day, the pleasing texture underfoot, and the knowledge that you created this stunning piece yourself. Cedar's natural resistance to rot and moisture makes it the perfect choice for a bathroom environment, offering both beauty and practicality.
This ultimate guide walks you through each step of creating your own cedar bath mat, from selecting the perfect wood to the final finishing touches. Prepare to be amazed by how simple it is to transform readily available materials into a spa-like addition to your bathroom. Ready to get started? Let’s dive into the detailed, step-by-step process below.
Preparation and Safety Guidelines
- Cedar 1x6
- Miter saw
- Rip saw
- Stop block
- Brad nailer
- Router (optional, palm sander as alternative)
- 80-grit sandpaper
- 320-grit sandpaper
- Wood filler
- Spar urethane
- Tack cloth (or moist paper towel)
- Speed square
- Always use appropriate safety gear, including eye protection and a dust mask, when cutting and sanding cedar wood. Cedar dust can be irritating.
- Ensure the cedar wood is properly sealed with a water-resistant sealant to prevent rot and mildew. Apply multiple coats according to the sealant's instructions.
- Avoid using excessively sharp tools or applying excessive force when working with the cedar wood to prevent injury. Work slowly and carefully.
Step-by-Step Instructions
Prepare Cedar Boards
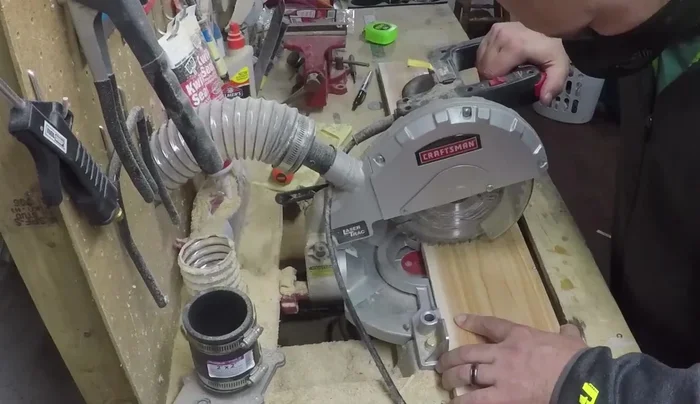
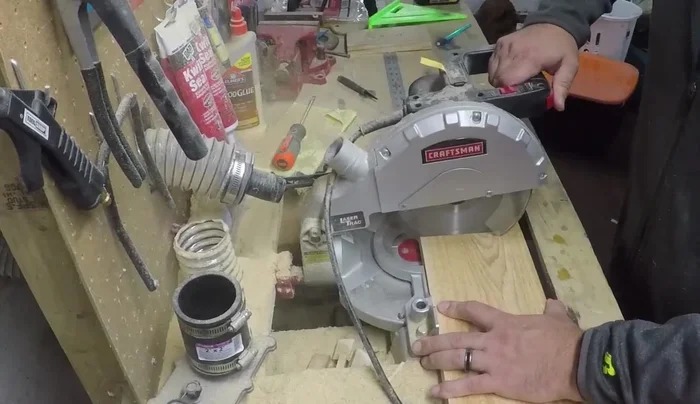
- Cut cedar 1x6 boards to 24.5 inches. This allows for a clean finished edge after ripping.
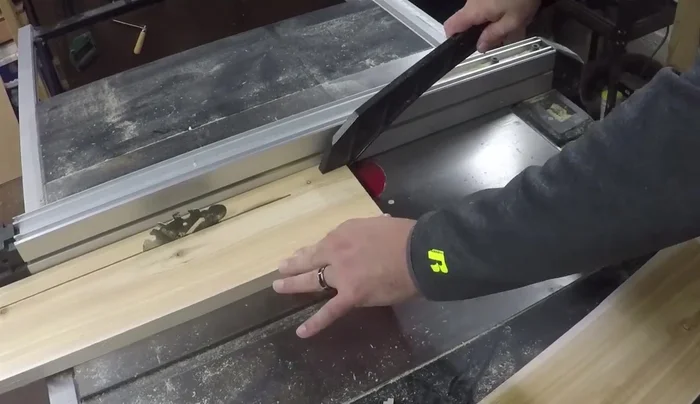
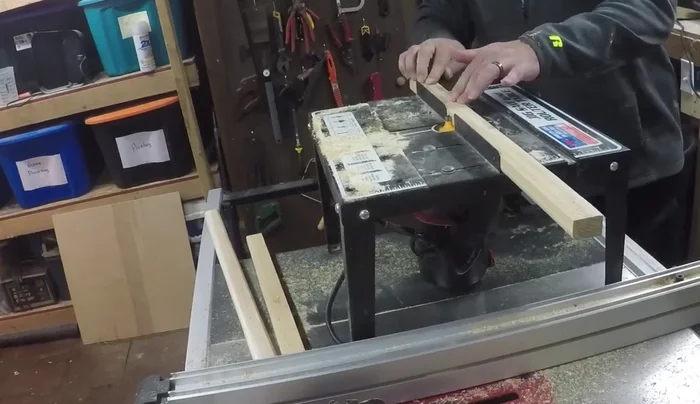
- Rip the boards to 1 1/4 inches wide. Seven boards are needed in total.
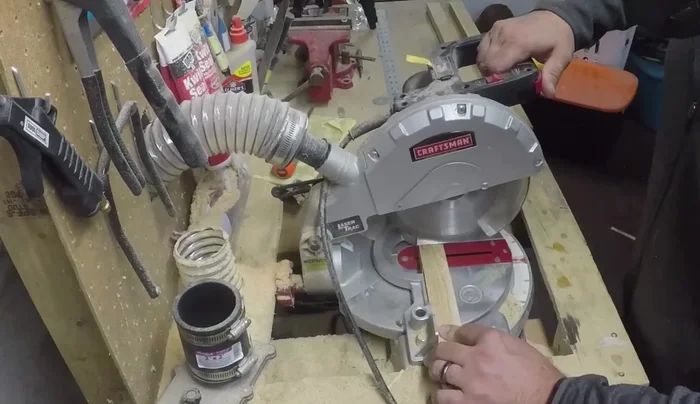
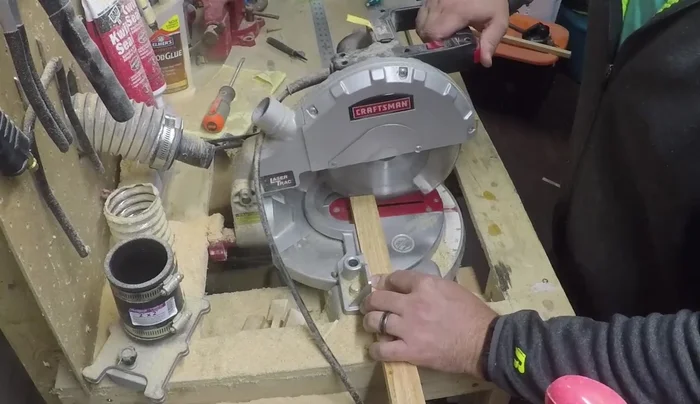
- Clean up one end of each board to create a neat, square edge.
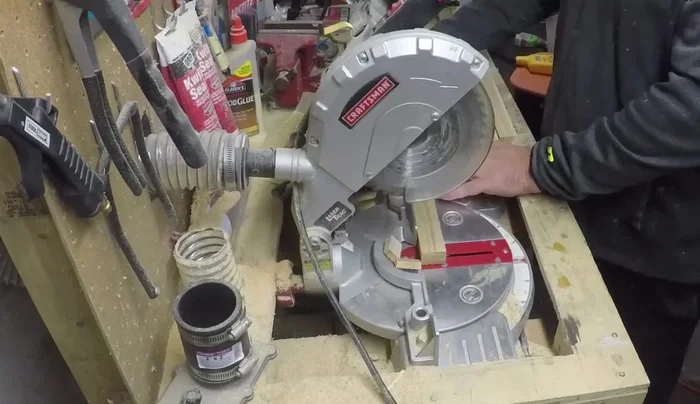
- Cut the boards to their final length of 24 inches using a stop block for consistent cuts.

Prepare Cedar Boards Prepare Bottom Support Boards
- Cut three bottom support boards to 15.5 inches long. Rip them to 1 1/4 inches wide.
- Clean up one end of each bottom support board.
Prepare Bottom Support Boards Finishing Touches on Boards
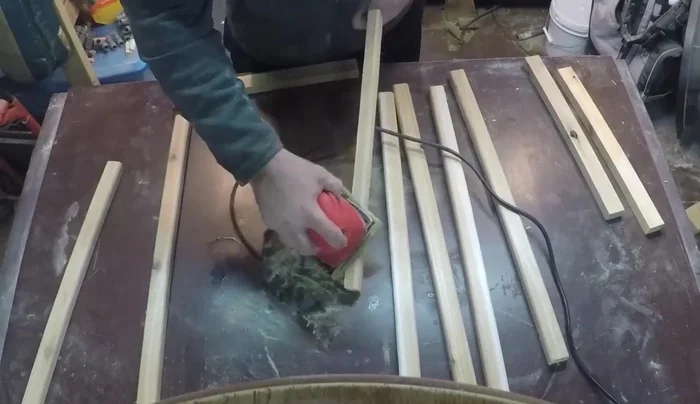
- Round over the top edges of the top boards (using a router or palm sander). Leave the bottom edges square for better adhesion.
- Sand all boards, starting with 80-grit and progressing to 320-grit sandpaper for a smooth finish.
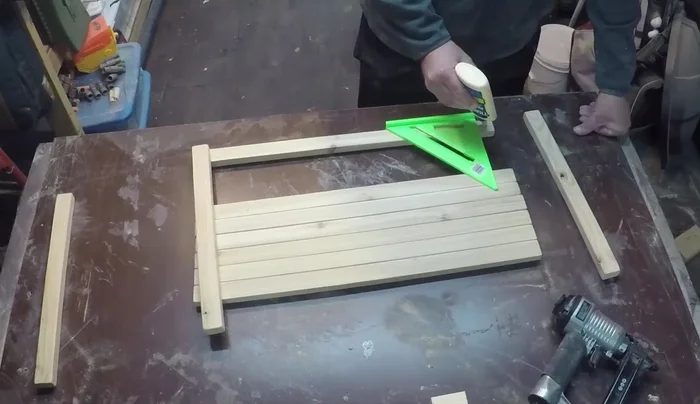
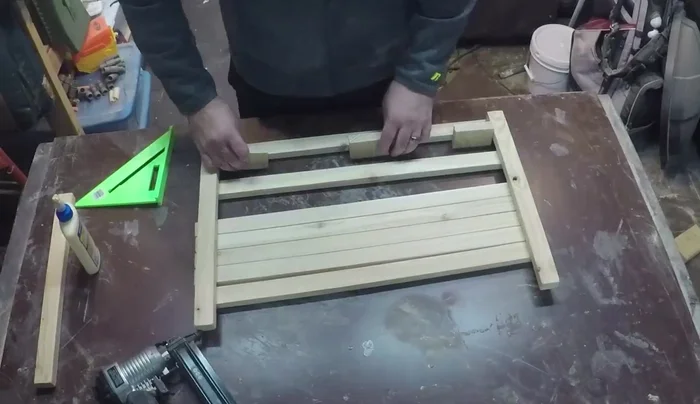
Finishing Touches on Boards Assemble the Bath Mat
- Assemble the bath mat. Drive nails from the bottom through the bottom supports into the top boards to conceal nail holes and improve water resistance.
- Use spacer blocks (3/4 inch wide) to maintain even spacing between the top boards during assembly.
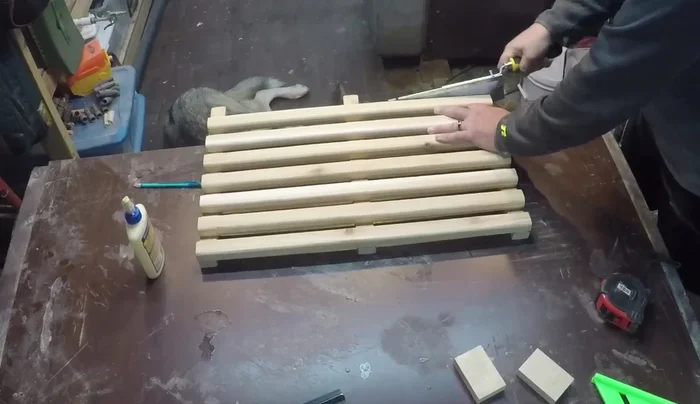
- Trim the excess length from the bottom supports using a flush-cut saw for a clean finish.
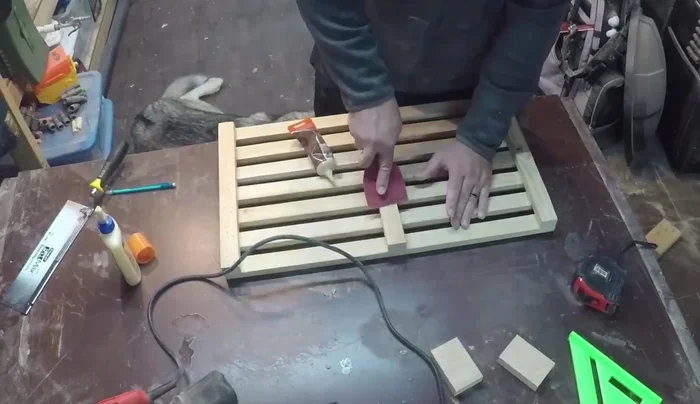
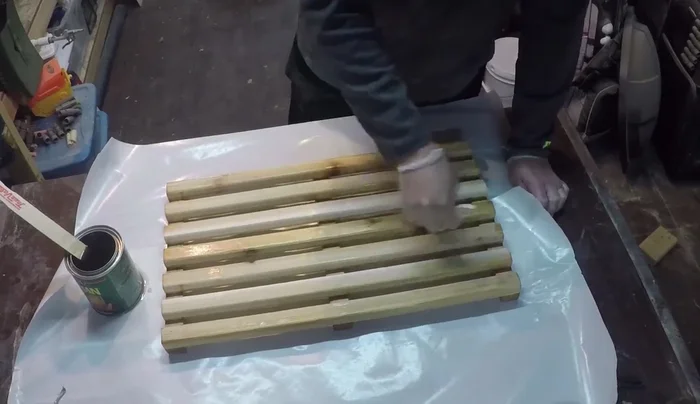
Assemble the Bath Mat Finishing and Sealing
- Fill nail holes with wood filler, sand smooth, and wipe clean with a tack cloth or moist paper towel.
- Apply two coats of spar urethane, sanding lightly between coats with 320-grit sandpaper for a smooth, water-resistant finish.
Finishing and Sealing
Read more: DIY Mason Jar Soap Dispensers: A Step-by-Step Guide with Two Stunning Designs
Tips
- Using a stop block ensures consistent cuts for all boards.
- Driving nails from the bottom improves water resistance and hides nail holes.
- Using spacer blocks ensures uniform spacing between the top boards.
- A flush-cut saw ensures a clean, even finish on the bottom support boards.
- Spar urethane offers excellent water resistance and a beautiful, satin finish.