Christmas is a time for twinkling lights and festive decorations, and what better way to add a unique touch to your holiday ambiance than with handmade lanterns? This year, ditch the store-bought decorations and embrace the joy of crafting with a simple yet stunning DIY project: creating beautiful origami lanterns from old magazines. This eco-friendly alternative utilizes readily available materials, transforming discarded magazines into charming, personalized ornaments that will bring a warm glow to your home. The vibrant colours and textures of the magazine pages offer a surprising depth and richness, perfect for adding a touch of whimsical elegance to your Christmas decor.
Forget complicated crafting techniques and expensive supplies; this project is remarkably easy, requiring only basic origami folds and a few essential tools. We’ll guide you through each step, from preparing your magazine strips to assembling the final lantern, ensuring even beginners can achieve impressive results. Ready to transform your recycling bin into a festive wonderland? Let's dive into the step-by-step tutorial and create your own dazzling magazine origami lantern.
Preparation and Safety Guidelines
- scissors
- ruler
- glue
- glue stick
- glue gun
- ball pen
- magazine
- yarn
- cotton
- clips
- Use only non-flammable magazines or thoroughly remove any glossy pages before assembling. Keep lanterns away from open flames or heat sources.
- Adult supervision is required, especially when using scissors or glue. Children should not handle sharp objects.
- Ensure the lantern is structurally sound before placing a light source inside. Use battery-operated LED tea lights or similar low-heat alternatives only.
Step-by-Step Instructions
Prepare Materials
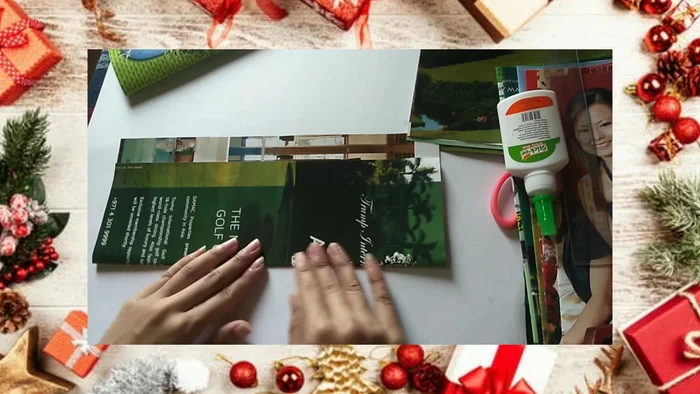
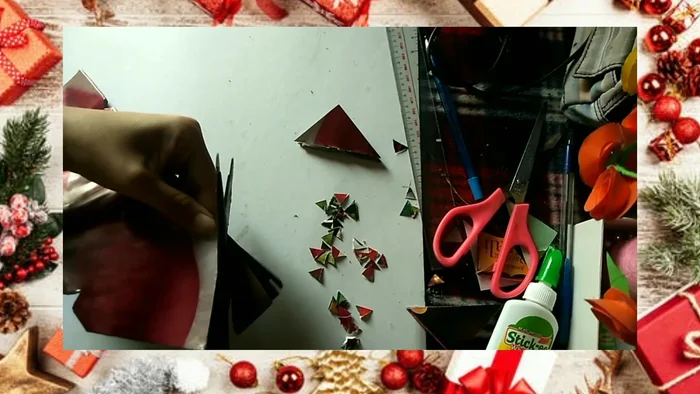
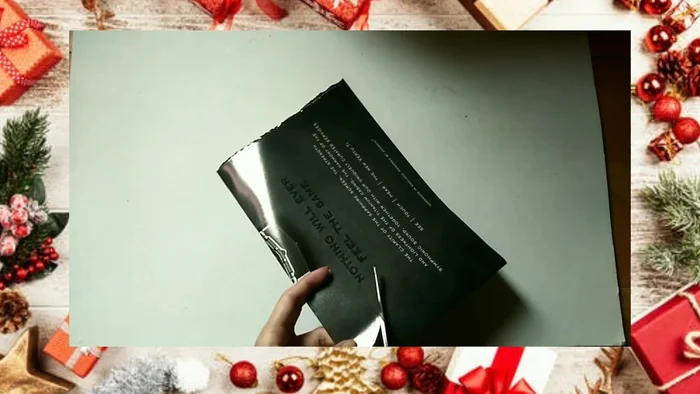
- Get the magazine and find colors that fit your theme. Cut or tear the chosen pages (12 green and 12 red for Christmas).
Create Lantern Base
- Take a page with straight sides (square or rectangular).
- Fold the lower part upward, leaving a 1-inch space. Fold the 1-inch space downward. Glue and paste together.
- Repeat step 3 with the remaining magazine pages.

Create Lantern Base Assemble Lantern Sections
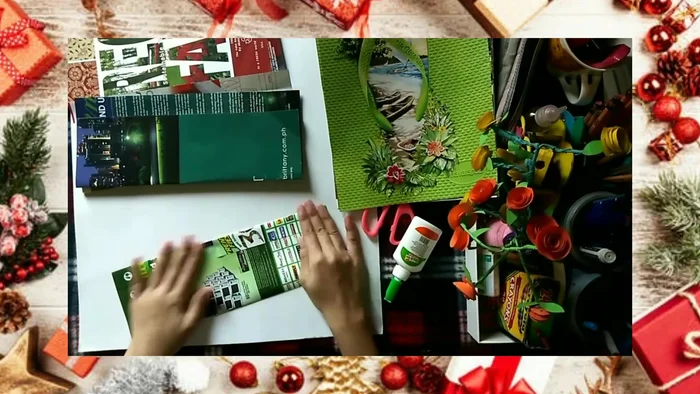
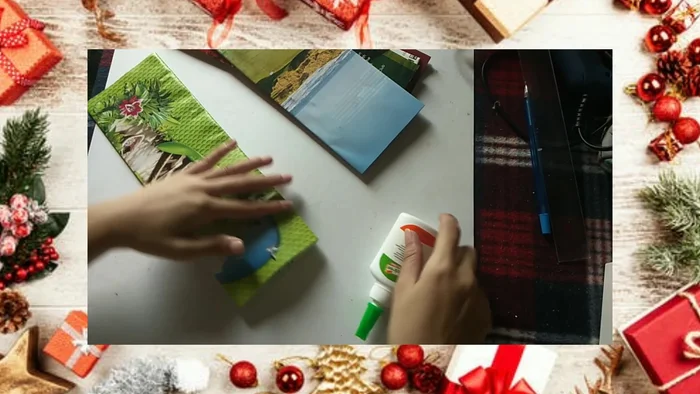
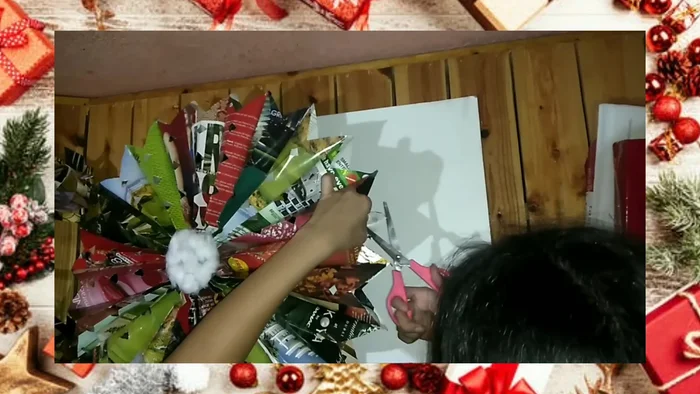
- Get three green and three red magazine pieces.
- Glue the end and center of one green piece. Attach other green pieces and then the red pieces on top. Repeat to make four sets.
Assemble Lantern Sections Shape Lantern Sections
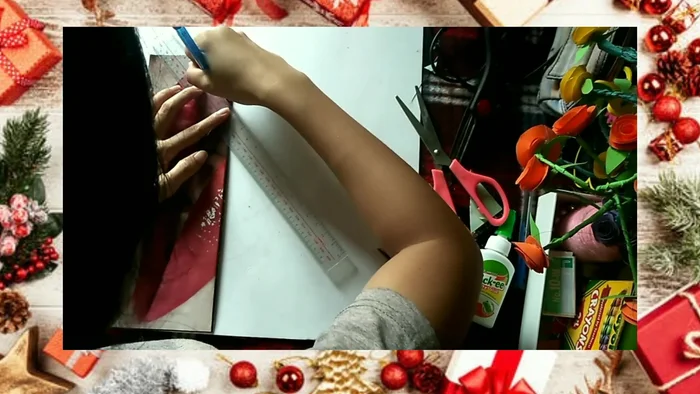
- Mark two opposite diagonals and four triangles (1-inch spacing) on each set. Cut the markings.
Shape Lantern Sections Form Lantern Shape
- Glue the four sets together. Once dry, pull each upper side downward to form a circle. Glue the ends and center, clip, and let dry.
Form Lantern Shape Create Lantern Tops
- Create two small circular shapes from the magazine.
- Glue the circular shapes to the center of the lantern.
Create Lantern Tops Add Cotton Filling
- Glue the inside of the circle and fill with cotton. Repeat for other side.
Add Cotton Filling Make Lantern Tails
- Fold two same-colored magazine pages into a square, then a triangle. Cut the left and right sides alternately, leaving space at each edge. Unfold to a square, pull the center to form a tail.
- Cut a magazine page into strips, leaving half an inch at the top. Separate into two halves. Roll the upper part to make the strips intact. Repeat for the other half.
- Glue the strips to the inside of the tail. Repeat for the other tail.
- Attach the tails to the bottom of the lantern.
Make Lantern Tails Add Hanger
- Make holes at the top, insert yarn, and tie to create a hanger.
Add Hanger


Read more: DIY King-Size Tufted Headboard: Budget-Friendly Guide
Tips
- Be careful when using glue stick and glue gun.
- Let it dry completely before proceeding to the next step.