Bring a touch of seaside charm to your next gathering, party, or even your everyday life with this incredibly easy DIY coastal bunting project! Forget expensive store-bought decorations; creating your own nautical-themed bunting is surprisingly simple and allows for complete customization to perfectly match your style and color scheme. Whether you're aiming for a sophisticated, muted palette or a vibrant explosion of beachy hues, this project is adaptable to any aesthetic. Imagine the cheerful flags strung across your patio, adding a playful and festive atmosphere to your space. The best part? It requires minimal materials and crafting skills.
This guide will walk you through the easiest and most effective method for creating stunning coastal bunting, resulting in a beautiful decoration that's guaranteed to impress. Get ready to transform ordinary fabric scraps into delightful seaside charm, because in just a few simple steps, you’ll have a handmade masterpiece ready to hang! Let’s dive into the step-by-step process now.
Preparation and Safety Guidelines
- 8 oz canvas drop cloth
- Old jeans
- Pattern (triangle with rectangle)
- Iron
- Sewing machine (optional, glue is an alternative)
- Fabric glue (e.g., Aleene's)
- Mod Podge (matte)
- Double-sided fusible interfacing
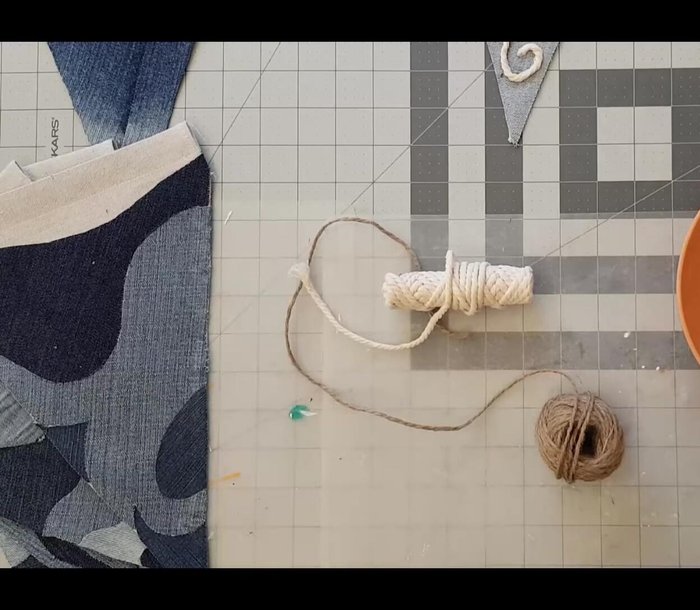
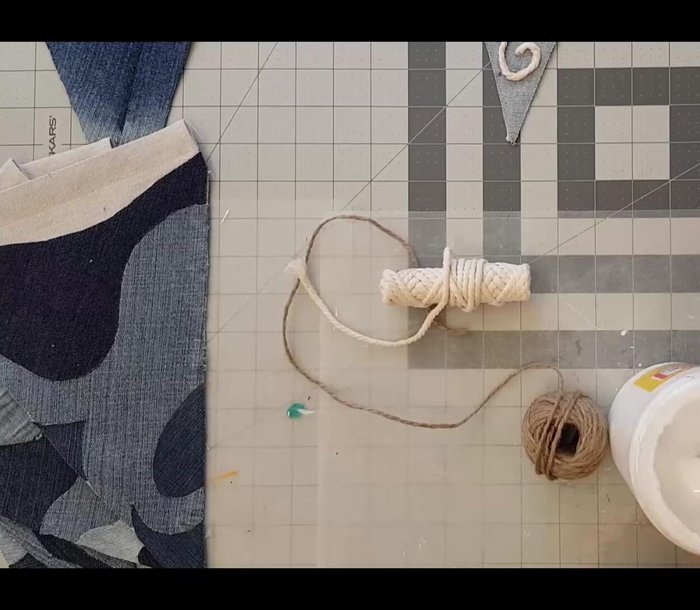
- White macrame cord
- Brown jute twine
- White glue
- Water
- Nautical rope
- Lace ribbon
- White starfish (optional)
- Silver florist's wire (optional)
- Always supervise children when using scissors or other sharp crafting tools.
- If using fabric dyes, ensure adequate ventilation and wear gloves to protect your skin.
- Avoid hanging bunting near open flames or heat sources to prevent fire hazards.
Step-by-Step Instructions
Prepare Pennant Base
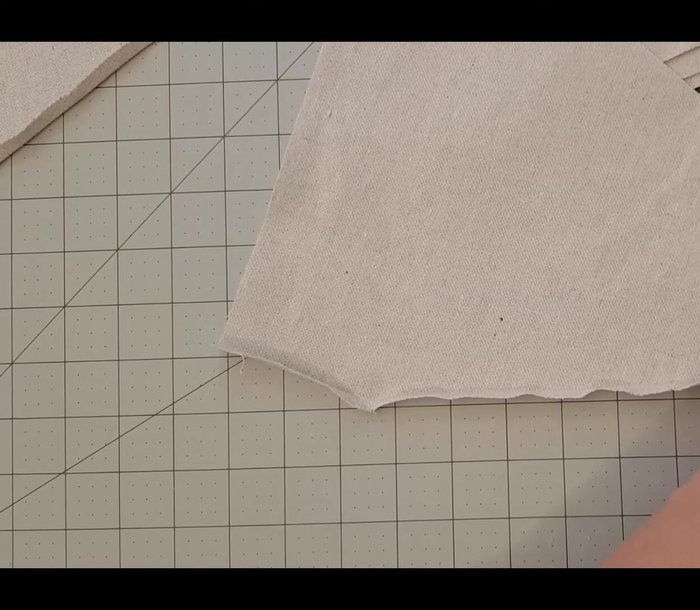
- Cut triangle penants from the drop cloth. Iron the drop cloth flat for easier cutting. Alternate pattern placement to maximize fabric use.
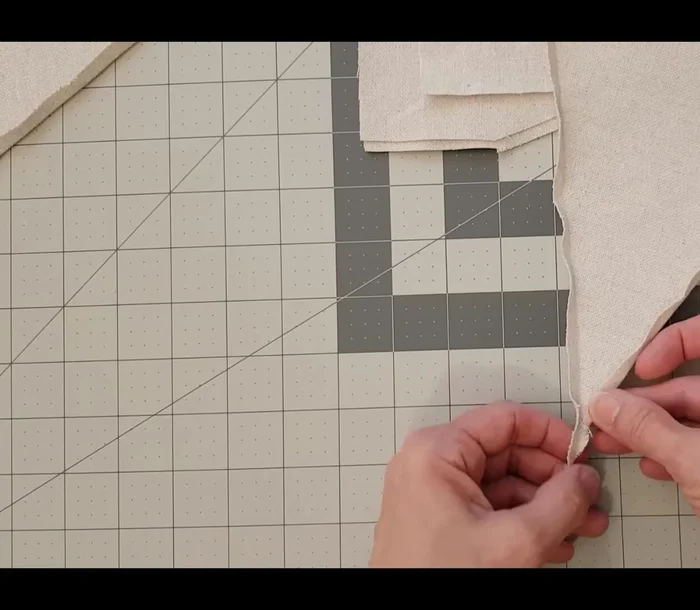
- Fold over ¼ inch seam allowance along the edges (except the top rectangle). Press with a fingernail and snip at the intersection of the triangle and rectangle for easier folding.
- Trim the bottom for a nice point. Press with an iron.
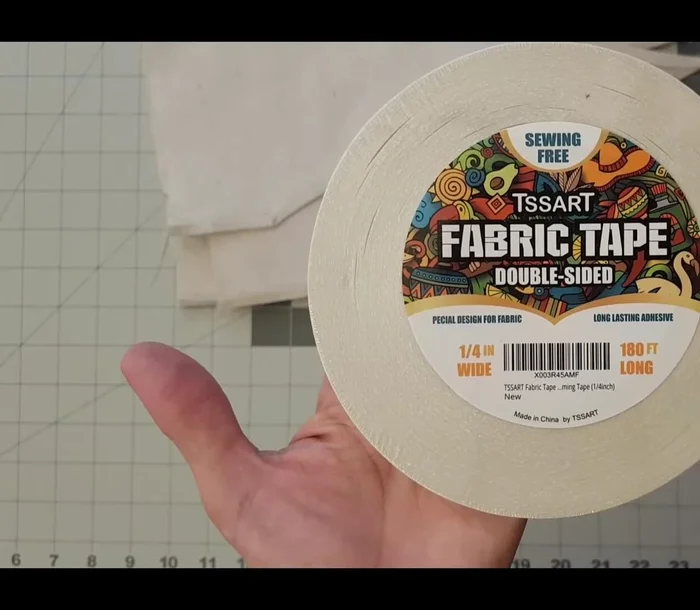
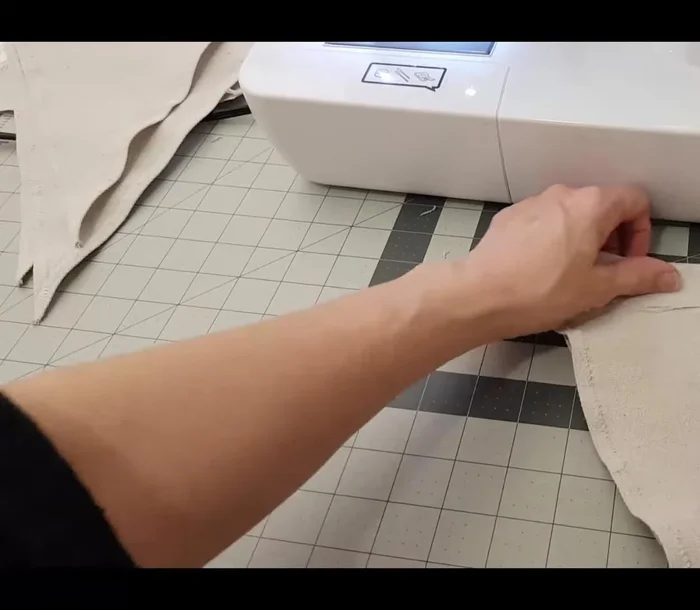
- Sew or glue the seam allowance. A zigzag stitch (6.5 mm width) is recommended if sewing. Alternatively, use fabric glue, Mod Podge, or double-sided tape.

Prepare Pennant Base - Fold down the top rectangle, press, and sew a straight stitch along the bottom.
Prepare Pennant Base Design and Cut Jean Fabric Appliqués
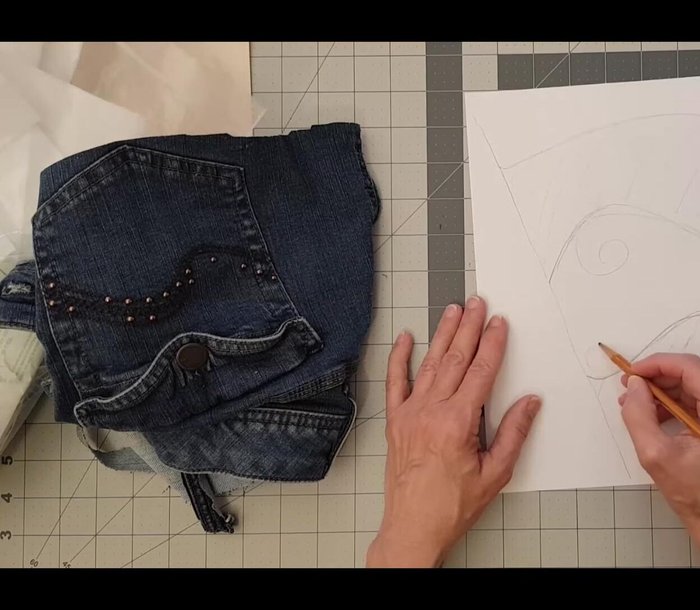
- Create designs on scrap paper, keeping in mind the shapes will be cut from jeans fabric.
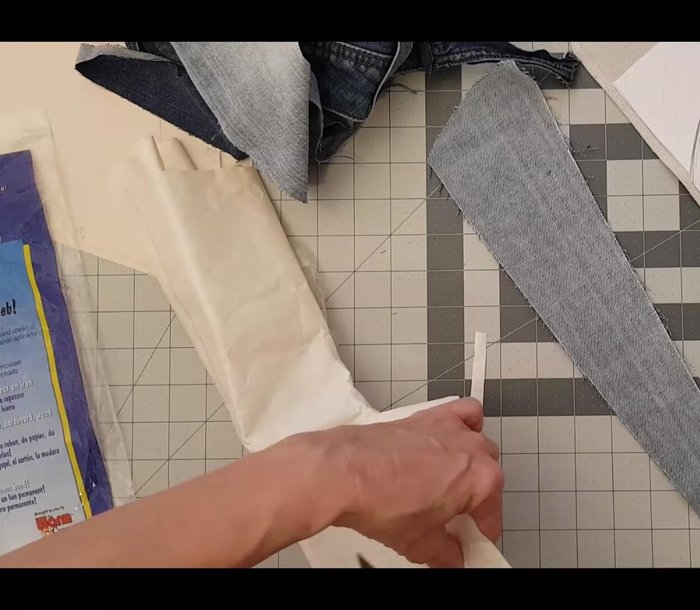
- Trace the design onto the paper backing of the fusible interfacing (if using interfacing with paper backing). Cut out and fuse to the wrong side of the jeans fabric. If using interfacing without paper backing, sandwich it between fabric pieces before ironing.
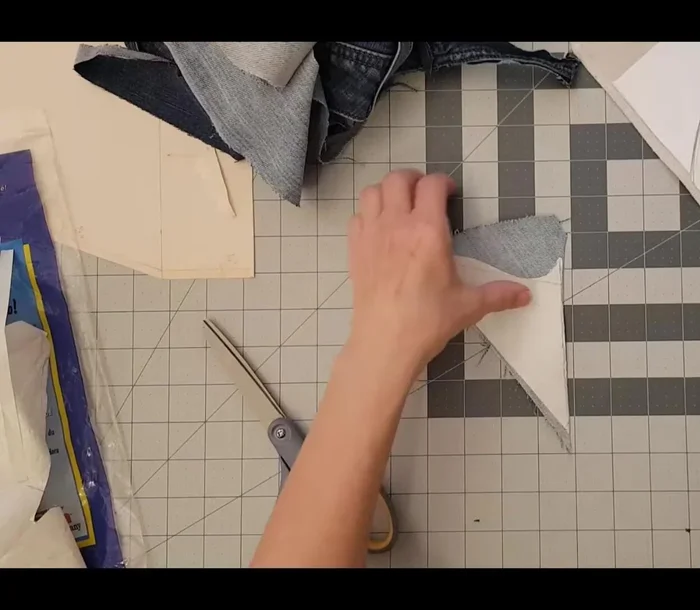
- Cut out the jeans fabric design and adhere it to the pennant. Use a moist heat iron (15 seconds) for interfacing with paper backing, or sandwich method for interfacing without paper backing.
- Arrange all fabric pieces before fusing to allow adjustments.
Design and Cut Jean Fabric Appliqués Repeat for all Pennants
- Repeat steps 1-9 for all seven penants.
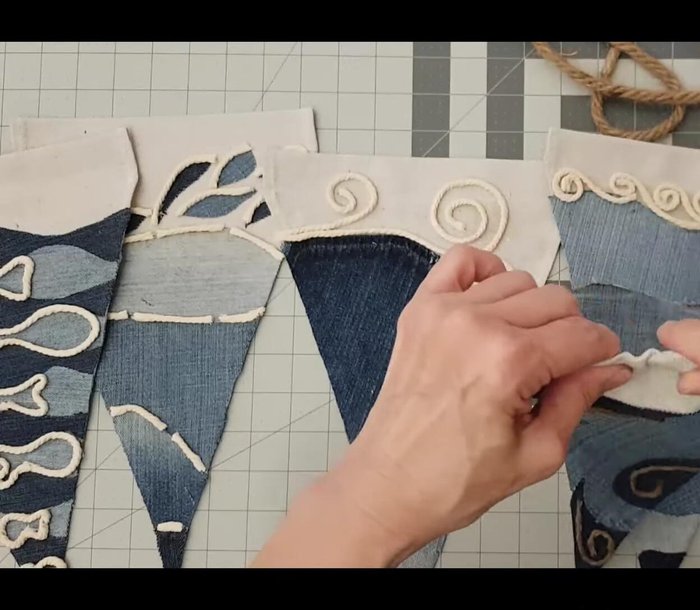
Repeat for all Pennants Decorate Pennants
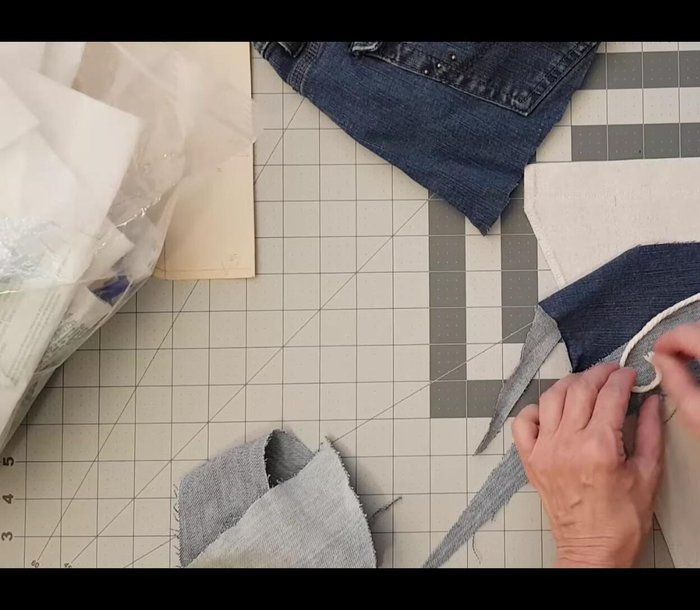
- Decorate the pennants with macrame cord and jute twine. Soak the twine in a glue-water mixture to make it more pliable before applying.
- Use matte Mod Podge to glue down the decorative elements. For stiff elements, pre-soak in glue-water mixture.
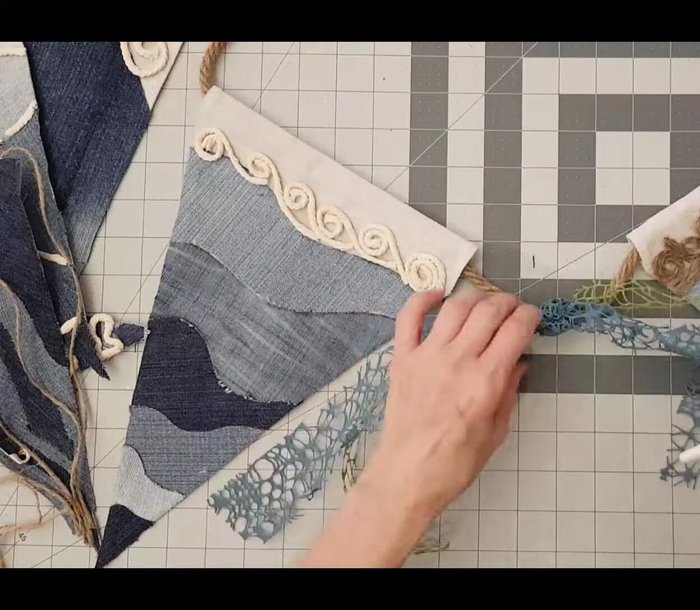
Decorate Pennants Assemble Bunting
- Thread the nautical rope through the top of each pennant (use a safety pin to ease the process).
- Tie lace ribbon and add starfish (optional) between pennants.
Assemble Bunting

Read more: DIY Vibrant Car Organizer: A Step-by-Step Quilting Tutorial
Tips
- Use matte Mod Podge for gluing decorations instead of glossy fabric glue for a cleaner finish.
- Soaking jute twine in glue-water mixture improves pliability and makes it easier to work with.
- Use a safety pin to easily thread the rope through the top of the pennants.