Maximize your kitchen's storage and aesthetic appeal with a custom-built corner cabinet! Often overlooked as wasted space, that awkward corner can be transformed into a stylish and functional addition to your home. A well-designed corner cabinet not only adds valuable storage for pots, pans, or pantry staples but also offers a chance to showcase your personal design flair, seamlessly integrating with your existing décor. Forget overpriced, mass-produced units; this guide empowers you to craft a stunning, bespoke cabinet that perfectly suits your needs and budget.
This step-by-step guide will walk you through the entire process, from initial planning and material selection to the final finishing touches, enabling you to build your dream corner cabinet. Get ready to unleash your inner craftsman and discover the satisfaction of creating something beautiful and practical for your home.
Preparation and Safety Guidelines
- Corner clamps
- Flush trim router bit
- Power hand planer
- Sandpaper
- Pocket hole jig (optional)
- Drill
- Drill bits (3/16 inch and 13/64 inch)
- Figure 8 tabletop fasteners
- Self-closing hinges
- Always wear safety glasses and a dust mask when using power tools and working with wood.
- Ensure proper ventilation when using paints, stains, or other finishes. Work in a well-ventilated area or wear a respirator.
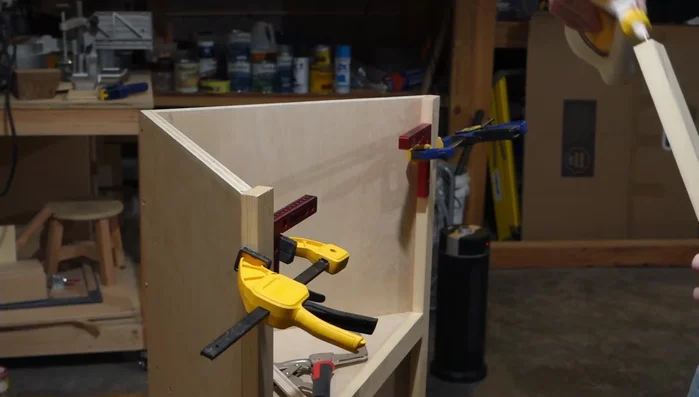
- Use clamps to secure your wood pieces during assembly and gluing to prevent injuries and ensure a strong, accurate build. Never force joints.
Step-by-Step Instructions
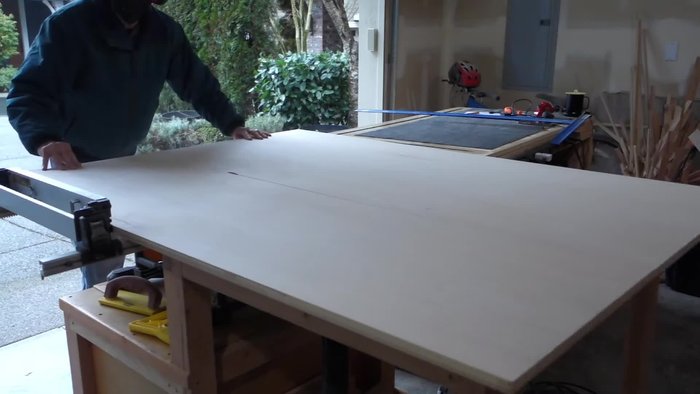
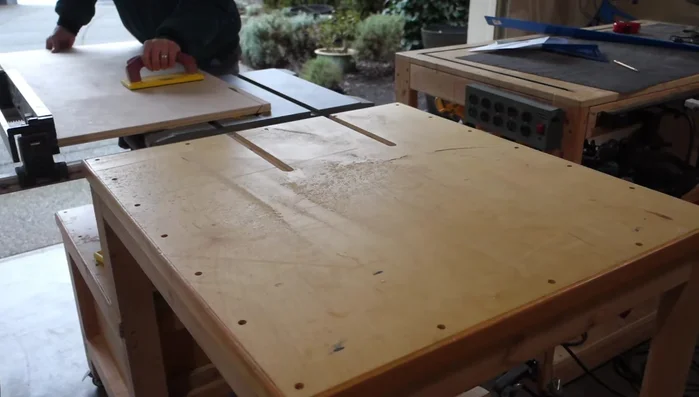
Cut and Prepare Components
- Cut side panels slightly oversized (at least 1/2 inch wider). Stack and cut them to exact height.
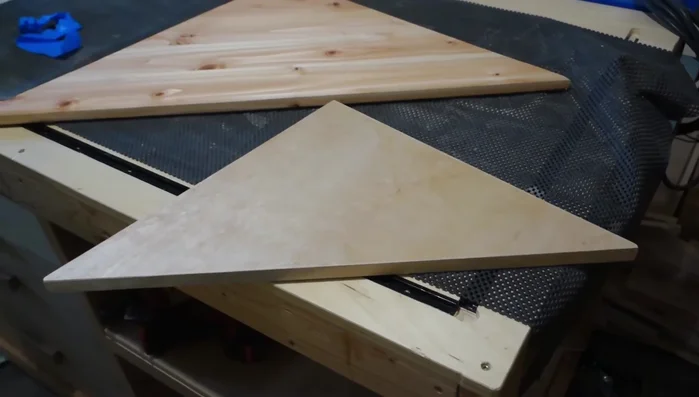
- Cut a 45° angle on the front edge of each side panel to achieve the final width.
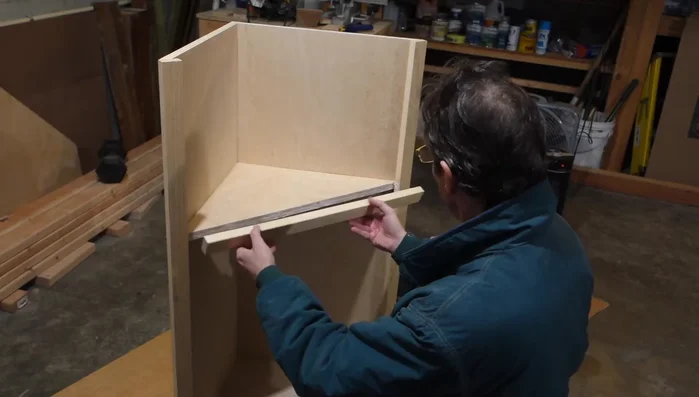
- Cut and ensure the top and bottom shelves are exactly the same size.
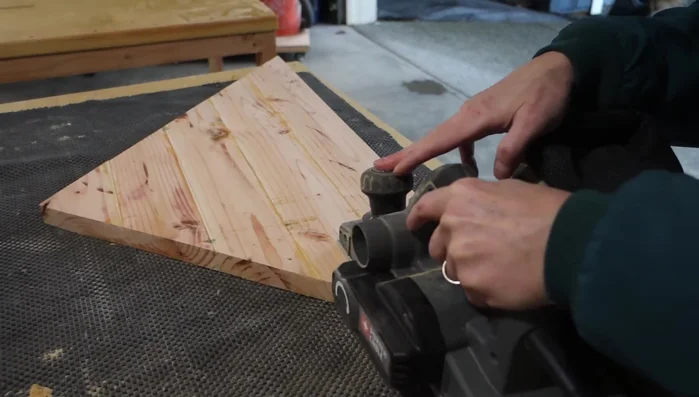
- Cut the top to size. Glue together Douglas fir boards for a superior look to plywood.

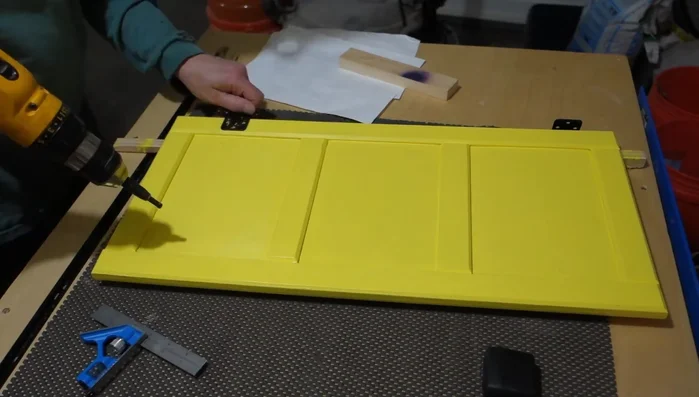
Cut and Prepare Components - Cut the door pieces and create grooves for the door panels. Always test fit before gluing.
Cut and Prepare Components Assemble the Cabinet Body
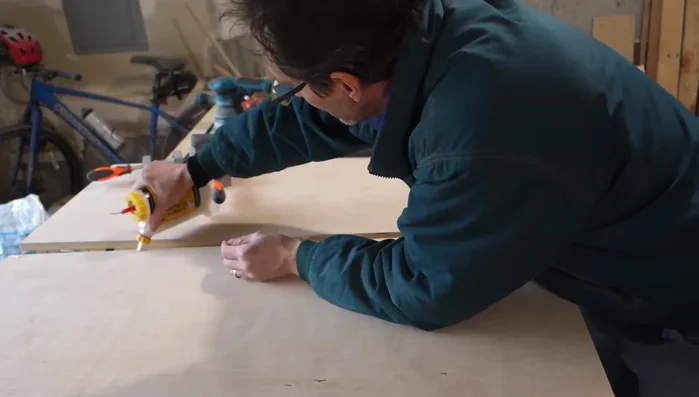
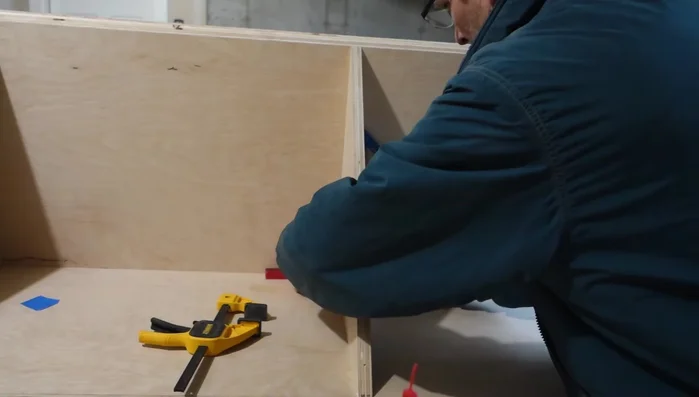
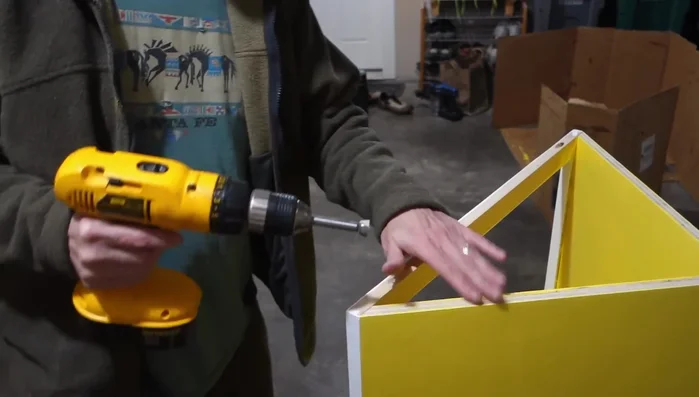
- Glue and screw the side panels together using corner clamps for alignment.
- Attach the bottom shelf slightly below (less than 1/8 inch) the front of the bottom faceboard.
- Attach the top shelf ensuring it's square and level with the side panels.
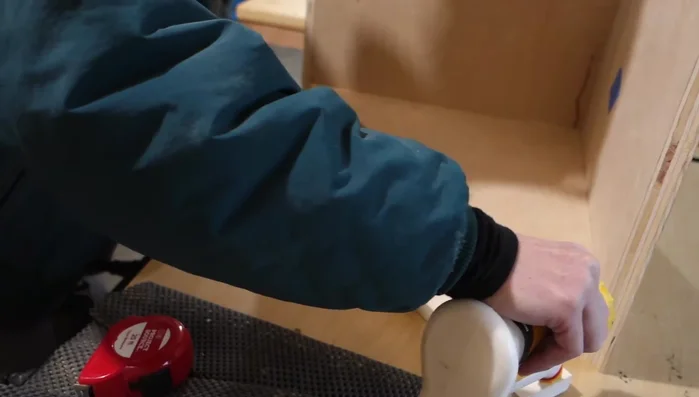
- Attach the lower faceboard flush against the edge of each side panel, lower shelf, and floor.
Assemble the Cabinet Body - Attach the side faceboards, ensuring their edges are flush with the back edge of the side panels. When cutting faceboards, measure, cut a bit long, and carefully nibble away until exact size is reached.
- Attach the center faceboard, with its top edge slightly less than 1/8 inch higher than the top of the shelf, ensuring it's square to the sideboards.
- Attach the top faceboard using pocket screws.
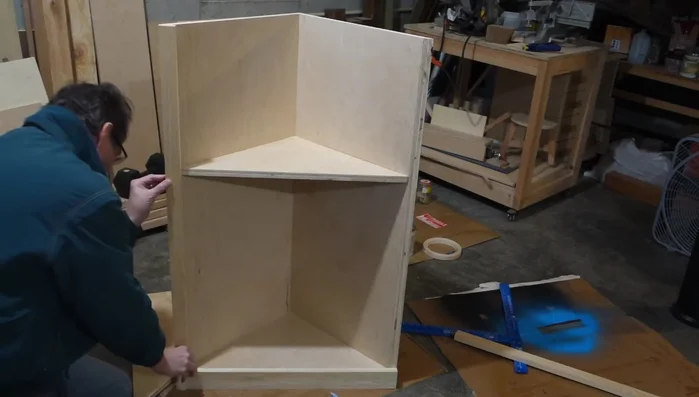
Assemble the Cabinet Body Finish the Cabinet Top
- Plane and sand the top to finish it.
Finish the Cabinet Top Prepare for Shelves
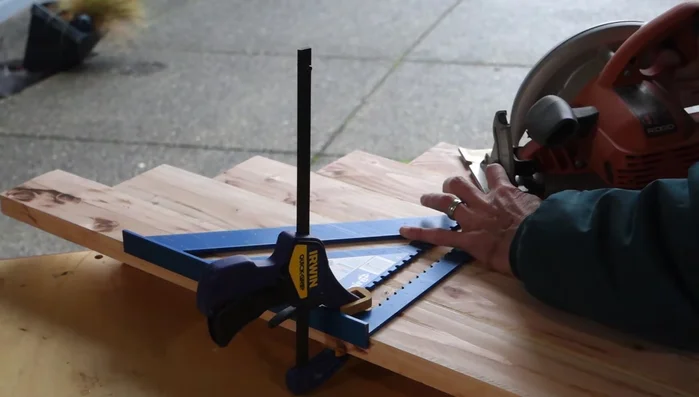
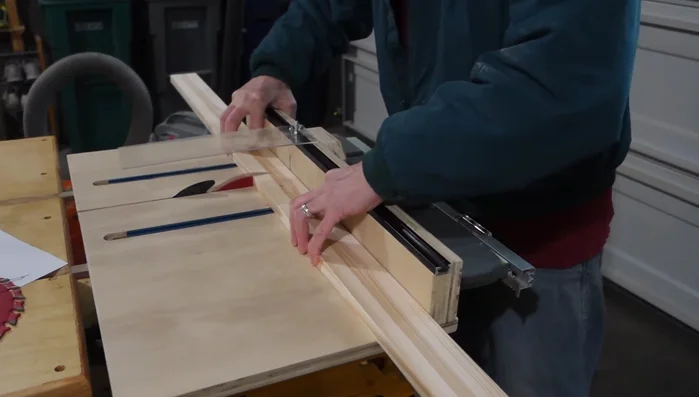
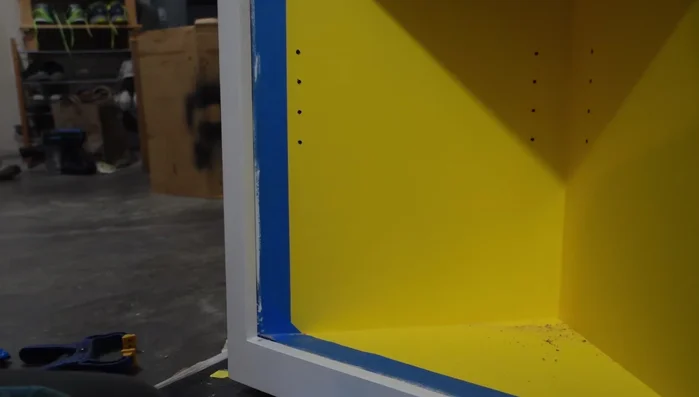
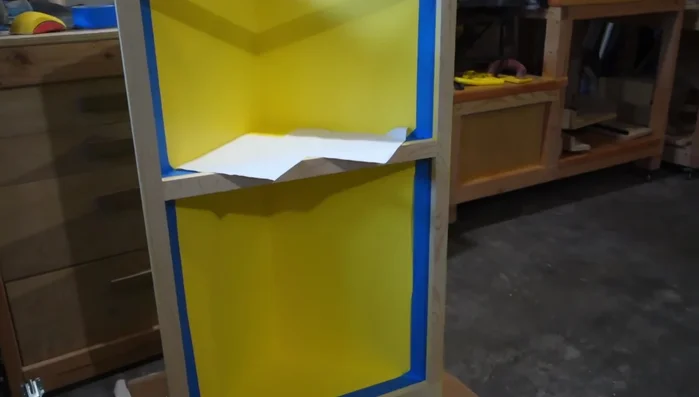
- Create a simple jig to accurately drill holes for shelf pins. Drill using a slightly larger bit (13/64 inch) for easier installation.
- Install the shelf pins using the jig.
Prepare for Shelves Install Hardware
- Attach the cabinet top using figure 8 tabletop fasteners.
- Install the hinges (self-closing) about three inches up, ensuring they are flush and level before drilling pilot holes.
- Attach the doors.
Install Hardware Finishing Touches
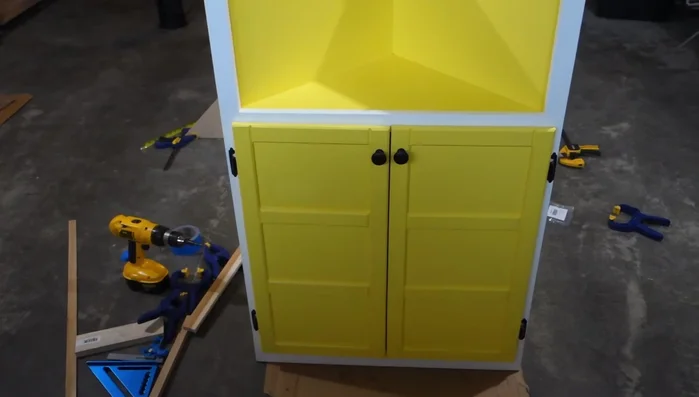
- Paint the cabinet body and doors. The video used bright yellow for the doors and white for the face trim.
- Apply a clear polyurethane finish to the adjustable shelf and top.
Finishing Touches


Read more: DIY Mason Jar Soap Dispensers: A Step-by-Step Guide with Two Stunning Designs
Tips
- Always measure twice, cut once, especially when cutting faceboards. Nibble away to reach the exact size.
- Use a slightly larger drill bit (13/64 inch instead of 3/16 inch) for shelf pins to avoid tight fitting.
- Ensure hinges are flush before drilling pilot holes.