Tired of ill-fitting, mass-produced bathroom rugs that constantly bunch up or shed annoying fibers all over your pristine bathroom floor? Imagine a perfectly tailored rug, custom-designed to fit your unique space, crafted from durable materials, and guaranteed to stay put without shedding a single thread. This dream is closer than you think! Creating a DIY custom bathroom rug is surprisingly achievable, offering a fantastic way to personalize your bathroom and elevate its aesthetic appeal. Forget the frustration of searching for the "perfect" rug—you can now design and create exactly what you envision.
This guide provides a comprehensive, step-by-step process for crafting a seamless, no-shred bathroom rug that will not only transform your bathroom but also demonstrate the satisfying simplicity of a well-executed DIY project. From selecting materials and measuring your space to the final finishing touches, we'll walk you through each stage, ensuring a beautiful and long-lasting addition to your home. Let's dive into the detailed instructions!
Preparation and Safety Guidelines
- Black Sharpie or marker
- Scissors
- Lighter
- Always work in a well-ventilated area when using adhesives or paints. Inhaling fumes can be harmful.
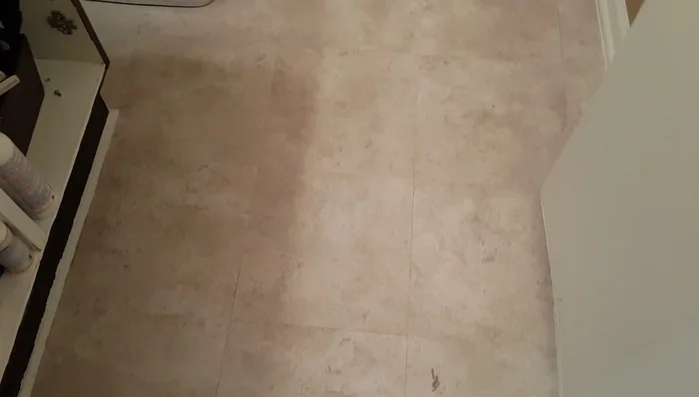
- Ensure the bathroom floor is completely clean and dry before applying any adhesive. Moisture will prevent proper bonding and can lead to mold growth.
- Use caution when handling sharp cutting tools like utility knives or scissors. Always cut away from yourself and use a cutting mat for protection.
Step-by-Step Instructions
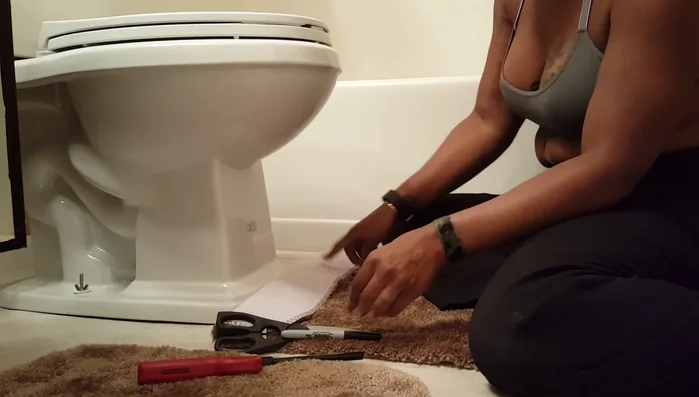
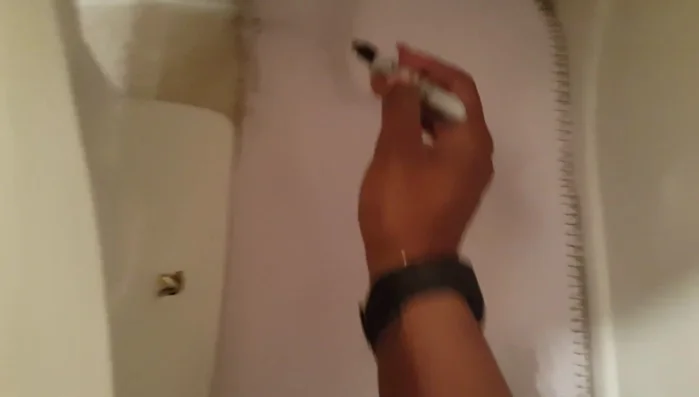
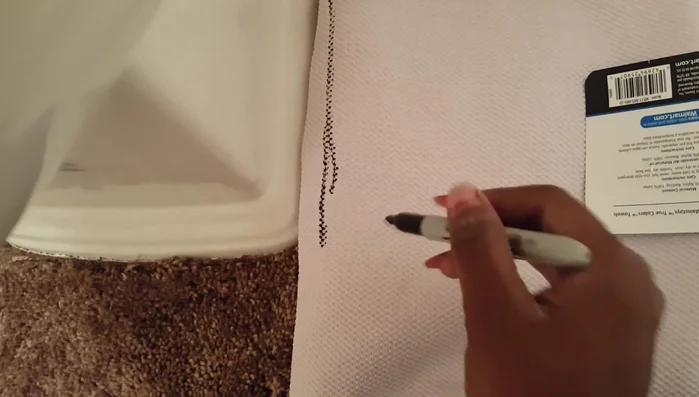
Measure and Cut Rug Pieces
- Measure and mark the rug where you want to cut. Remember, you can always cut more, but you can't add back.
- Cut the rug along your marked lines.
- Repeat steps 1-3 for all necessary rug pieces to fit around your bathroom fixtures (toilet, tub).

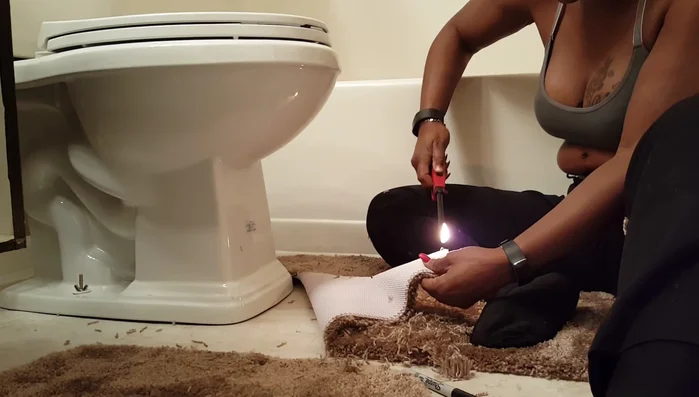
Measure and Cut Rug Pieces Seal Cut Edges
- Use a lighter to carefully burn the cut edges. This seals the fibers and prevents shredding.
Seal Cut Edges Assemble and Refine Rug
- Overlap the rug pieces and trim as needed for a seamless fit.
- Clean up any loose fibers.
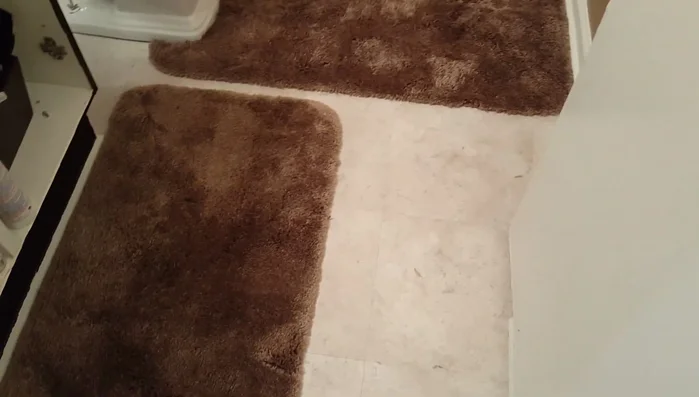
Assemble and Refine Rug Install Custom Rug
- Lay the completed custom rug in your bathroom.
Install Custom Rug

Read more: DIY Mason Jar Soap Dispensers: A Step-by-Step Guide with Two Stunning Designs
Tips
- Don't cut too much at once. You can always trim more later.
- Burn the cut edges lightly to melt the fibers and prevent unraveling. Focus on the stitching areas.
- This method works best for rugs with a plastic backing. The burning will seal the plastic fibers, preventing further shredding.