Is your front door looking a little worse for wear? Are the door jamb and brick molding showing signs of rot, damage, or simply outdated style? Don't despair! A worn-out door jamb and brick molding can significantly detract from your home's curb appeal, but replacing them is a surprisingly manageable DIY project. This guide will equip you with the knowledge and confidence to tackle this home improvement task, saving you money on professional labor and adding instant value to your property. We'll cover everything from choosing the right materials and tools to understanding the crucial steps involved in ensuring a secure and aesthetically pleasing fit.
This comprehensive guide will walk you through each stage of the door jamb and brick molding replacement process, from careful removal of the old components to the precise installation of the new ones. Prepare to transform your entranceway with a fresh, updated look that enhances both the functionality and beauty of your home. Let's get started with a detailed, step-by-step walkthrough that will leave you feeling proud of your DIY accomplishment.
Preparation and Safety Guidelines
- Utility knife
- Crowbar
- Oscillating saw
- Reciprocating saw with metal cutting blade
- Speed square
- Drill
- Nails
- Wood
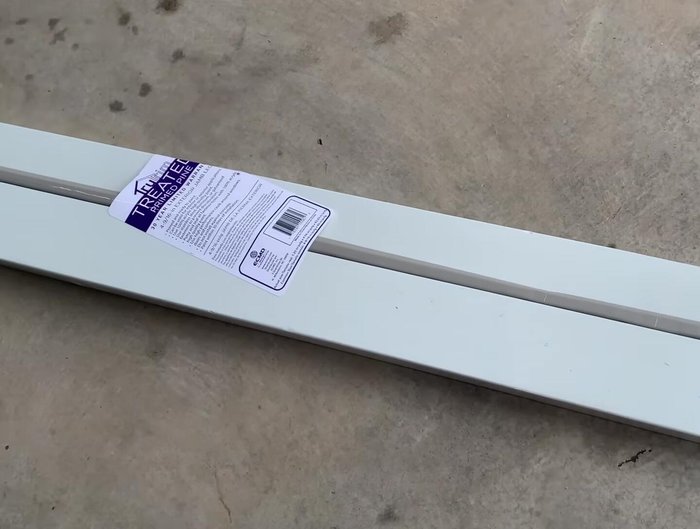
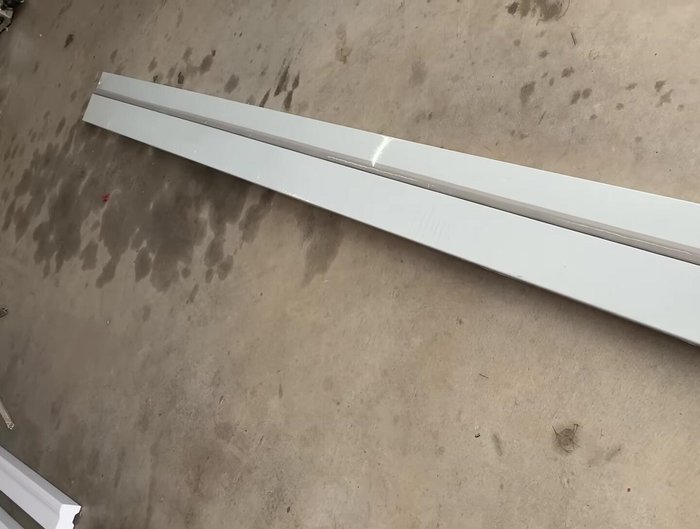
- PVC brick molding
- Caulk
- Paint
- Measuring tape
- Always disconnect the power to the circuit supplying the door's light fixture and any nearby outlets before starting any work involving electrical wiring or cutting into the wall.
- Wear appropriate safety gear, including safety glasses, work gloves, and a dust mask, to protect yourself from flying debris, splinters, and dust.
- Use caution when working with sharp tools like chisels and saws. Take your time and ensure proper footing to avoid injuries.
Step-by-Step Instructions
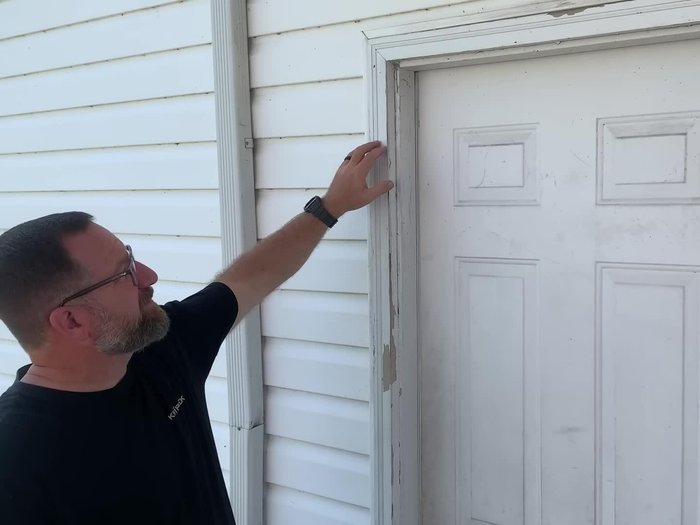
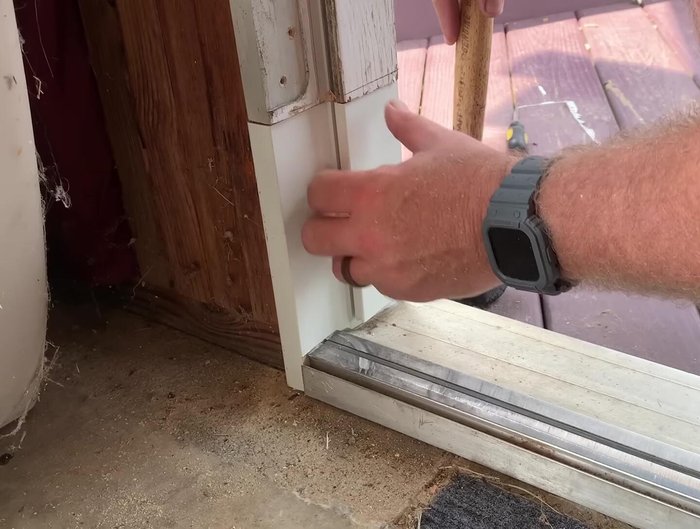
Removing Old Brick Molding and Preparing the Door
- Remove the old brick molding.
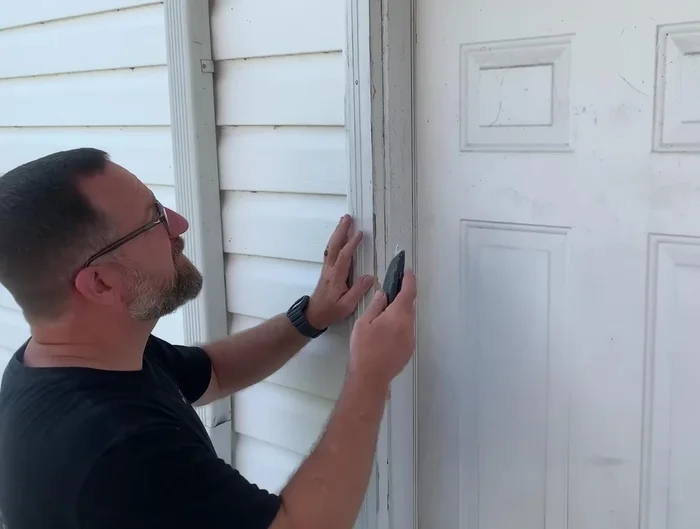
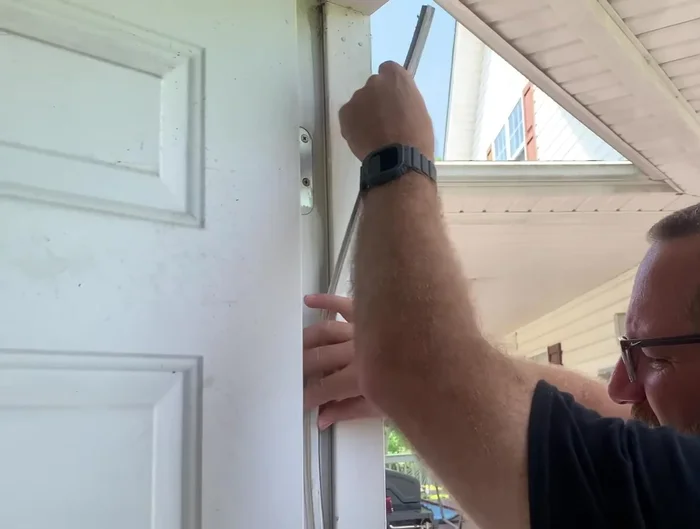
- Score the caulk with a utility knife to make removal easier.
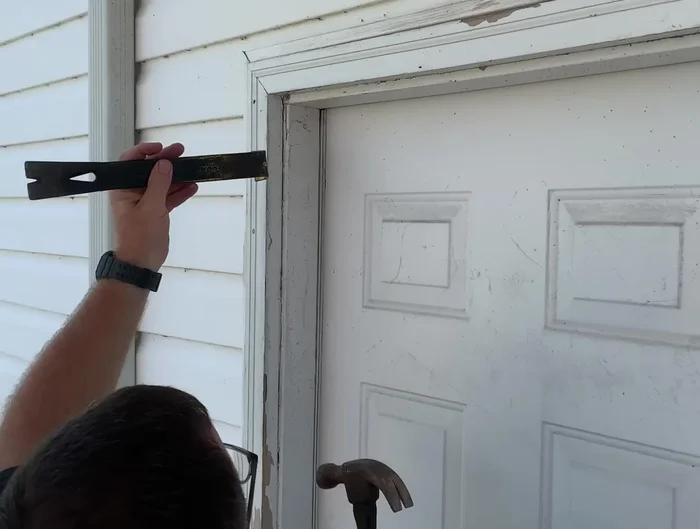
- Carefully remove the brick molding using a crowbar.
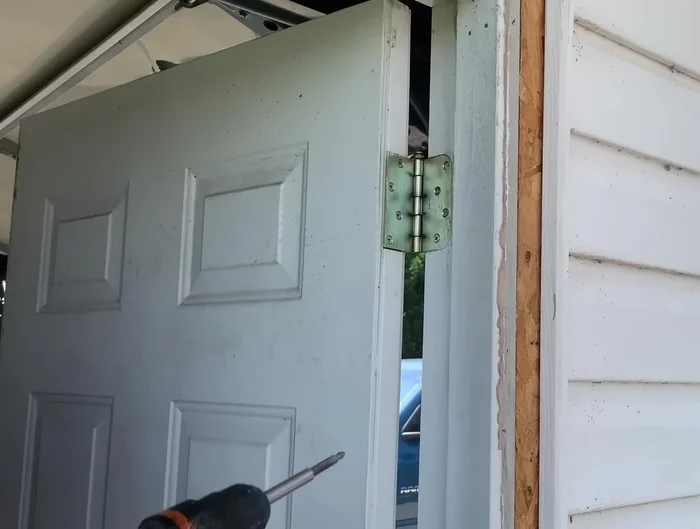
- Secure the door to the frame to prevent movement.

Removing Old Brick Molding and Preparing the Door - Remove the weather stripping.
- Remove the door from its hinges.
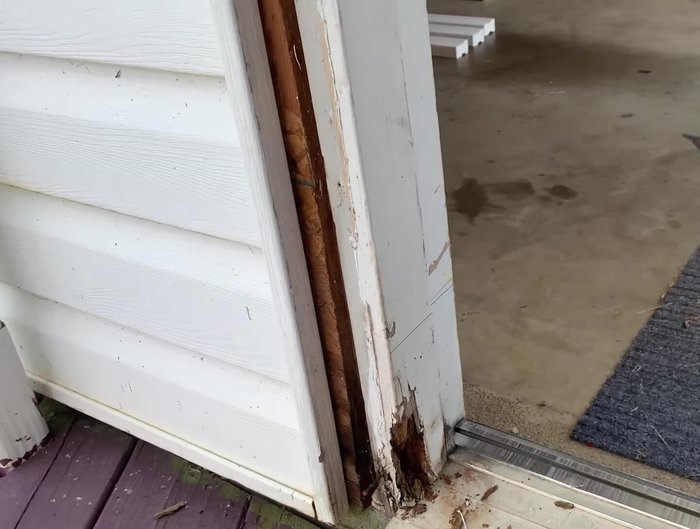
Removing Old Brick Molding and Preparing the Door Removing the Damaged Door Jamb
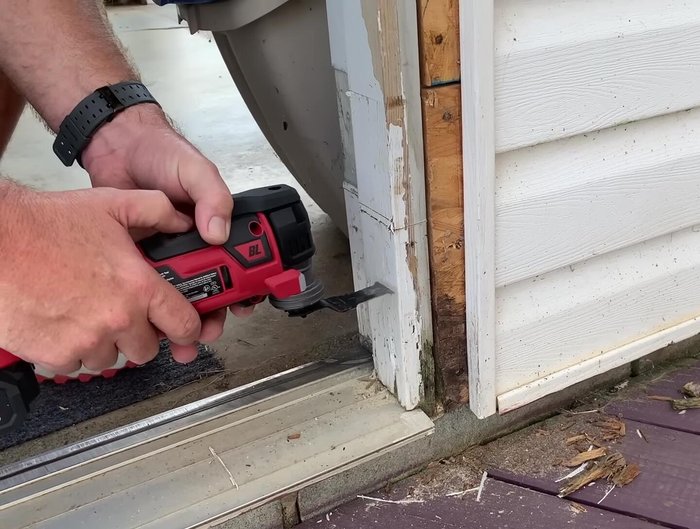
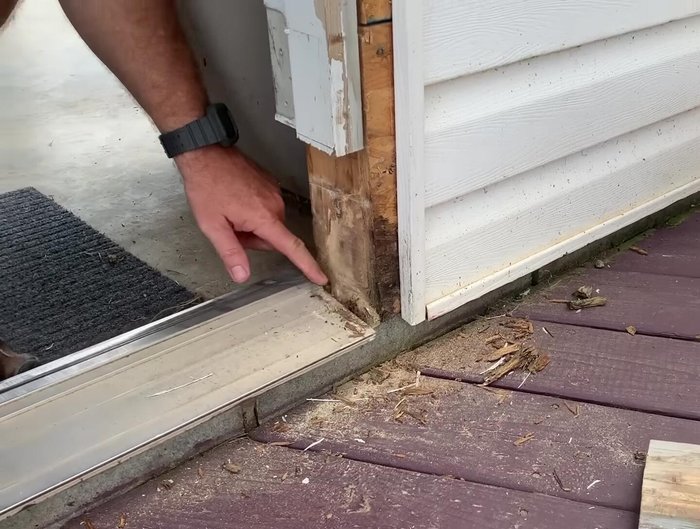
- Assess the damage to the door jamb and mark the area to be cut.
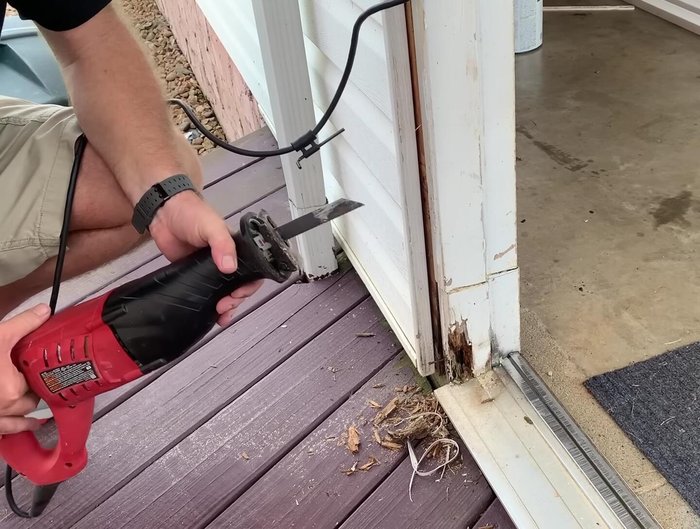
- Cut out the damaged section of the door jamb using an oscillating saw.
- Use a reciprocating saw to cut any nails behind the jamb.
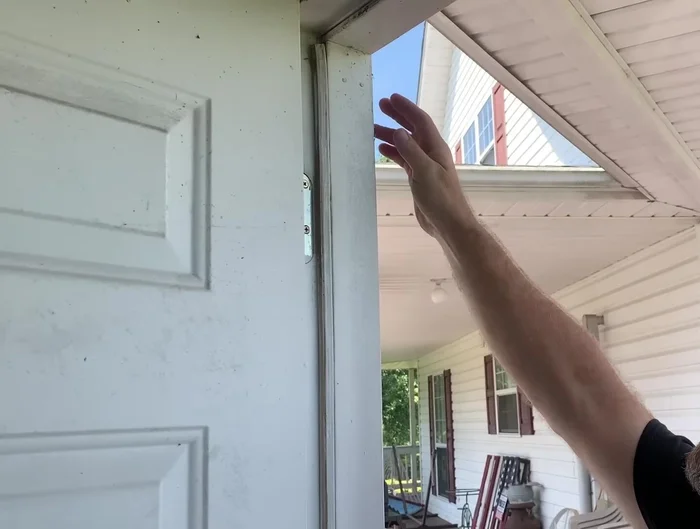
- Remove the remaining damaged wood.
Removing the Damaged Door Jamb - Cut out any remaining screws with a hacksaw.
Removing the Damaged Door Jamb Installing the New Door Jamb
- Install the new door jamb.
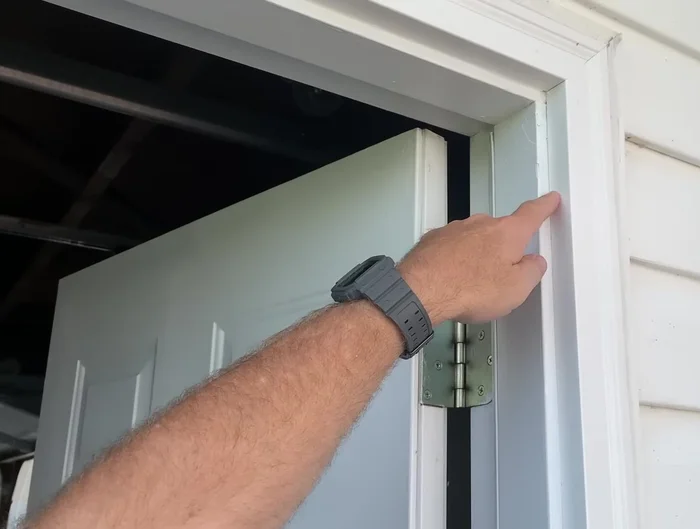
Installing the New Door Jamb Preparing and Installing the New Brick Molding
- Measure and cut the PVC brick molding to fit.
- Install the new PVC brick molding, ensuring proper alignment and using pre-drilled holes to prevent splitting the wood.
Preparing and Installing the New Brick Molding Finishing Touches
- Caulk between the brick molding and the jamb.
- Paint the new brick molding and jamb.
Finishing Touches
Read more: 3M Thinsulate Window Film Installation: A Step-by-Step Guide
Tips
- Using PVC brick molding prevents future rot.
- Pre-drilling holes before nailing prevents wood splitting.
- Measure carefully and align pieces to ensure a proper fit.