Are you tired of feeling the chill creep in under your doors, driving up your energy bills and making your home feel less cozy? A simple, often overlooked culprit is a worn-out or missing door sweep. These humble little seals are surprisingly effective at blocking drafts, preventing cold air from entering and warm air from escaping, resulting in significant energy savings over time. A new door sweep can not only improve your home's comfort but also contribute to a smaller carbon footprint and a healthier wallet. Replacing a door sweep is a remarkably easy DIY project, even for those with limited home improvement experience.
This surprisingly affordable upgrade can yield impressive results, making a noticeable difference in your home's temperature and the amount you spend on heating and cooling. Forget costly professional services; in this article, we'll guide you through a step-by-step process to replace your door sweep quickly and efficiently, ensuring a snug and energy-efficient seal against the elements. Let's dive into the simple steps that will transform your drafty door into a cozy, energy-saving marvel.
Preparation and Safety Guidelines
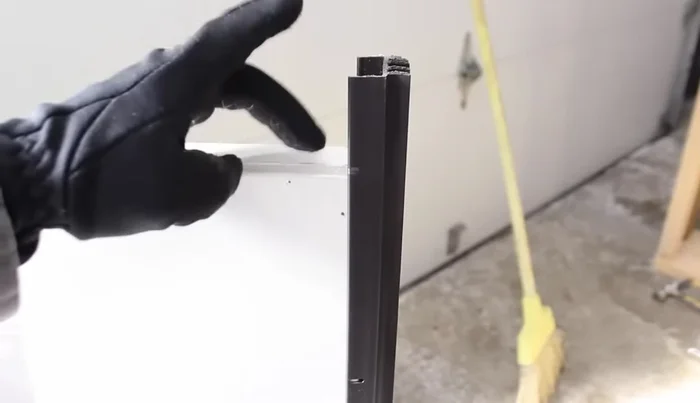
- Door sweep (U-shaped/U-channel recommended)
- Nail set
- Hammer
- Channellocks or pliers (optional)
- Hacksaw
- Miter box (optional)
- Caulk
- Screws (3/4 inch #6 panhead metal screws)
- Drill
- Measuring tape
- Always disconnect power to any electrical components near the door before starting work. This prevents potential electric shock.
- Use caution when handling sharp objects like utility knives or scissors. Wear appropriate safety gloves to prevent cuts.
- Ensure proper ventilation while working with adhesives or sealants as some may produce fumes.
Step-by-Step Instructions
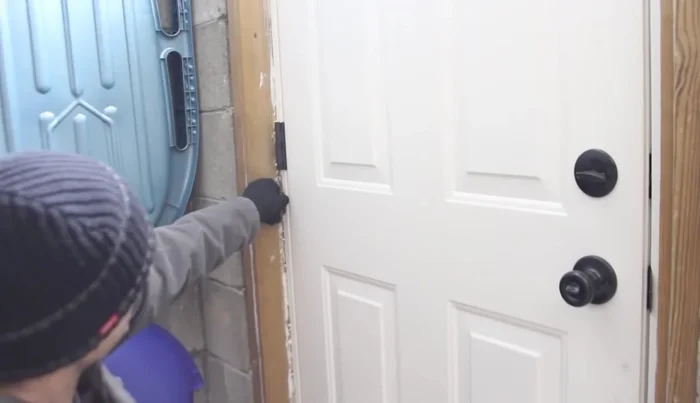
Prepare the Door
- Remove the door from its hinges using a nail set and hammer to remove the hinge pins. Keep the door in the closed position within the door jamb to make this easier.

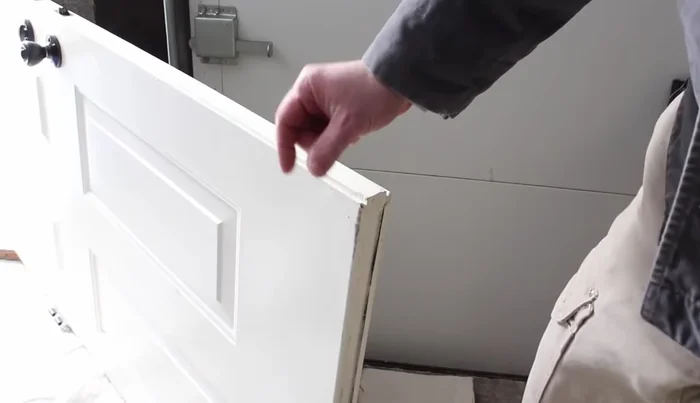
Prepare the Door Measure for the New Sweep
- Measure the gap between the door and threshold, the width of the door, and the thickness of the door to determine the correct size door sweep.
Measure for the New Sweep Cut the Door Sweep
- Cut the new door sweep to size using a hacksaw and miter box (optional). Alternatively, dry fit the sweep and mark the cut lines.
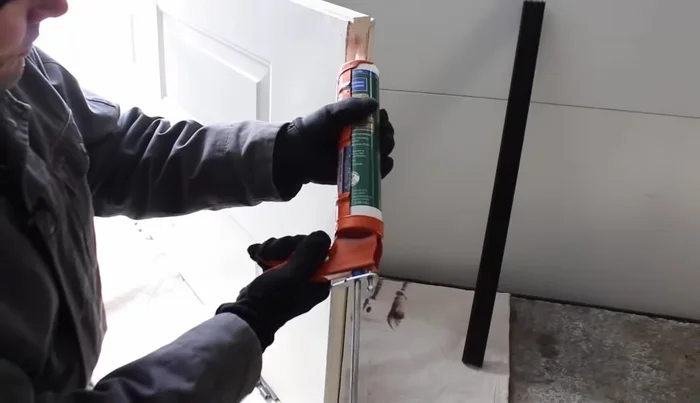
Cut the Door Sweep Prepare for Installation
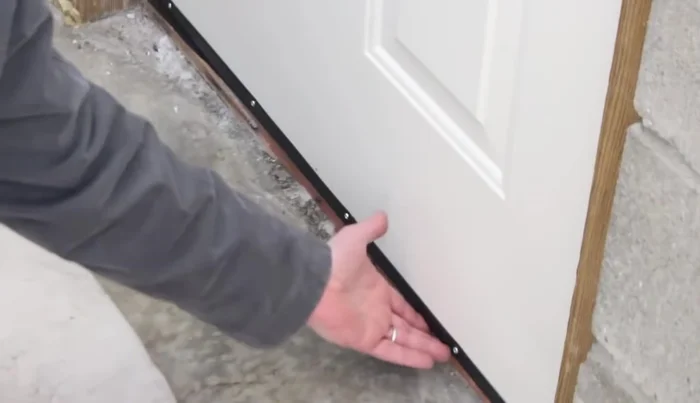
- Apply a bead of caulk to the bottom of the door. This will help secure the sweep.
Prepare for Installation Position and Secure the Sweep
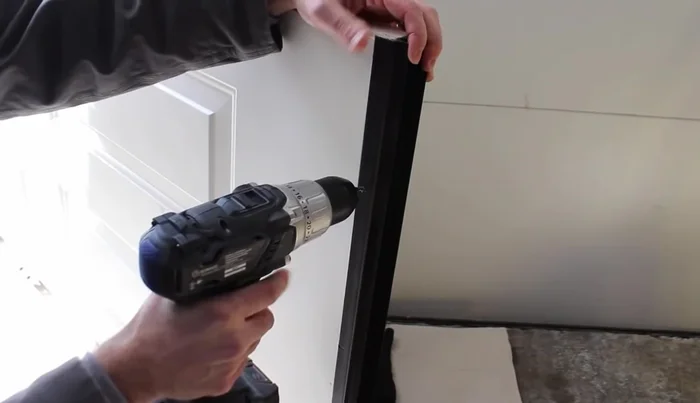
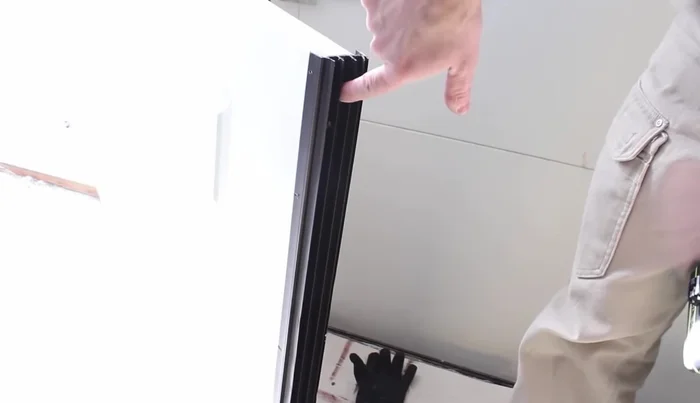
- Position the door sweep on the bottom of the door, ensuring the screw holes are on the interior side. Lightly tap it into place.
- Pre-drill holes in the door (if metal) where the sweep's holes are located. Drill additional holes if needed for extra security.
- Drill holes through the caulk at the bottom of the door sweep to further secure it.
- Attach the door sweep to the door using the screws, starting from the center and working outwards.
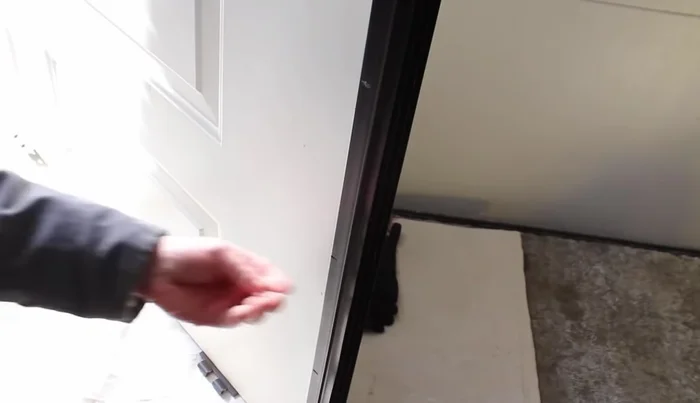
Position and Secure the Sweep Reinstall the Door
- Rehang the door.
Reinstall the Door
Read more: 3M Thinsulate Window Film Installation: A Step-by-Step Guide
Tips
- Keep the door in the closed position while removing the pins for easier removal.
- Use a U-shaped or U-channel door sweep for better protection and coverage.
- Apply caulk to enhance the seal and secureness of the door sweep.
- Pre-drill holes, especially if working with metal doors, to prevent damage.
- Use 3/4 inch #6 panhead metal screws for a secure installation.