Winter's chill seeping through drafty windows? Don't let rising energy bills and uncomfortable temperatures ruin your cozy season. A simple, affordable solution exists that requires no specialized tools or extensive skills: a DIY drafty window seal using silicone rubber. This quick fix can significantly improve your home's insulation, keeping the cold out and your warmth (and money!) in. Forget expensive window replacements or complicated insulation projects – this method offers a remarkably effective and straightforward alternative.
This guide provides a step-by-step process for creating a durable and weatherproof seal using readily available silicone rubber. By following these easy instructions, you’ll be able to effectively seal those pesky gaps and cracks, making your home significantly more energy-efficient and comfortable in no time at all. Let's get started!
Preparation and Safety Guidelines
- Silicone rubber window seal
- Isopropyl alcohol
- Always work in a well-ventilated area. Silicone rubber fumes can be harmful if inhaled in large quantities.
- Ensure the window is clean and dry before applying the silicone. Dirt or moisture will prevent proper adhesion.
- Use caution when handling a sharp tool to remove old caulk or sealant. Wear gloves to avoid cuts and skin irritation.
Step-by-Step Instructions
Prepare the Window
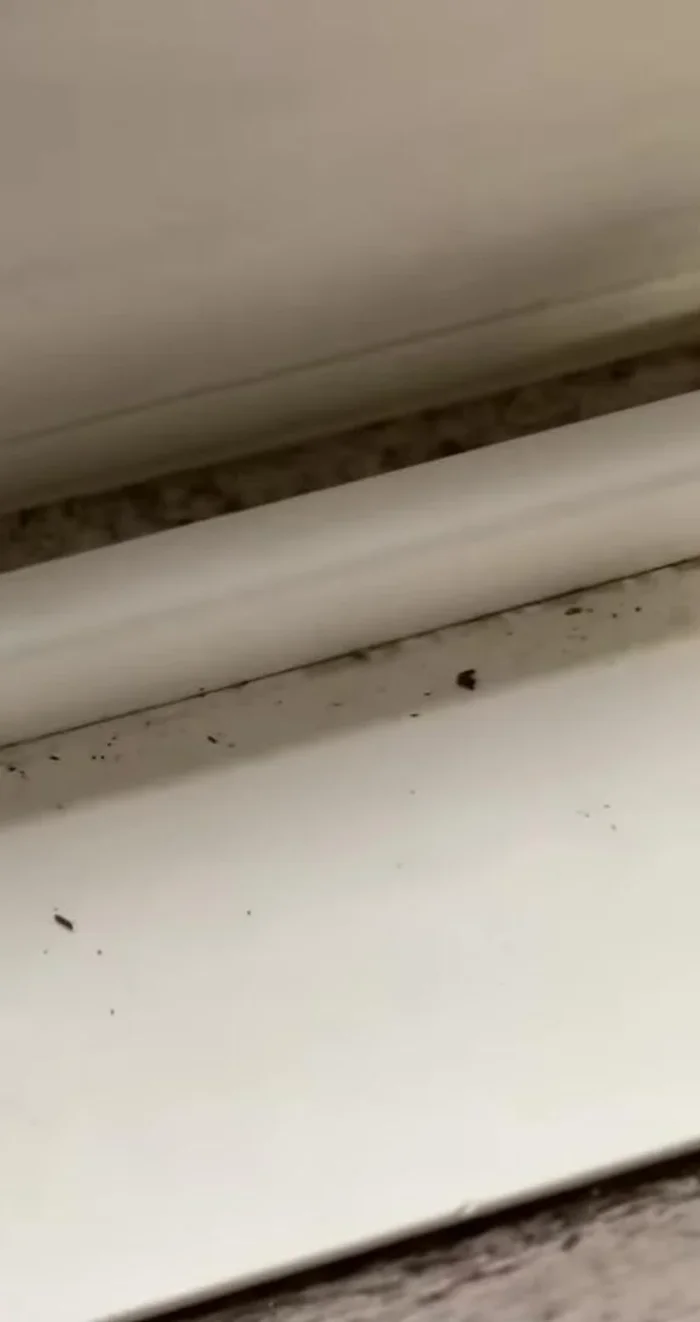
- Clean the window surface where the seal will be applied.

Prepare the Window Prepare the Seal
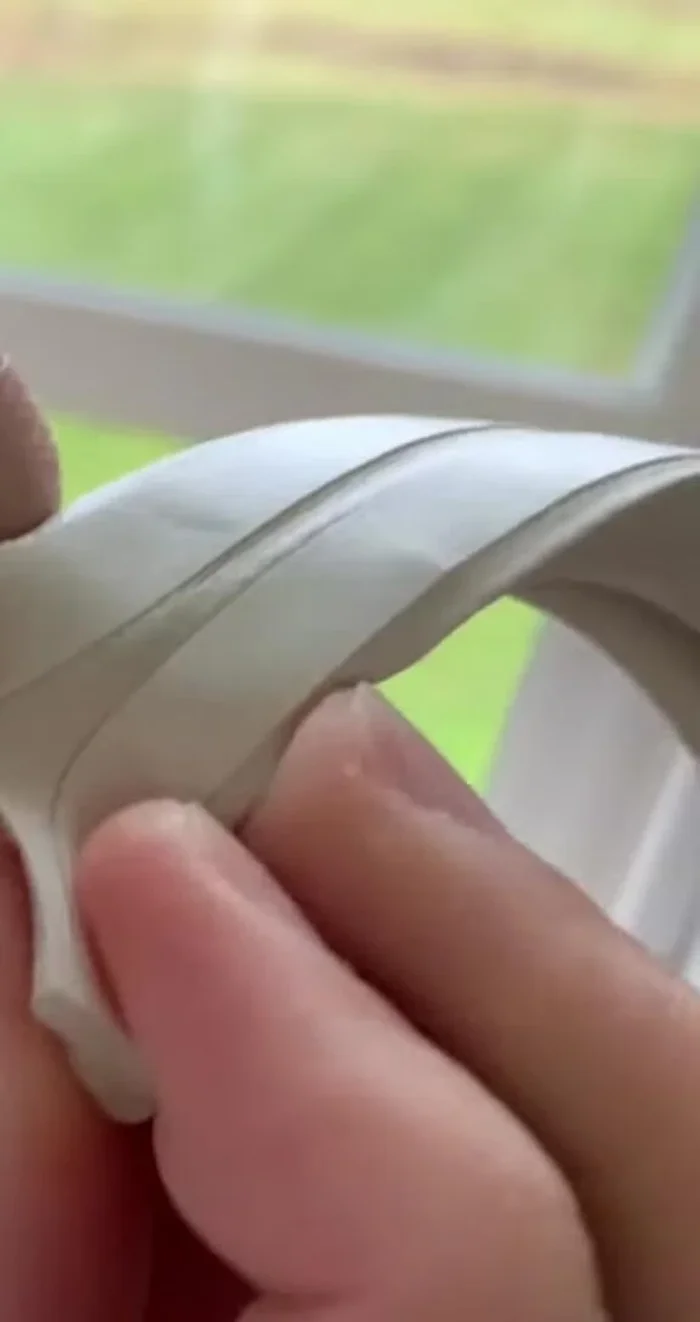
- Separate the two adhesive strips from the silicone rubber seal.
- Cut the seal to the desired length, ensuring it's slightly longer than needed.
Prepare the Seal Apply the Seal
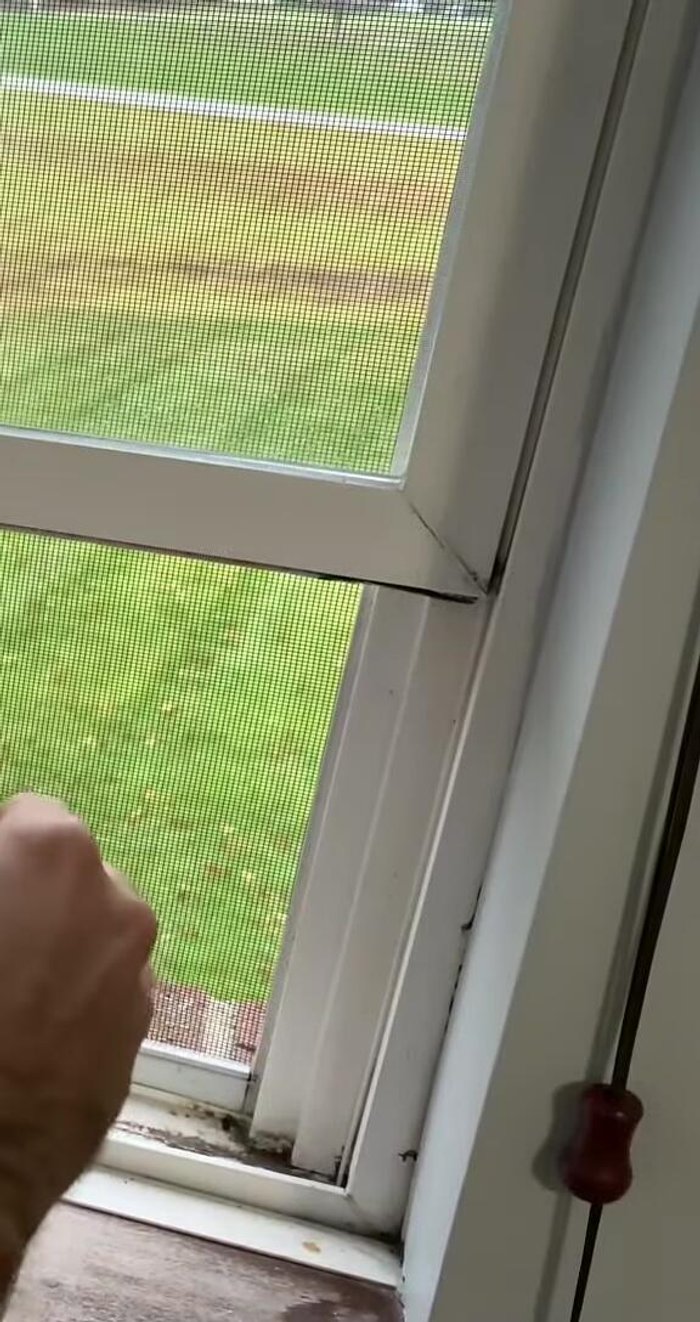
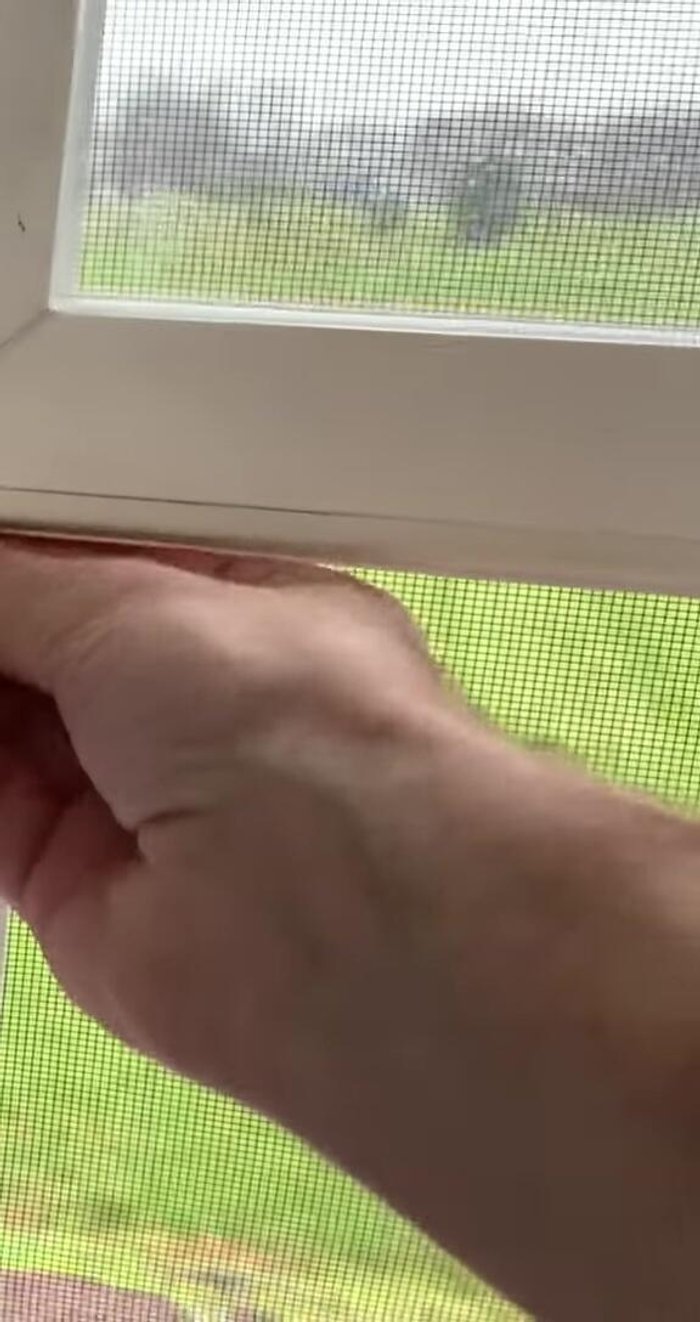
- Remove the backing from one adhesive strip and apply it to the underside of the window rail, aligning it with the front edge of the window.
- Press firmly to ensure the seal adheres securely to the window.
Apply the Seal Test and Adjust
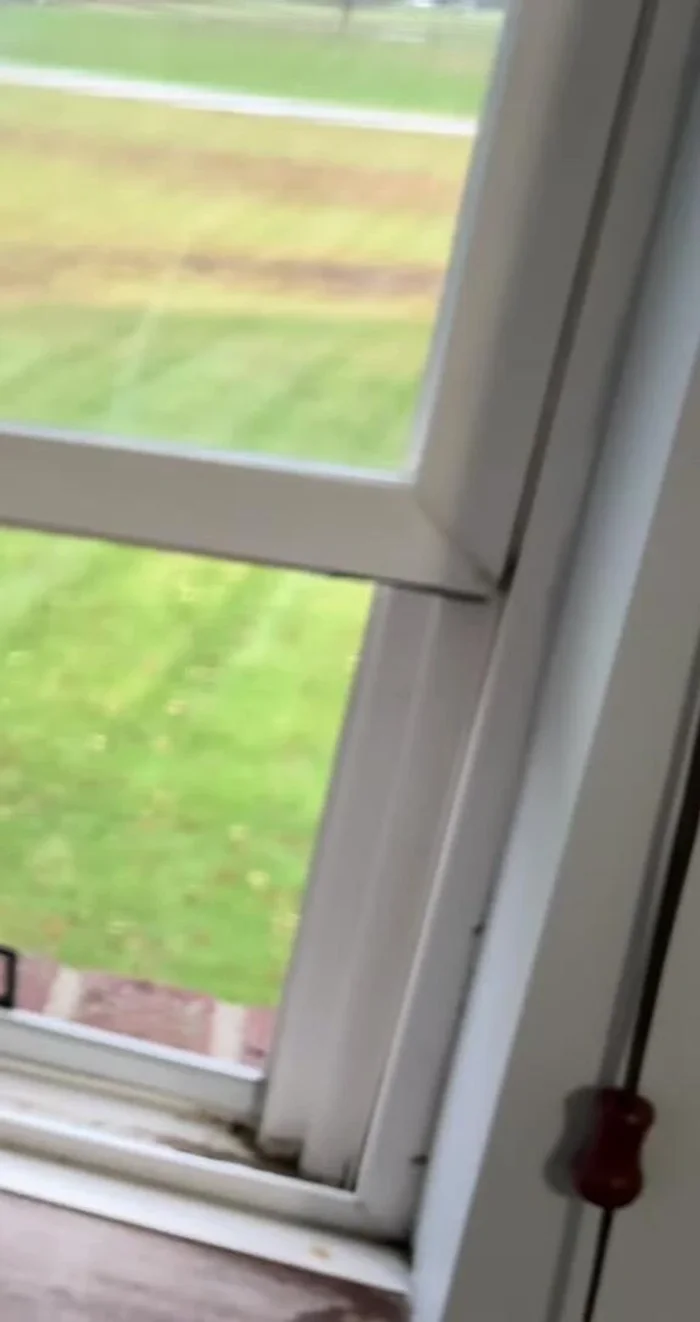
- Close the window to check the seal. If necessary, add another strip or adjust the placement for optimal coverage.
Test and Adjust
Read more: 3M Thinsulate Window Film Installation: A Step-by-Step Guide
Tips
- Use isopropyl alcohol to clean the window surface for better adhesion.
- Ensure the seal is slightly longer than the gap to ensure complete coverage.
- Press firmly to ensure a strong bond between the seal and the window.
- Consider adding multiple strips if a single strip doesn't adequately seal the gap.