Dressers, those stalwart guardians of our clothing and belongings, can sometimes suffer from unforeseen mishaps. One common issue is a broken drawer back, leaving your neatly folded garments vulnerable and the drawer itself wobbly and unstable. This frustrating problem, often caused by simple wear and tear or accidental impacts, can seem daunting at first. However, with a little patience and the right tools, repairing a broken drawer back is a manageable DIY project that can save you the cost and hassle of replacing the entire dresser. You don't need to be a seasoned carpenter to tackle this fix; even basic woodworking skills are sufficient.
This article provides a clear and concise guide to repairing your broken drawer back, empowering you to restore your dresser to its former glory. Forget expensive repair services or the frustration of a malfunctioning drawer – we'll walk you through each step of the repair process, from assessing the damage to ensuring a secure and lasting fix. Let's get started with the step-by-step instructions below.
Preparation and Safety Guidelines
- Screwdriver
- Wood screws
- Small piece of wood
- Wood glue (optional)
- Brown or black permanent marker
- Always disconnect any power tools before making adjustments or repairs.
- Wear safety glasses to protect your eyes from flying debris.
- If unsure about any step, consult a professional for assistance. Improper repair can lead to further damage or injury.
Step-by-Step Instructions
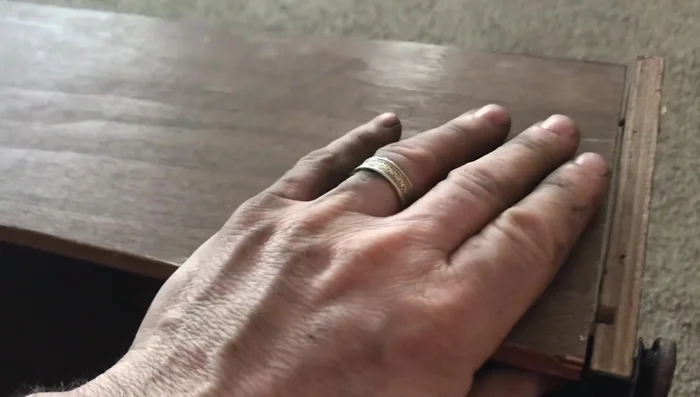
Assess and Prepare
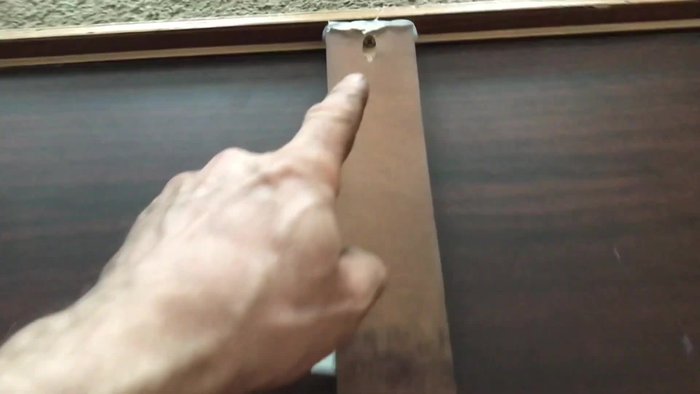
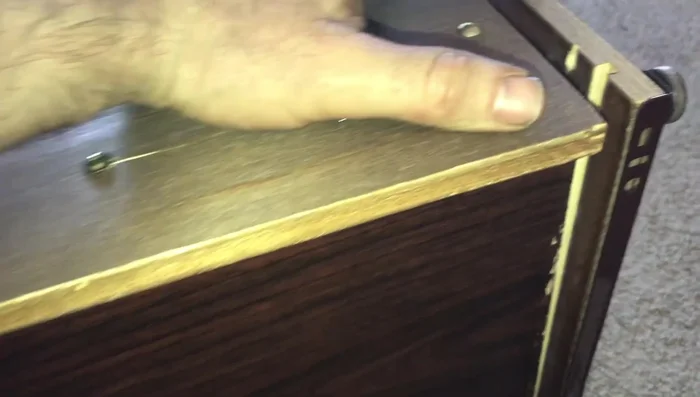
- Identify the broken area and remove any loose screws.
- Stand the drawer upright and assess the damage. Note the missing screws.

Assess and Prepare Initial Stabilization
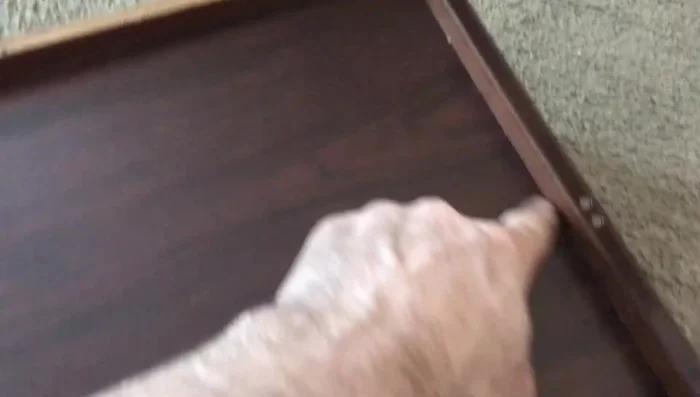
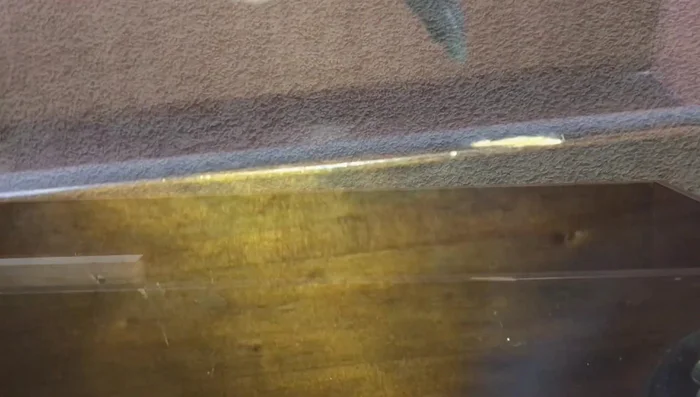
- Secure the bottom of the drawer back into its slots. Wood glue can be used for extra support, but it's not strictly necessary.
- Tighten existing screws and add new screws to reinforce the connection.
Initial Stabilization Repair Piece Preparation and Attachment
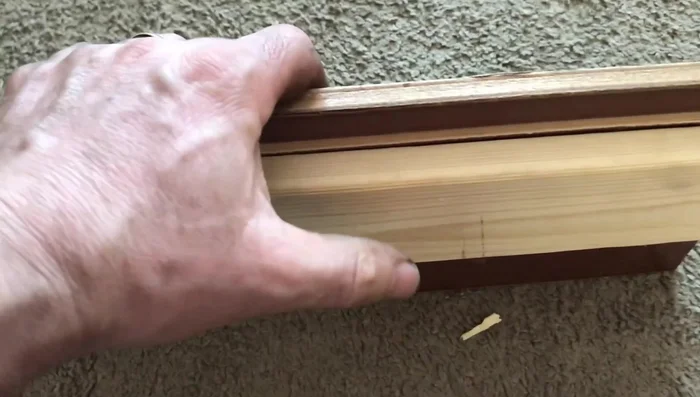
- Cut a small piece of wood to fill the gap created by the broken area. Attach it to the front of the damaged section using screws from the front and back for added strength.
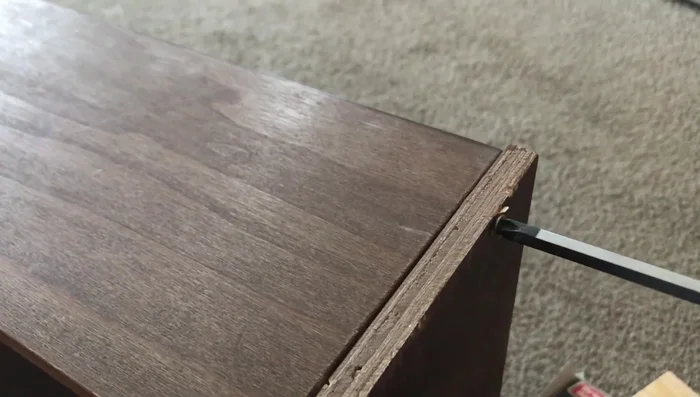
- Remove the backboard to access the damaged area. Use a screwdriver to remove screws holding backboard.
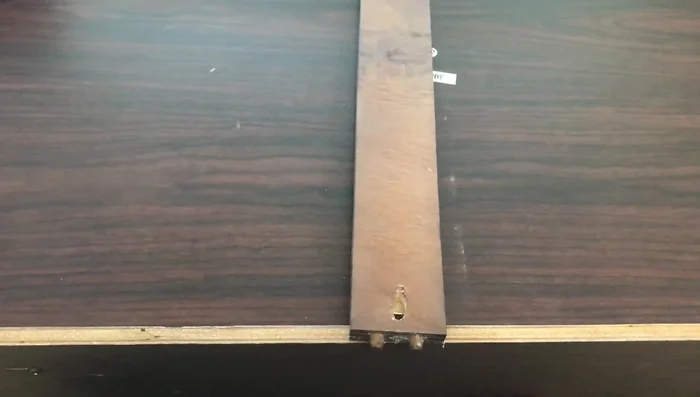
- Screw the repair piece to the drawer back, ensuring it's flush with the existing surface. Drill from the back into the repair piece to add screws.
Repair Piece Preparation and Attachment Reinforce and Secure
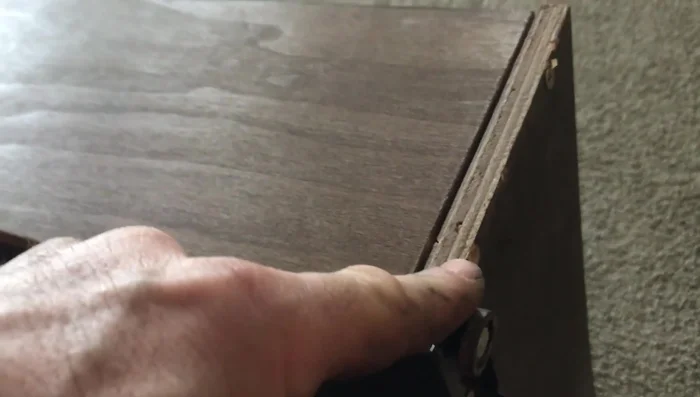
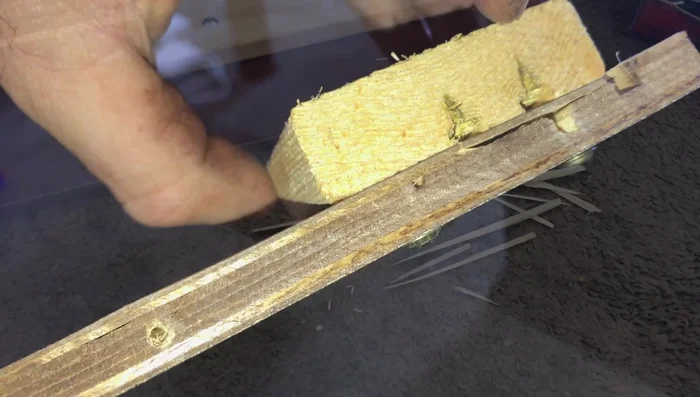
- Insert small wood splinters into gaps in the broken area for better screw grip.
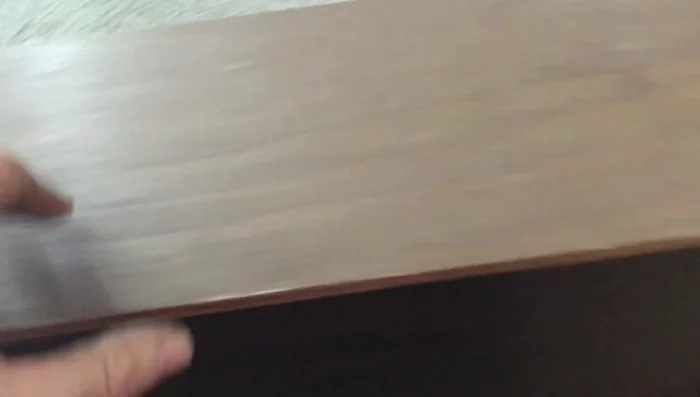
- Place the repaired back into the drawer and secure it using screws. Pay attention to the tightness of the screws to ensure a secure fit.
- Use a longer screw where the board originally split for improved stability and to reach deeper into the wood. Tighten by hand to prevent splitting.
Reinforce and Secure Finishing Touches
- Conceal any marks left by the repair with a brown or black permanent marker, blending it in to minimize visibility.
- Attach the bottom piece of the drawer and secure it using screws or glue.
Finishing Touches

Read more: Silence that Squeaky Bed: A Complete Fix-It Guide
Tips
- Using wood glue is optional for extra support, but screws are the main method for fixing the drawer.
- If you are using a marker to cover up repairs, don’t let the marker sit; blend it immediately to avoid noticeable differences in color.