Accidents happen, and sometimes that beloved armchair falls victim to a carelessly placed cigarette or a stray spark from a candle. A burned hole in your upholstery can seem like a significant blemish, instantly diminishing the beauty and comfort of your furniture. But before you resign yourself to replacing the entire piece, consider the possibility of repair. A surprisingly simple process can often restore your cherished furniture to its former glory, saving you time, money, and the heartache of losing a favourite piece. Minor burns, in particular, are often easily mended with readily available materials.
This guide will equip you with the knowledge and techniques to successfully mend a burned hole in your upholstery, restoring its appearance and extending its lifespan. From assessing the damage and choosing the right materials to carefully executing the repair, we'll walk you through each step of the process, enabling you to achieve a professional-looking finish. Let's get started with our step-by-step guide to repairing that unsightly burn.
Preparation and Safety Guidelines
- Needle
- Thread
- Scissors
- Piece of Card
- Always disconnect any electrical appliances near the damaged area before starting repairs to prevent further accidents.
- Allow the burned area to cool completely before attempting any repairs. Touching a hot surface can cause further injury.
- If the burn is extensive or involves significant damage to the upholstery structure, professional upholstery repair may be necessary. Attempting extensive repairs yourself may worsen the damage.
Step-by-Step Instructions
Prepare the Area
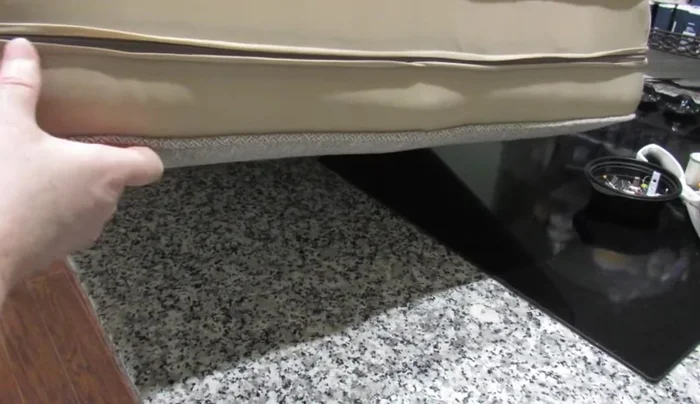
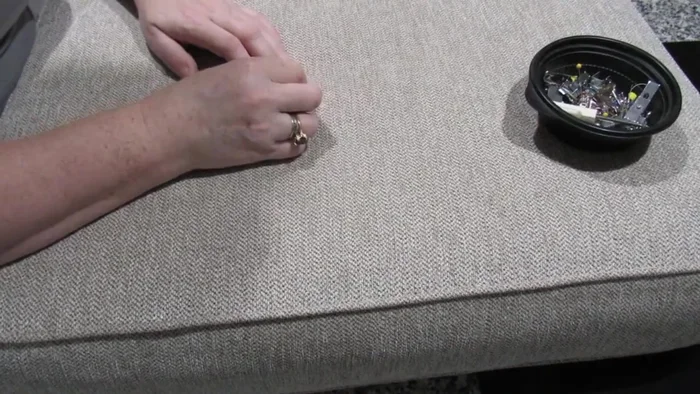
- Assess the damage and locate extra fabric.
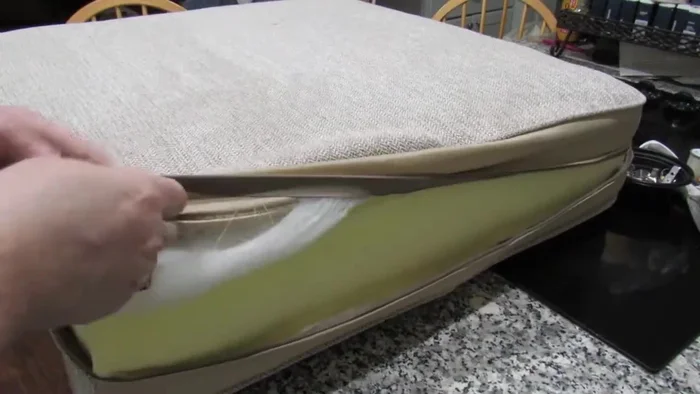
- Carefully remove the backing fabric to access the extra material.
- Harvest extra fabric from the seam allowance. Cut small pieces from the seam on each side of the burn.

Prepare the Area Protect and Clean
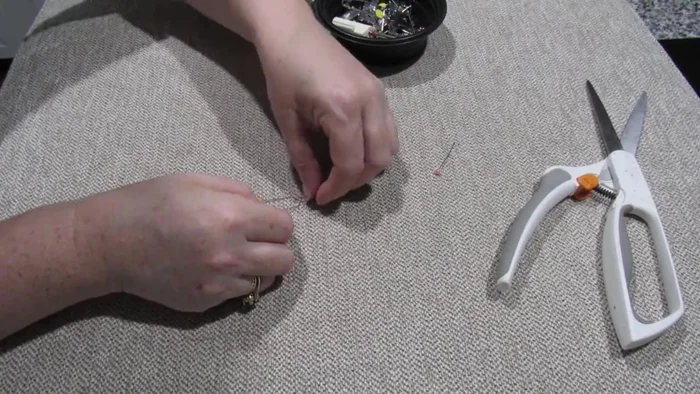
- Place a piece of card under the burn area to protect the underlying material while stitching.
- Carefully trim away the burned fabric, being mindful not to enlarge the hole.
Protect and Clean Prepare and Position the Patch
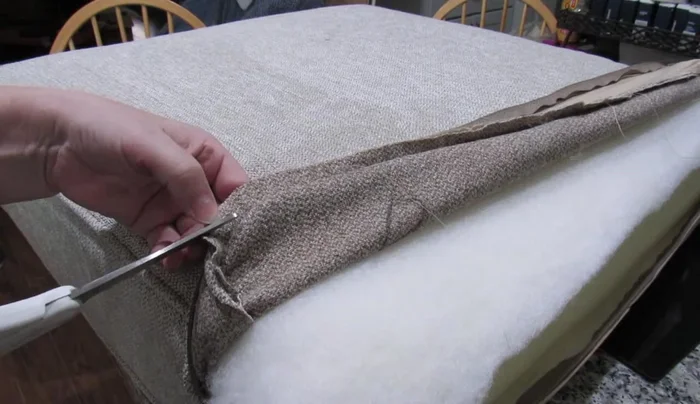
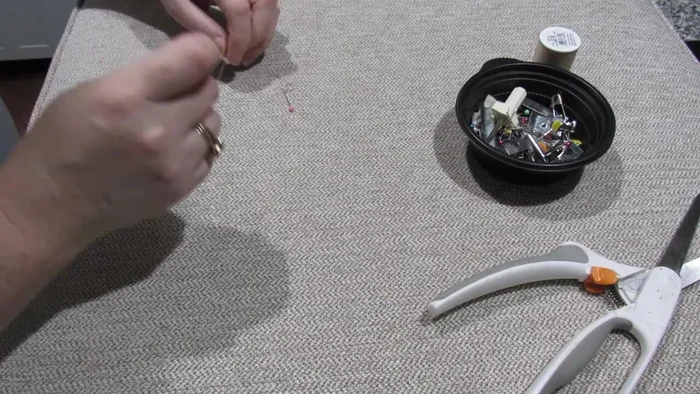
- Position the harvested fabric patch, ensuring the pile direction matches the surrounding fabric. Pin to secure.
Prepare and Position the Patch Attach the Patch
- Create a hem on the patch by turning under the edges and securing with a few small stitches.
- Using an over stitch, secure the patch to the damaged fabric, ensuring stitches are hidden within the pile of the material.
Attach the Patch Reinforce and Finish
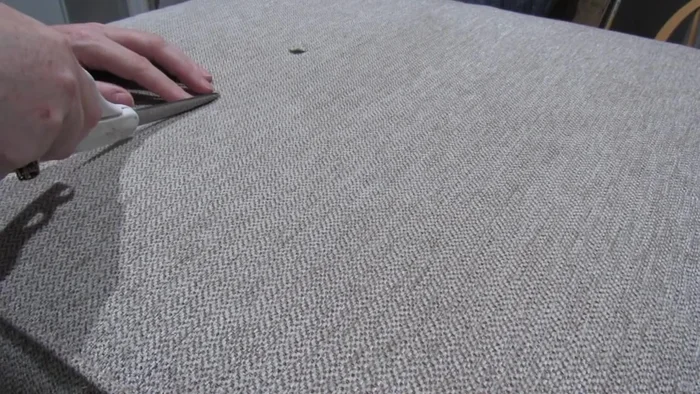
- Reinforce the repair by stitching around the outer edge to secure the underlying fabric to the top layer.
Reinforce and Finish


Read more: Silence that Squeaky Bed: A Complete Fix-It Guide
Tips
- Match the pile direction of the patch fabric to prevent noticeable differences in light reflection.
- Use a base color thread that blends with the surrounding fabric.
- Keep stitches small and even to minimize visibility.
- Avoid multiple stitches in the same hole to maintain fabric strength.
- Work carefully, as you have limited fabric to work with.