Cheap home improvement store cabinets can offer budget-friendly solutions, but often fall short in terms of functionality and durability. One of the most common complaints is the frustrating lack of full extension drawer slides, forcing you to wrestle with partially visible contents and awkward reaching. Upgrading these slides is a surprisingly simple DIY project that dramatically improves both the usability and aesthetic appeal of your kitchen or bathroom. Investing a little time and effort yields significant rewards, transforming frustrating drawers into smoothly gliding storage solutions.
This upgrade isn't just about convenience; it also adds value to your home. Full extension slides make your cabinets look and feel more modern and high-end, a cost-effective way to enhance your space without a full-scale remodel. Ready to transform your cheap cabinets into something truly functional and stylish? Let's dive into the step-by-step process of installing full extension drawer slides, guiding you through each stage with clear instructions and helpful tips.
Preparation and Safety Guidelines
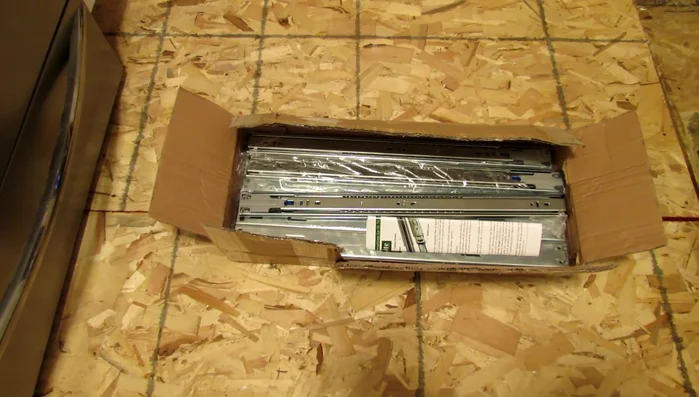
- 22 in full extension soft close drawer slides
- Filler board (wood)
- Screws
- Always disconnect power to the area before starting any electrical work. If you're unsure, consult a qualified electrician.
- Measure twice, cut once. Accurate measurements are crucial for proper drawer slide installation and functionality. Use a level to ensure drawers are installed straight.
- Use appropriate safety glasses and work gloves to protect yourself from potential injuries during the installation process. Heavy objects may require an extra set of hands.
Step-by-Step Instructions
Assess Existing Slides
- Assess the existing drawer slides and identify their flaws (wobbly, doesn't extend fully).

Assess Existing Slides Purchase Replacement Slides
- Purchase high-quality replacement drawer slides (22 in full extension soft close slides in this case).
Purchase Replacement Slides Reinforce Drawer Structure
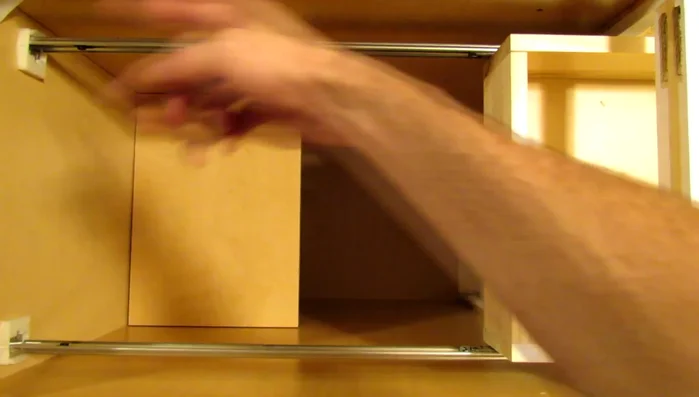
- Observe that the original drawers are only attached to the front and back, making them flimsy. Add filler boards to the sides of the drawer for added stability.
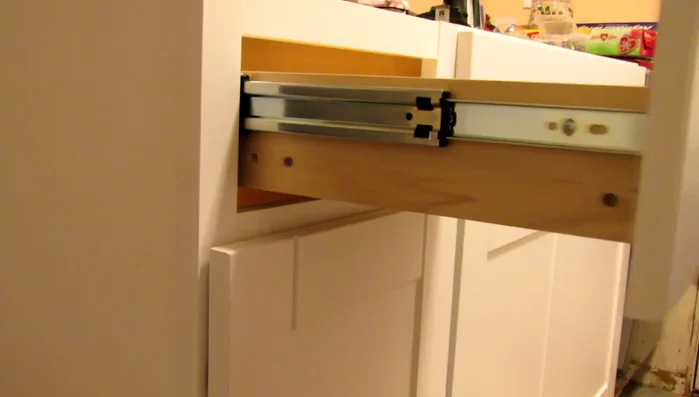
Reinforce Drawer Structure Install New Slides
- Attach the new drawer slides to the filler boards, ensuring they are securely fastened.
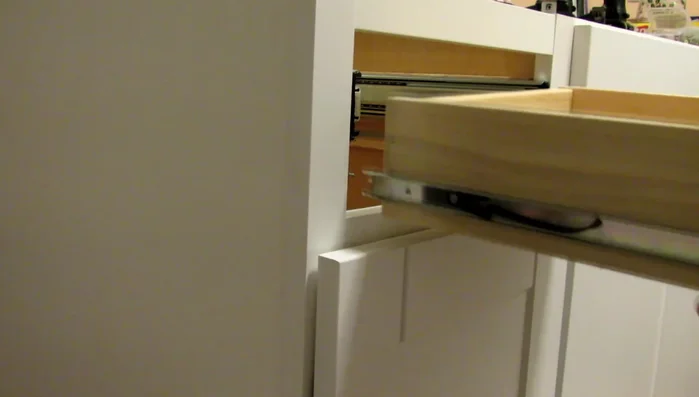
Install New Slides Reinstall Drawer
- Reinstall the drawer, using the original drawer sides and the newly installed slides. The existing slides can be used to help position the new ones.
Reinstall Drawer Test Functionality
- Test the new drawer slides. Ensure smooth operation and full extension.
Test Functionality


Read more: Silence that Squeaky Bed: A Complete Fix-It Guide
Tips
- Keep the original drawer slides to aid in positioning the new ones and speed up installation.
- Use filler boards to reinforce the drawer sides for better stability.