Replacing your electric water heater might seem daunting, conjuring images of complex plumbing and electrical work. However, with the right guidance, this home improvement project is surprisingly manageable, even for DIY enthusiasts with limited experience. A new water heater can significantly improve efficiency, saving you money on energy bills and extending the lifespan of your plumbing system. Beyond the financial benefits, the satisfaction of completing this task yourself is rewarding. This upgrade is far more achievable than you might think, allowing you to reclaim control over your home's functionality.
This quick and easy guide provides a step-by-step walkthrough, breaking down the process into manageable sections with clear instructions and helpful tips. Whether you’re dealing with a leaky tank, inconsistent hot water, or simply upgrading to a more energy-efficient model, we'll guide you through every stage of the replacement process, ensuring a smooth and successful outcome. Let's get started!
Preparation and Safety Guidelines
- Klein Tools voltage tester
- 10-inch crescent wrench
- flat head screwdriver
- Teflon tape
- 90-degree squeeze connector
- Dolly
- Zip ties
- Always turn off the power to the water heater at the breaker box before starting any work. Failure to do so can result in serious electric shock.
- Wear appropriate safety gear, including gloves and safety glasses, to protect yourself from potential hazards like sharp edges and hot water.
- If you are unsure about any step of the process, consult a qualified electrician or plumber. Improper installation can lead to leaks, electric shock, or fire.
Step-by-Step Instructions
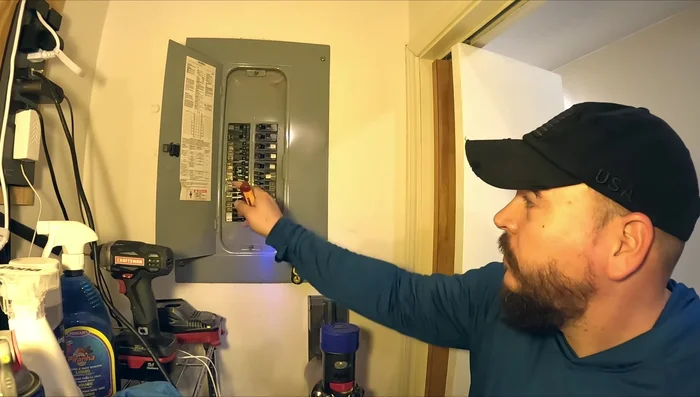
Safety First: Power & Water Shut-off
- Turn off the electricity to the water heater. Double and triple check!
- Use a voltage tester to verify that the power is off.
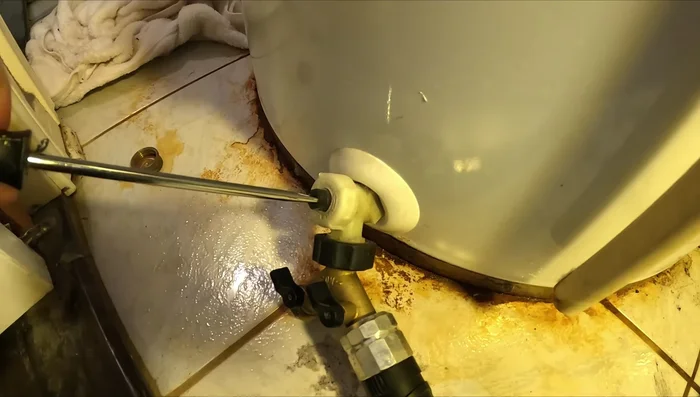
- Turn off the water supply to the tank using the shut-off valve.

Safety First: Power & Water Shut-off Drain the Tank
- Drain the water from the tank. Use a splitter if needed for hose clearance. Open hot water faucets and disconnect the hot side line from the top of the water heater to allow air in.
Drain the Tank Disconnect Old Heater
- Disconnect the electrical connections.
- Disconnect the remaining water lines.
- Remove the old water heater using a dolly.
Disconnect Old Heater Prepare for New Installation
- Clean the area where the new heater will be installed.
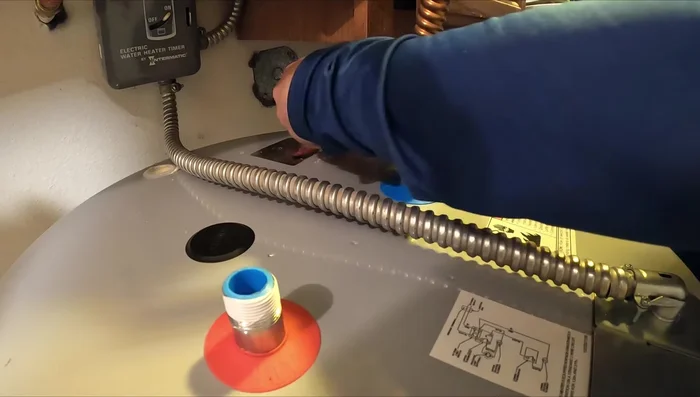
Install New Water Heater
- Install the new water heater. Apply Teflon tape to pipe threads (3 clockwise wraps). Use appropriate connectors for a clean connection.
Install New Water Heater Reconnect Plumbing
- Reconnect the water lines, ensuring they are snug but not overtightened.
- Reconnect the pressure relief valve pipe.
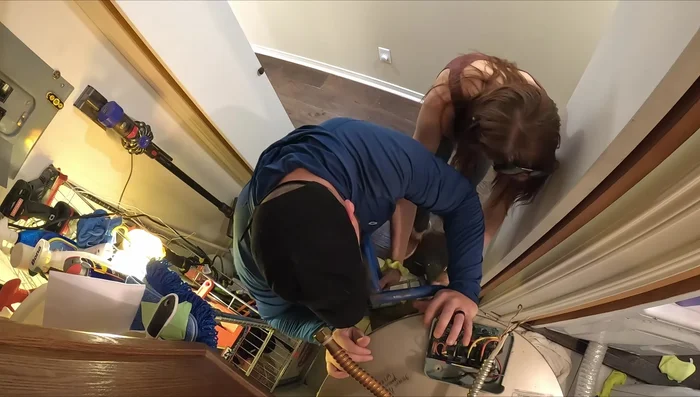
Reconnect Plumbing Reconnect Electrical
- Reconnect the electrical wires (black to black, white to red, ground to green). Ensure secure connections.
Reconnect Electrical Water Test & Leak Check
- Open the water valve and check for leaks. Let the tank fill, allowing air to escape.
- After the tank is full and valves are closed, check again for leaks.
Water Test & Leak Check Final Electrical Check
- Use a voltage tester to double-check that no electrical lines have been crossed and there are no stray voltages.
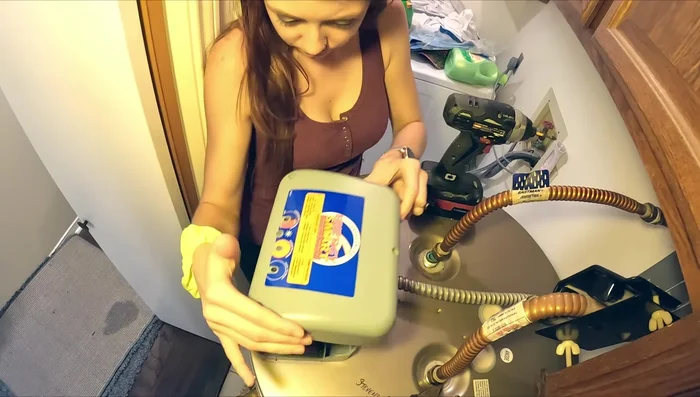
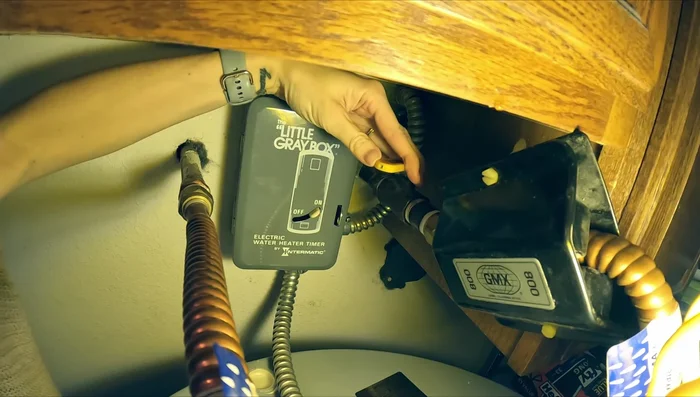
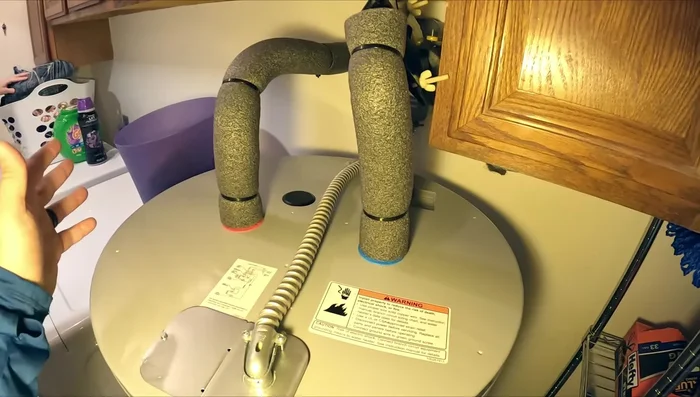
Final Steps
- Reset any timers if present.
- Add insulation (foam) if desired.
Final Steps


Read more: Fixing a Leaky Toilet Tank: A Step-by-Step Guide
Tips
- Always prioritize safety: turn off electricity and double-check before working.
- Use a voltage tester to verify power is off before working on the water heater.
- Open hot water faucets and disconnect the hot water supply line to facilitate draining and prevent vacuum.
- Don't overtighten water lines.
- Let the tank fill completely and check for leaks after reconnecting everything.