Are you drowning in a sea of fabric scraps, struggling to find that perfect shade of blue amongst the chaotic jumble? Cluttered fabric stashes are a common problem for crafters of all levels, hindering creativity and wasting precious time searching for specific materials. But what if organizing your fabric could be quick, easy, and surprisingly satisfying? No more digging through overflowing bins or wrestling with tangled bolts! This guide will unveil the fastest and easiest method for creating a DIY fabric organizer that will transform your crafting space from chaos to calm.
Forget complicated sewing projects or expensive storage solutions. We'll show you a simple, no-sew technique that requires minimal materials and even less time. Whether you're a seasoned quilter or just starting your crafting journey, this method will help you conquer your fabric clutter and finally achieve the organized craft room you've always dreamed of. Let's dive into the step-by-step process and create your efficient fabric haven.
Preparation and Safety Guidelines
- Fabric (around 100-2150 meters)
- Needle
- Thread
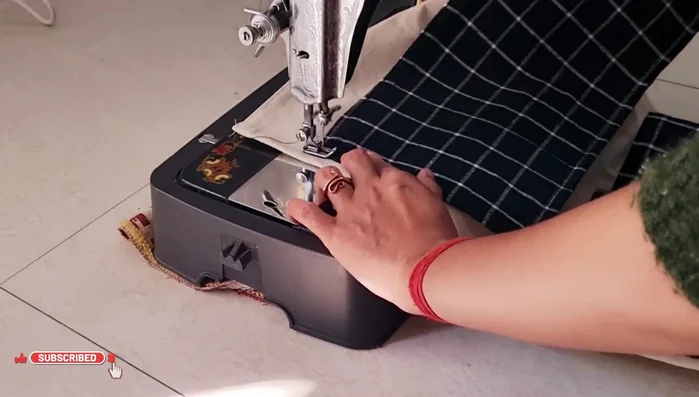
- Sewing Machine (optional)
- Stiffener (optional)
- Stick for hanging
- Always use sharp scissors or a rotary cutter to ensure clean cuts and prevent injury. Dull tools require more force, increasing the risk of accidents.
- If using a sewing machine, ensure your fingers are kept clear of the needle at all times. Use a seam ripper carefully to avoid pricking yourself.
- When working with fabric, be mindful of potential allergies. Wash and pre-treat fabrics before beginning your project if you are sensitive to dyes or fibers.
Step-by-Step Instructions
Prepare Main Fabric
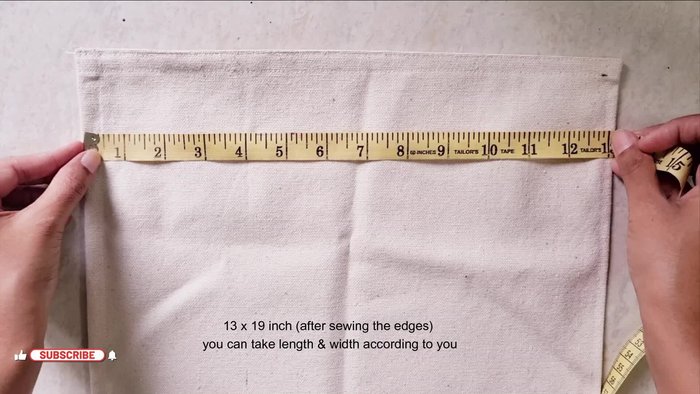
- Prepare the main fabric. Cut a piece to your desired size (13/19 inches suggested, adjust as needed). Stitch all four sides.

Prepare Main Fabric Prepare Pocket Fabric
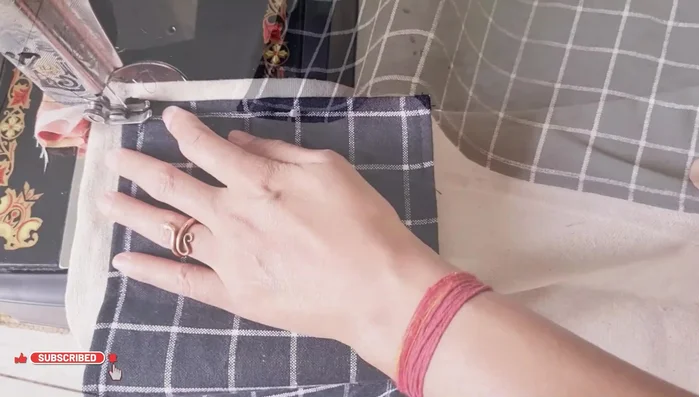
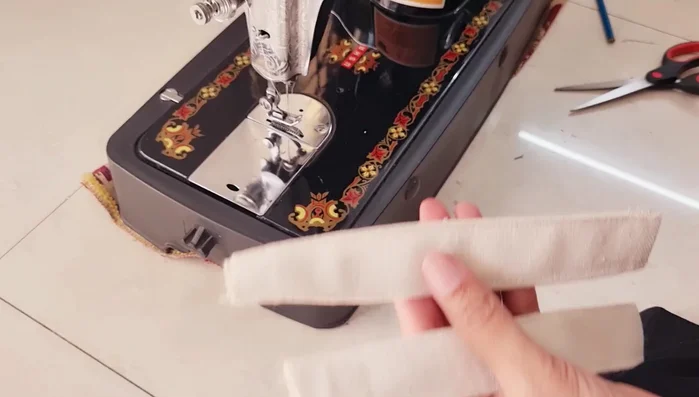
- Prepare the pocket fabric. Cut a piece slightly wider than your organizer's base. Stitch all four sides. Add a stiffener or stitch the fabric for extra support.
Prepare Pocket Fabric Sew Main Pocket Section
- Sew the pockets. Sew the long piece of pocket fabric from both sides. Double stitch for durability.
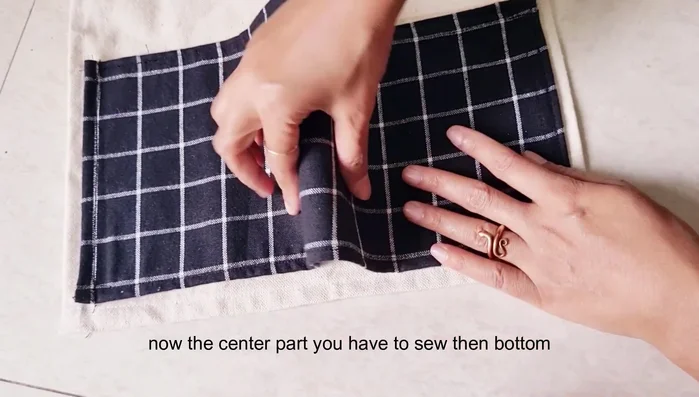
- Mark and sew the center. Find the center point of the sewn pocket fabric and mark it. Sew along the center line with two stitches for strength.
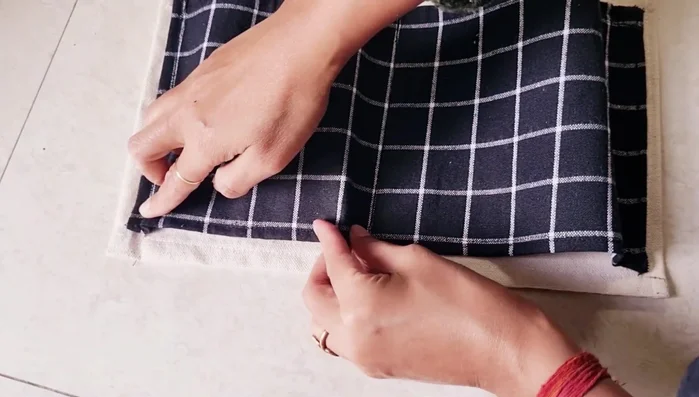
- Sew the bottom of the pockets. Divide the remaining fabric at the bottom equally and sew from the bottom toward each pocket.
Sew Main Pocket Section Sew Upper Pockets
- Repeat for the upper pockets. Follow the same steps to create the upper pockets.
Sew Upper Pockets Add Hanging Strip
- Create the hanging strip. Cut strips from the base fabric and sew them to the top of the organizer for hanging.
Add Hanging Strip

Read more: DIY Vibrant Car Organizer: A Step-by-Step Quilting Tutorial
Tips
- Use double stitching for extra durability on the pockets.
- Use pins to keep the fabric from shifting while sewing.
- If your sewing machine struggles with thick fabric, use needle and thread instead.
- Adjust the size of the organizer and the pockets to your liking.