Tired of unsightly storage solutions cluttering your home? Craving a touch of rustic charm without the hefty price tag of store-bought baskets? Then prepare to be amazed by the simplicity and elegance of a DIY fabric-woven wire basket! This ingenious project requires no sewing skills whatsoever, making it the perfect craft for beginners and experienced crafters alike. Forget flimsy plastic containers and embrace the strength and beauty of a naturally textured storage option. You'll be surprised how easily you can transform readily available materials into a beautiful and functional addition to any room.
This no-sew method cleverly utilizes the weave of the wire basket itself to secure your chosen fabric, creating a customized storage solution tailored to your needs and aesthetic preferences. From bathroom necessities to pantry staples, the possibilities are endless! Ready to get started creating your own unique storage basket? Let's dive into the step-by-step instructions below.
Preparation and Safety Guidelines
- Industrial wire basket
- Fabric scraps
- Rotary cutter
- Hot glue gun
- Chalk cloth
- Chalk
- Always use sharp scissors or wire cutters when working with the wire, to avoid bending or damaging the wire and to prevent injury. Keep fingers clear of cutting edges.
- Be mindful of the wire's sharpness. Wear gloves if you have sensitive skin to prevent cuts and scratches.
- If using pre-painted or coated wire, avoid harsh chemicals or abrasive cleaning materials that could damage the finish.
Step-by-Step Instructions
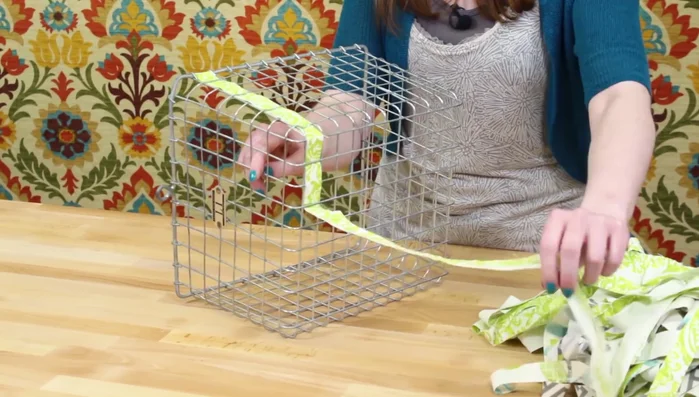
Prepare Fabric Strips
- Cut inch-wide fabric strips long enough to go across the bottom and up twice.
Weave the Bottom
- Start weaving one end through the wire basket, matching the ends. Weave the fabric over and under the wires.
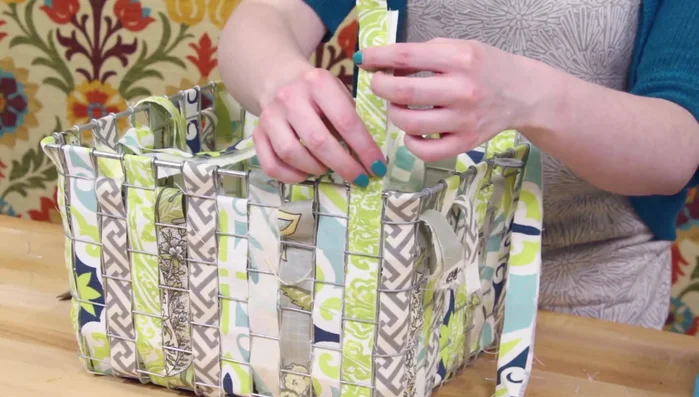
- Continue weaving across the bottom and up the other side, alternating over and under the wires in opposite directions.
- Skip corners for now, continue weaving down the other side.

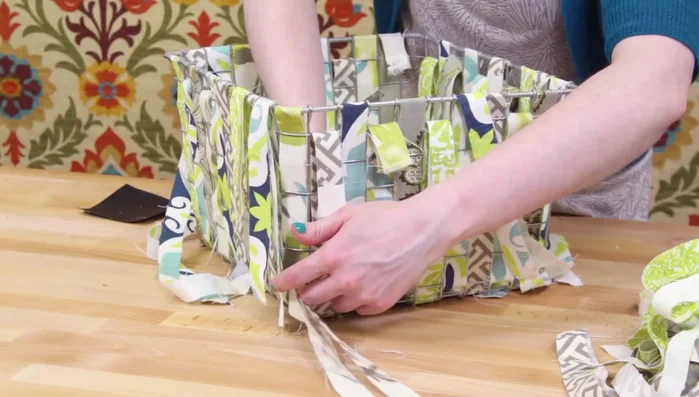
Weave the Bottom Secure Bottom Edges
- At the bottom, weave the ends between the strips to secure.
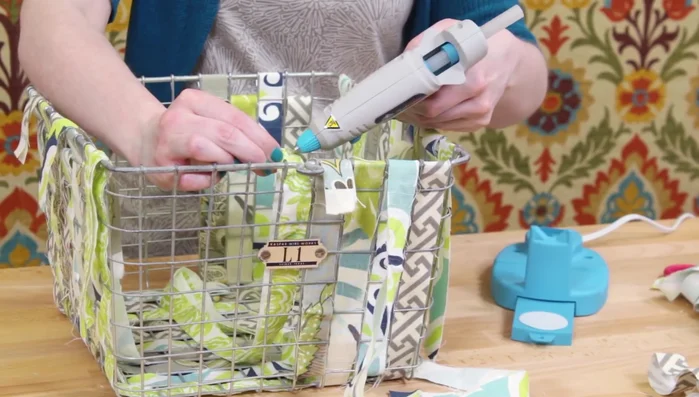
Hide Labels
- Weave around the back of any labels to hide them.
- For sections you can't weave over, glue the fabric to the back.
Hide Labels Weave the Corners
- Weave the corners, gluing strips together first for easier handling.
Weave the Corners Finish and Secure Edges
- Glue the ends together, fold under, and glue down, pulling fabric tight.
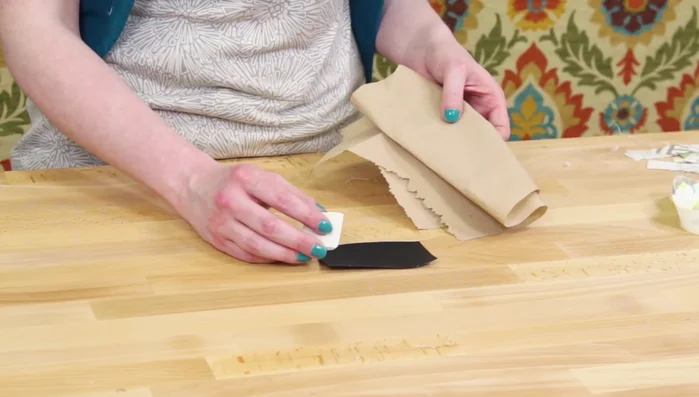
Finish and Secure Edges Create and Apply Fabric Label
- Rub chalk on, wipe off, repeat to achieve desired color and texture. Cut and glue to cover the original label.
Create and Apply Fabric Label

Read more: DIY Vibrant Car Organizer: A Step-by-Step Quilting Tutorial
Tips
- Use a rotary cutter for quick and precise fabric strip cutting.
- Pull the fabric tight before gluing to ensure a neat finish.
- Glue the corners well to prevent unraveling.