Bring the warmth and charm of the countryside into your home with this easy-to-follow DIY farmhouse lamp tutorial! Nothing quite captures rustic elegance like a handcrafted piece, and this project allows you to create a unique lighting fixture that perfectly complements any farmhouse or country-inspired décor. Whether you're a seasoned crafter or a complete beginner, this project is surprisingly simple and uses readily available materials, ensuring an affordable and rewarding experience. You'll be amazed at how much character you can add to your space with minimal effort and expense.
Forget expensive store-bought lamps; this project empowers you to design a stunning lamp reflecting your personal style. From choosing the perfect mason jar to selecting the right cord and bulb, we'll guide you through each step of the process, transforming ordinary materials into an extraordinary statement piece. Ready to illuminate your home with rustic charm? Let's dive into the detailed, step-by-step instructions below!
Preparation and Safety Guidelines
- Table legs (two different sizes)
- Drill
- Long drill bit
- Wood glue
- Scrap wood
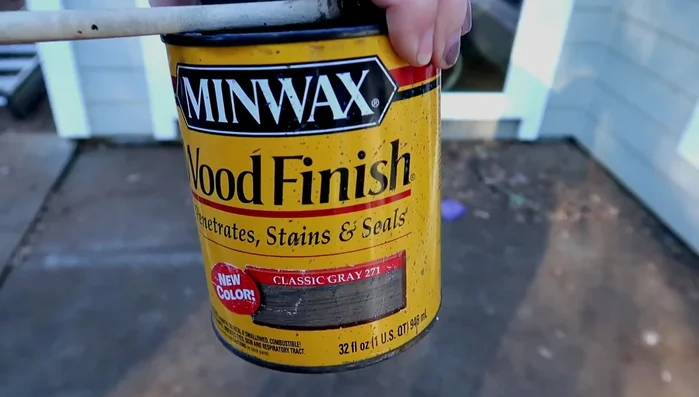
- Stain (Minwax Classic Gray 271)
- Paintbrush
- Old towel
- Screws
- Drill bits (appropriate sizes)
- Lamp wire
- Lamp shade (optional)
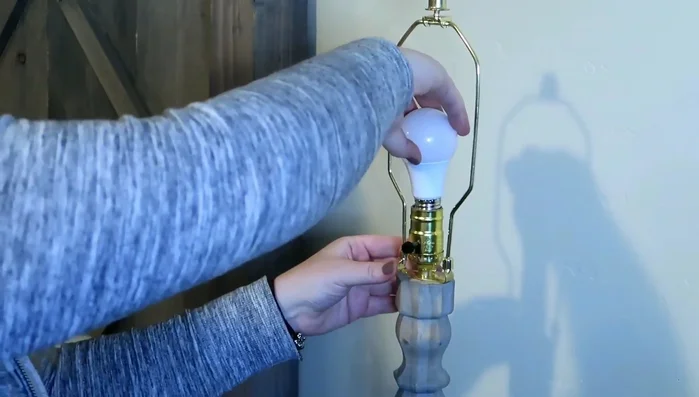
- Light bulb
- Always unplug the lamp before handling any electrical components. Electricity can be lethal.
- Use appropriate safety glasses when working with tools, especially when cutting or sanding.
- Ensure all wiring connections are secure and properly insulated to prevent short circuits and fire hazards.
Step-by-Step Instructions
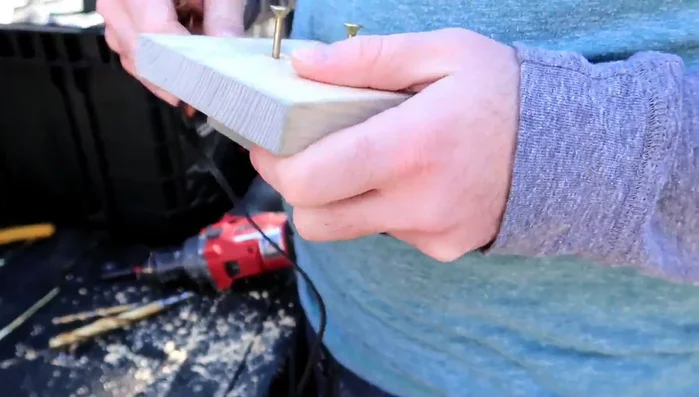
Prepare the Legs
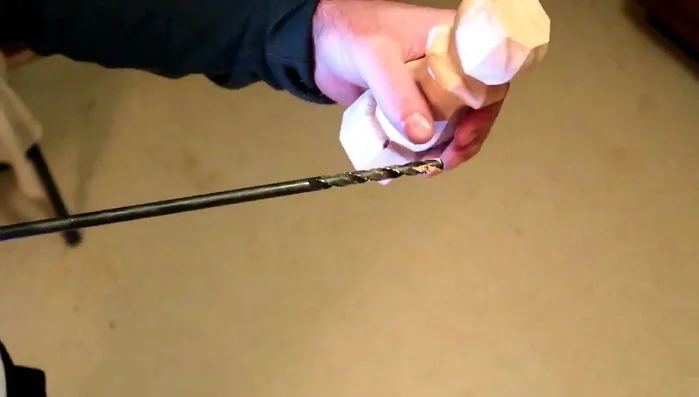
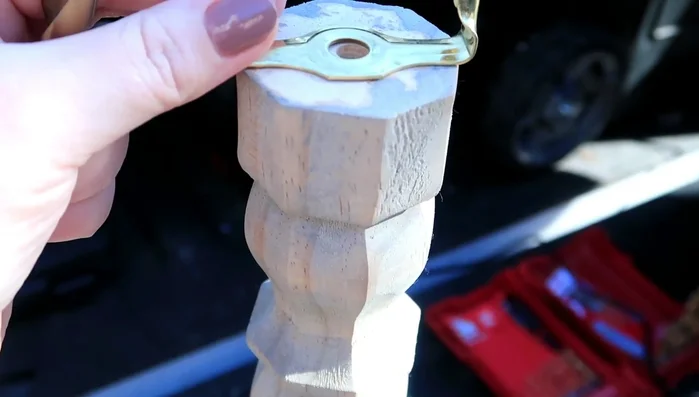
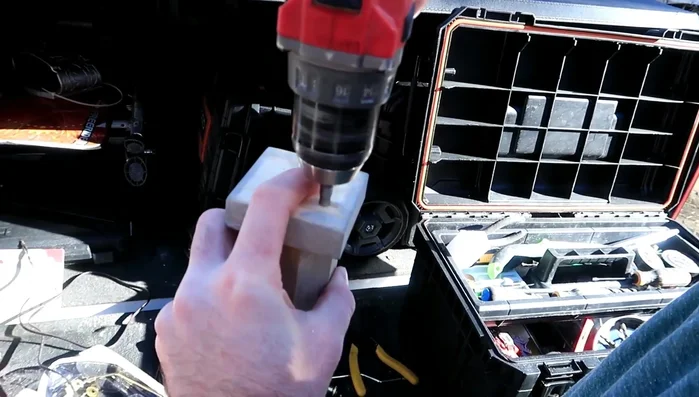
- Drill completely through the table legs.
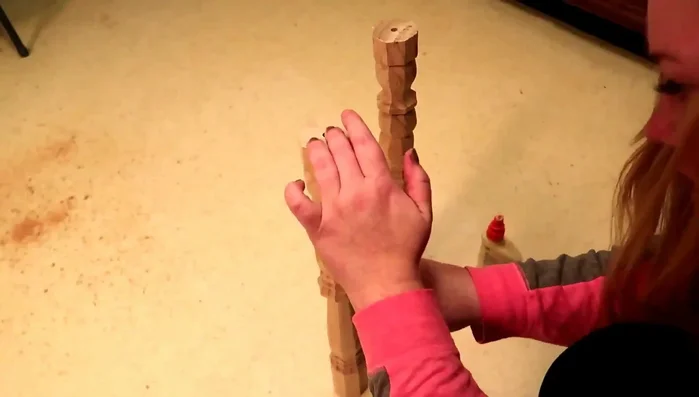
- Glue the two drilled table legs together and let them dry completely.

Prepare the Legs Create the Base
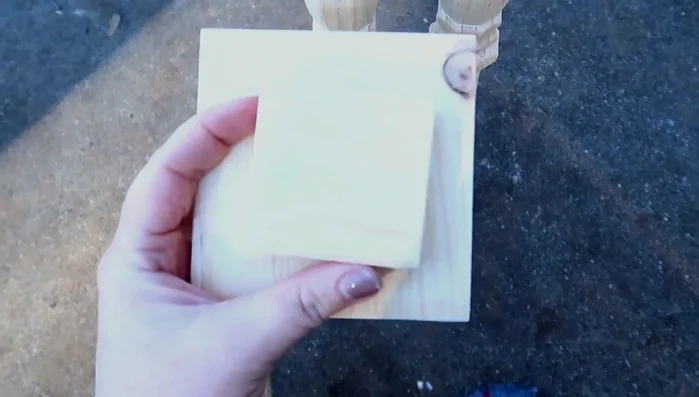
- Cut and sand two small squares from scrap wood to create the lamp base.
- Assemble the base by attaching the small squares between the glued table legs.
- Stain the entire lamp base with Minwax Classic Gray 271.
Create the Base Assemble the Base
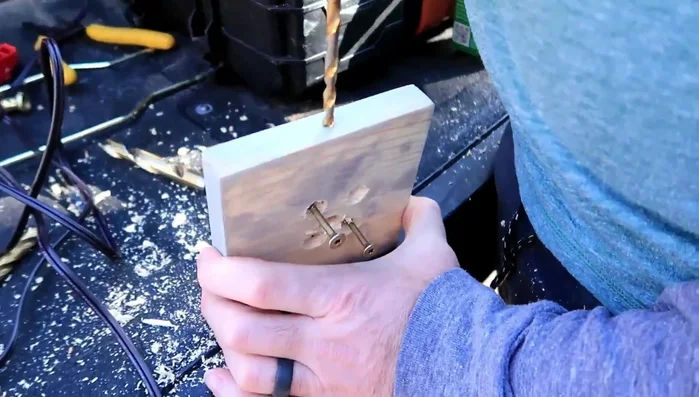
- Drill holes to attach the smaller base piece to the larger base piece. Predrill holes to prevent wood splitting.
- Attach the smaller base piece to the larger base piece using screws.
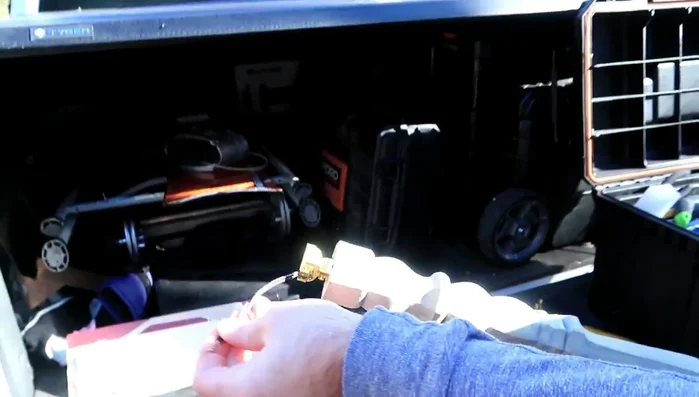
Assemble the Base Prepare for Wiring
- Drill a hole on the side of the base for the lamp wire and a hole all the way through for wire passage.
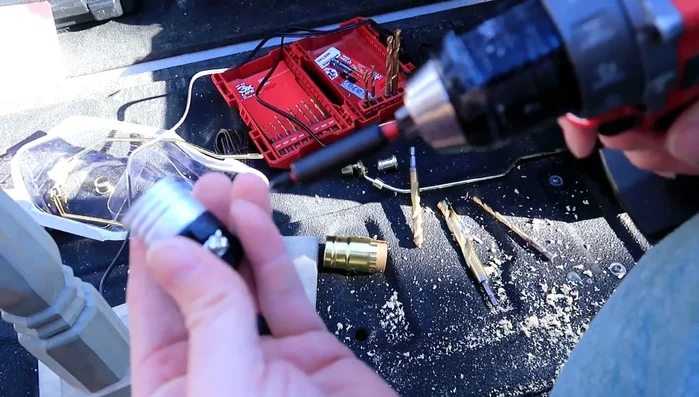
Prepare for Wiring Wire the Lamp
- Carefully thread the lamp wire through the holes, ensuring a 90° angle.
- Attach the top piece of the lamp base by pre-drilling and screwing.
- Partially unscrew two screws on the top piece, insert the lamp wire ends (bent into an upside-down U-shape) into the screws, and tighten.
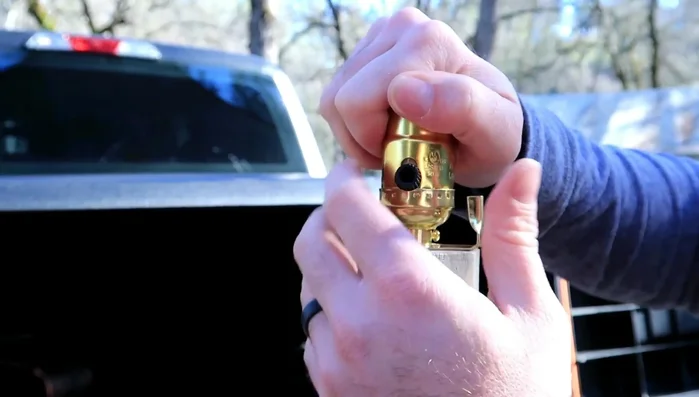
Wire the Lamp Finalize Assembly
- Attach the metal lamp fitting piece to the top of the lamp base, ensuring it clicks into place.
- Attach the lampshade (optional).
Finalize Assembly
Read more: DIY Upcycled Bed Frame: A Step-by-Step Guide
Tips
- Ensure the hole drilled through the table legs goes all the way through for easy wire passage.
- When staining, apply thickly, wait 10 minutes, and then wipe off with an old towel for an even finish.
- Predrill holes before screwing to prevent wood splitting.