Family fun just got a whole lot faster! Forget expensive, pre-assembled playsets – this weekend, unleash your inner child and build the ultimate Hot Wheels garage together as a family. Creating your own DIY Hot Wheels Ultimate Garage Playset is a fantastic way to spend quality time bonding, fostering creativity, and letting your imaginations run wild. Imagine the possibilities: a multi-level masterpiece complete with loops, jumps, and enough parking space for your entire Hot Wheels collection! This project combines the thrill of building with the endless fun of racing miniature cars, making it a winning combination for kids of all ages (and the adults who secretly love playing too!).
This exciting project is achievable with readily available materials, requiring minimal tools and expertise, making it perfect for a family afternoon. Get ready to experience the joy of collaborative construction and the satisfaction of creating something truly unique. Let's dive into the step-by-step instructions and turn your vision of the ultimate Hot Wheels garage into a thrilling reality!
Preparation and Safety Guidelines
- Hot Wheels cars
- Cardboard tubes/columns
- Wrapping paper
- Glue (hot glue gun recommended)
- String
- Scissors
- Craft knife/cutter
- Adult supervision is required at all times during assembly and playtime. Many small parts pose a choking hazard for young children.
- Ensure the playset is assembled on a stable, level surface to prevent tipping and potential injury.
- Use appropriate tools for assembly and avoid using excessive force, which could damage the playset components.
Step-by-Step Instructions
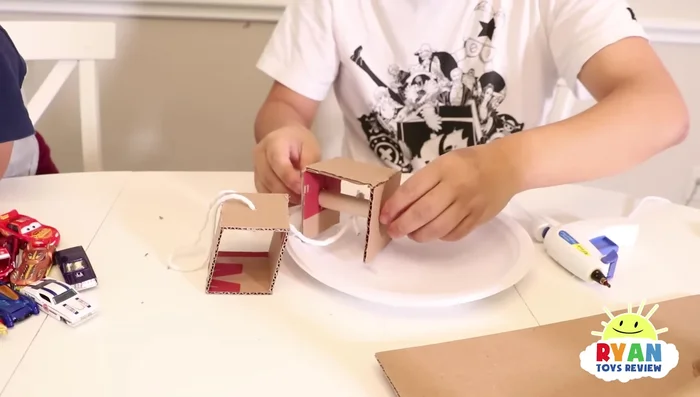
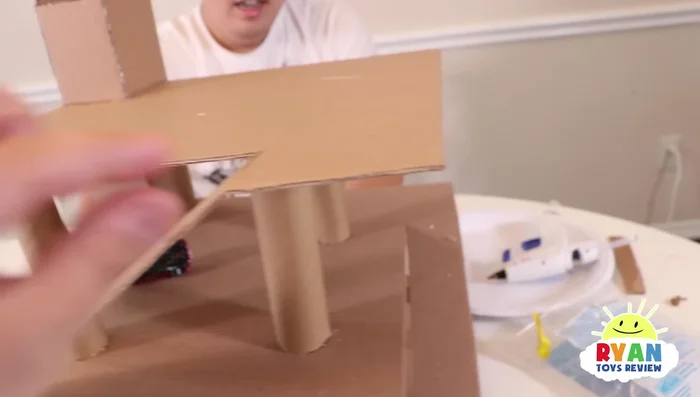
Constructing the Garage Base and Columns
- Create the base and columns using cardboard tubes and wrapping paper. Glue the wrapping paper onto the tubes to create a visually appealing look.
- Make three side pieces and glue them to the base, forming three columns. Drill holes near the top of the columns for the elevator mechanism.
- Attach the side pieces securely using hot glue to prevent them from falling. Adult supervision is recommended for using a hot glue gun.

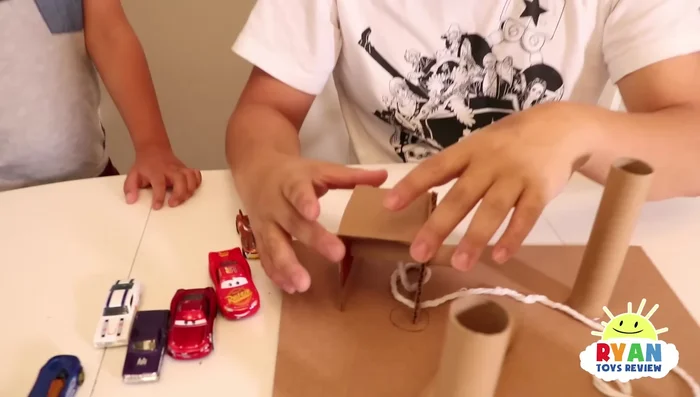
Constructing the Garage Base and Columns Building the Elevator Mechanism
- Create a thick piece with a hole for string, which acts as the elevator mechanism. Thread the string through to lift the cars.
- Attach the elevator mechanism to the string, ensuring it's secure and functions smoothly.
- Add a handle to the elevator for easier operation.
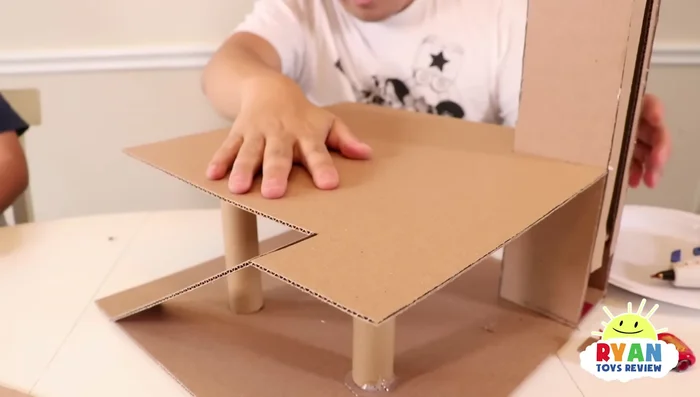
Building the Elevator Mechanism Creating the Ramp and Second Floor Access
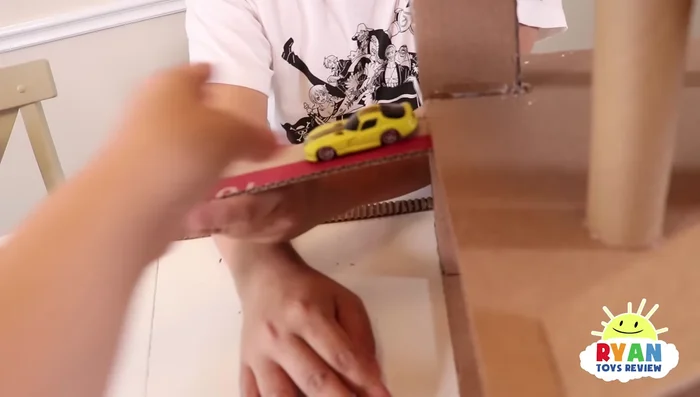
- Create a ramp piece by cutting a rectangular piece of cardboard and making a slit for the ramp to allow cars to roll down from the second floor.
- Attach the ramp carefully to allow the elevator to pass underneath without obstruction.
Creating the Ramp and Second Floor Access Adding Parking Spaces and Upper Levels
- Add pre-cut pieces for the car parking spaces and the upper levels. Attach them securely.
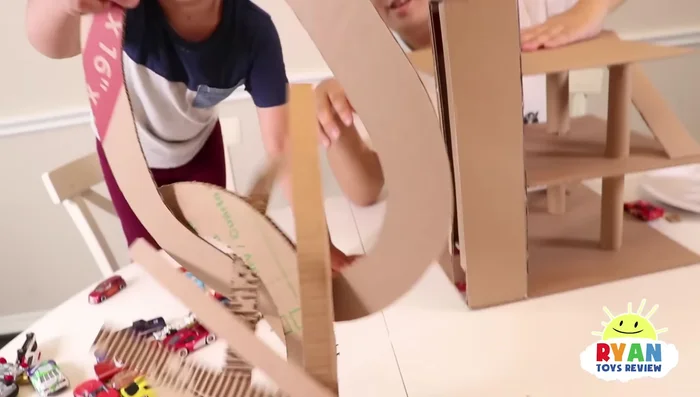
Adding Parking Spaces and Upper Levels Constructing and Securing the Slides
- Create the slides that connect the floors. Secure the sides to prevent cars from falling off. This step requires precise gluing.
- Add additional borders or barriers to the slides and upper levels to prevent cars from falling out.
Constructing and Securing the Slides

Read more: DIY King-Size Tufted Headboard: Budget-Friendly Guide
Tips
- Use a hot glue gun for secure attachments, but have adult supervision.
- Make sure to have the ramp positioned correctly to allow the elevator to function properly and not to impede it’s movement.