Protecting your valuable laptop or tablet shouldn't break the bank. Generic cases can be expensive and often lack personalization. Why settle for a mass-produced sleeve when you can create a custom-fit, stylish case yourself? This DIY project empowers you to tailor a protective casing perfectly to your device’s dimensions and aesthetic preferences, all while saving money and unleashing your creativity. The satisfaction of crafting something useful and unique is undeniable.
This guide will walk you through the simple yet effective process of making a durable and attractive laptop or tablet case, complete with a secure Velcro closure. We'll cover choosing the right materials, measuring your device accurately, and assembling the case step-by-step, ensuring a professional finish even for beginners. Get ready to discover how easy it is to create the perfect protective case for your tech.
Preparation and Safety Guidelines
- Fabric (upholstery fabric, lining fabric, felt)
- Velcro
- Paper
- Scissors
- Measuring tape
- Sewing machine
- Pins
- Iron
- Always use sharp scissors or a rotary cutter with caution to avoid injury. Keep fingers away from the blade.
- Ensure your chosen fabric is strong enough to protect your device. Consider the weight and potential impact forces.
- Accurately measure your laptop/tablet before cutting fabric to guarantee a proper fit. A slightly larger case is preferable to one that's too small.
Step-by-Step Instructions
Create the Pattern
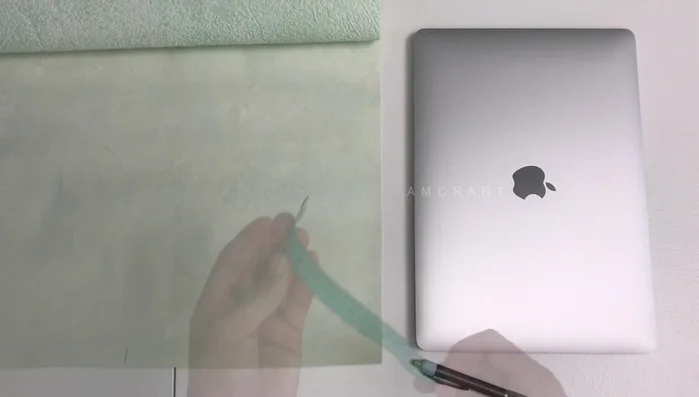
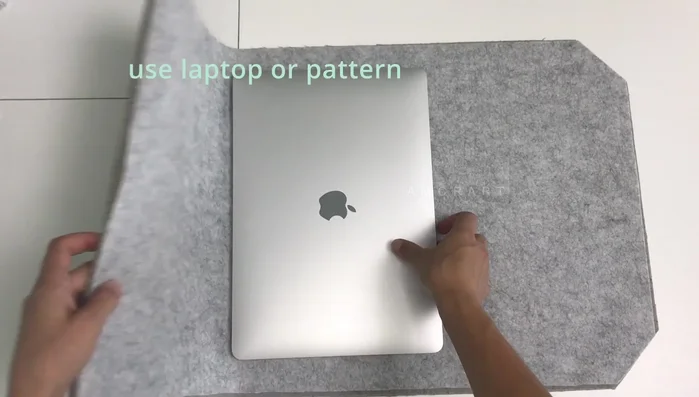
- Measure and mark the pattern on paper.

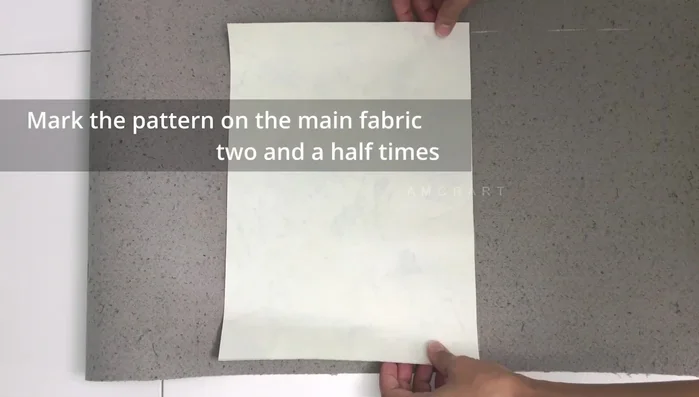
Create the Pattern Cut Fabric
- Mark the pattern on the main fabric (2.5 times the size).
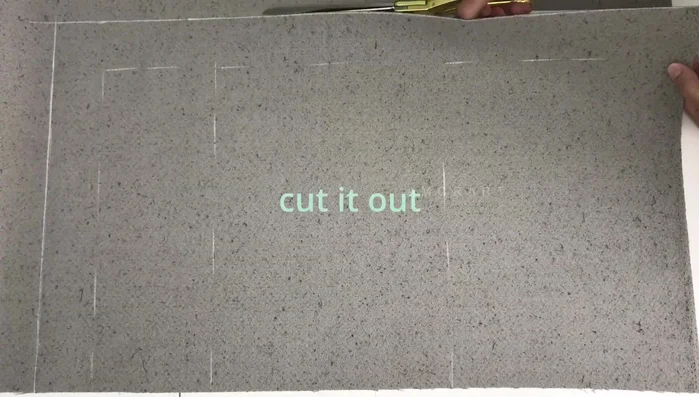
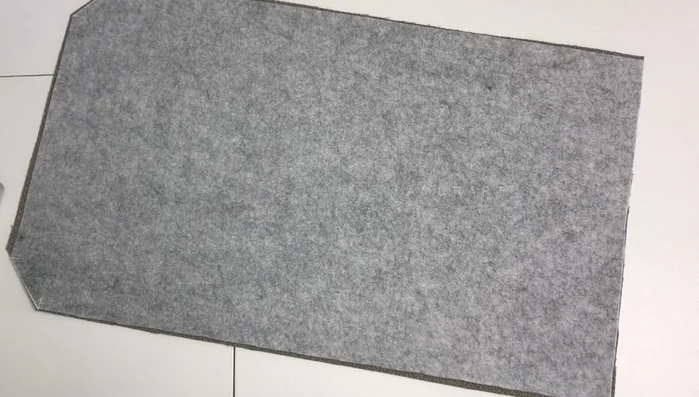
- Cut out the main fabric and lining fabric.
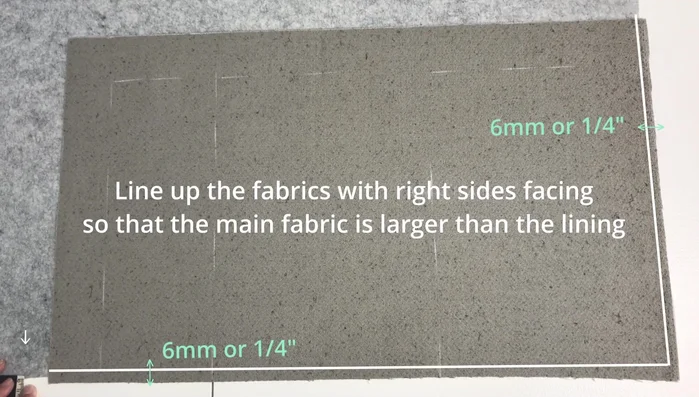
Cut Fabric Sew Main Fabric to Lining
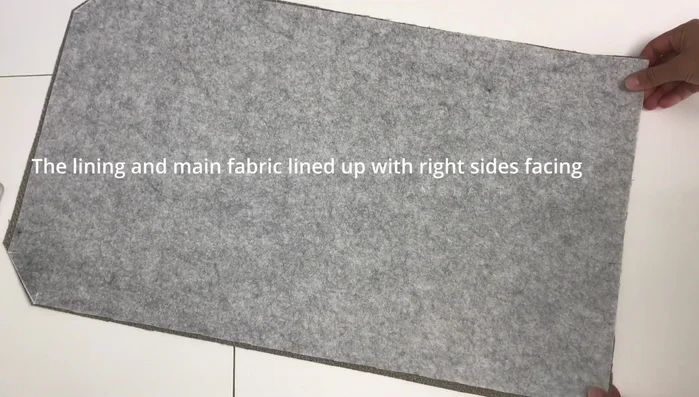
- Line up the main and lining fabrics with right sides facing, ensuring the main fabric is larger.
- Align the edges and clip/pin.
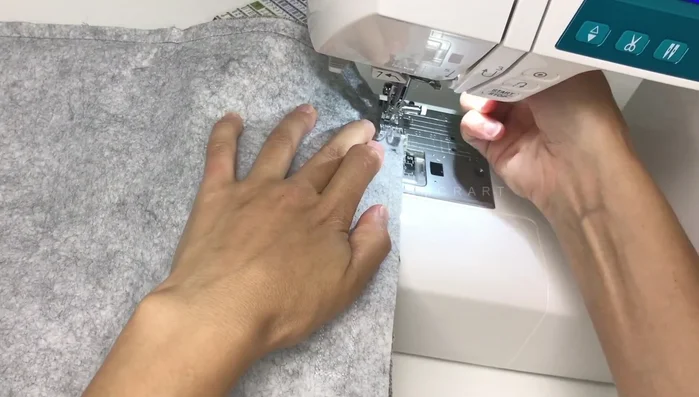
- Stitch the fabrics together, leaving a gap.
- Clip corners.
Sew Main Fabric to Lining Turn and Press
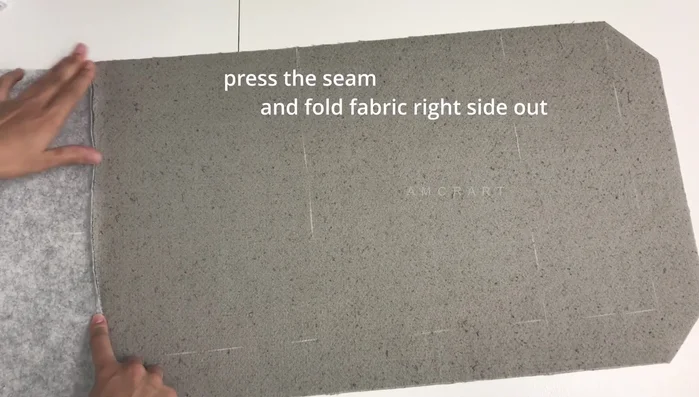
- Turn the fabric right side out.
- Press the seam and fold fabric right side out.
Turn and Press Check Fit
- Check the fit using laptop/tablet.
Check Fit Attach Velcro
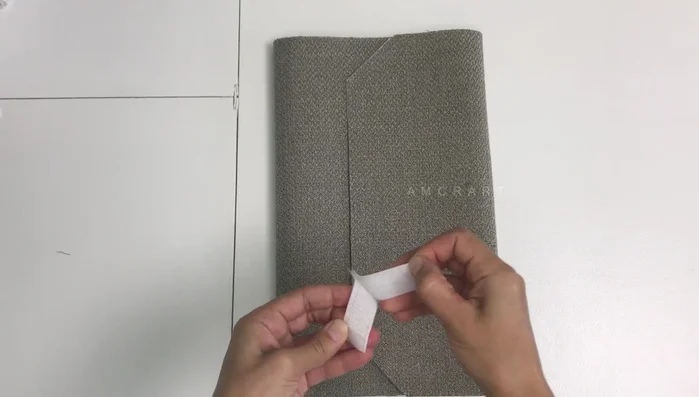
- Prepare and attach Velcro.
- Stitch Velcro to the right side of the fabric (twice around).
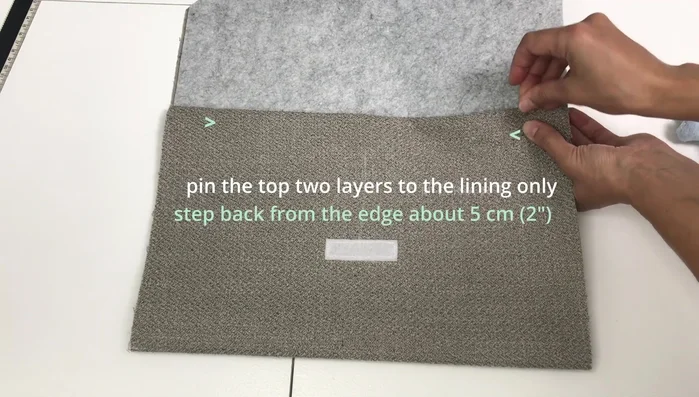
Attach Velcro Close the Case (Top)
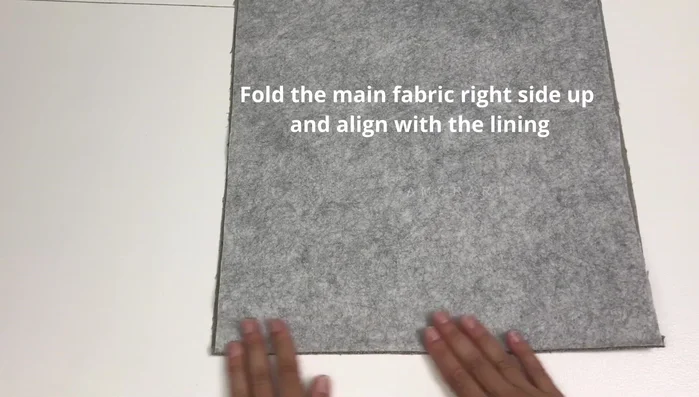
- Fold the main fabric right side up and align with the lining.
- Stitch the top two layers to the lining.
Close the Case (Top) Close the Case (Bottom)
- Pin layers, stepping back from the edge.
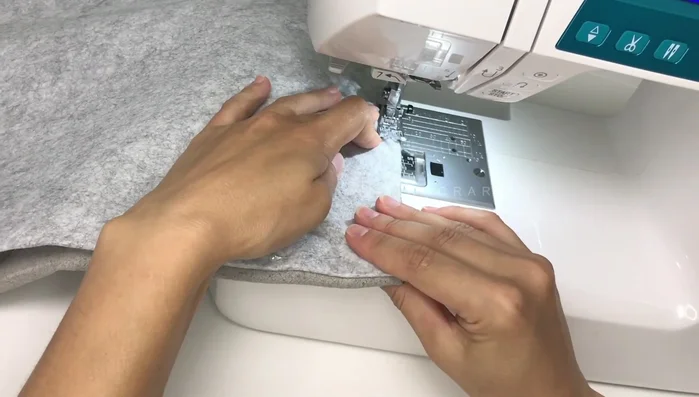
- Stitch the final seams, using a seam allowance of about 1cm.
- Backstitch, remove pins, and trim edges.
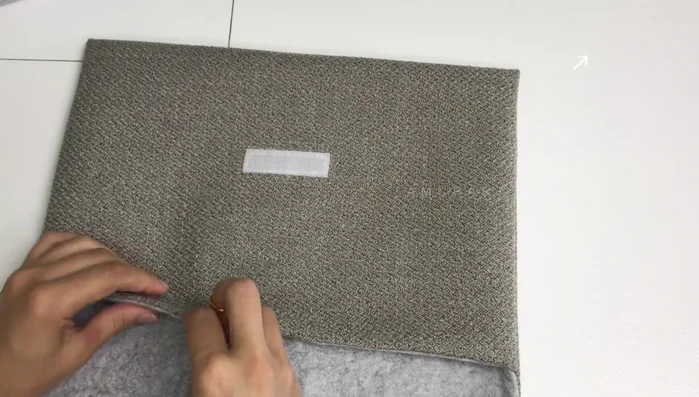
Close the Case (Bottom) Finish
- Hand sew the opening closed using an invisible stitch.
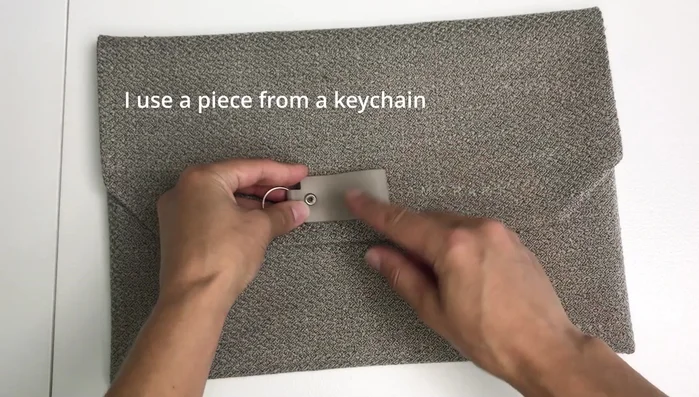
- Add optional fabric or leather piece for a label or pull tab.
Finish


Read more: DIY Vibrant Car Organizer: A Step-by-Step Quilting Tutorial
Tips
- Use thicker, good-quality fabric for the base.
- Velcro is soft and safe for laptops.