Transforming your bathroom from drab to fab doesn't require a fortune or a professional contractor. A simple yet impactful upgrade, a DIY mirror cabinet, can elevate the entire space, adding both functionality and a touch of modern elegance. Imagine the convenience of having all your toiletries neatly stored away, hidden behind a stylish mirrored surface that also brightens your bathroom. This sleek addition not only maximizes space but also creates a sophisticated and polished look, perfect for a relaxing sanctuary. Forget expensive, pre-made options; with a little effort and the right guidance, you can craft a customized mirror cabinet that perfectly fits your bathroom's style and needs.
This article will guide you through a comprehensive, step-by-step process to build your own stunning mirror cabinet. From selecting the right materials and tools to mastering the intricacies of installation, we’ll cover everything you need to know to successfully complete this rewarding DIY project. Prepare to be amazed at the transformation you can achieve, all while enjoying the satisfaction of creating something beautiful and practical with your own hands.
Preparation and Safety Guidelines
- Wood
- Mirror
- Router
- Table Saw
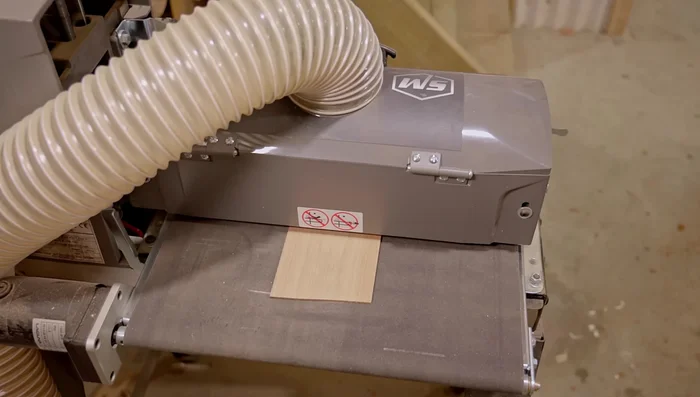
- Drum Sander
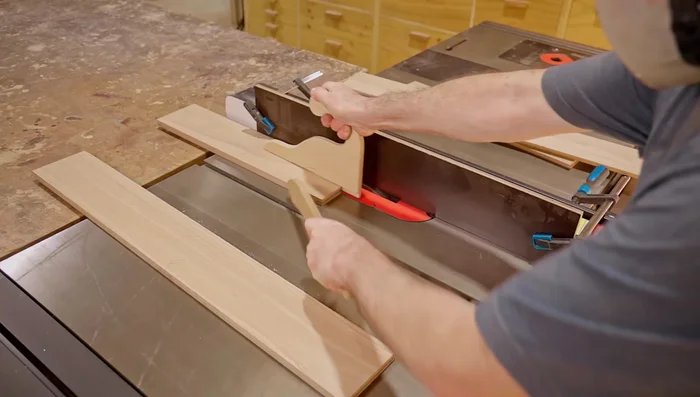
- Chisel
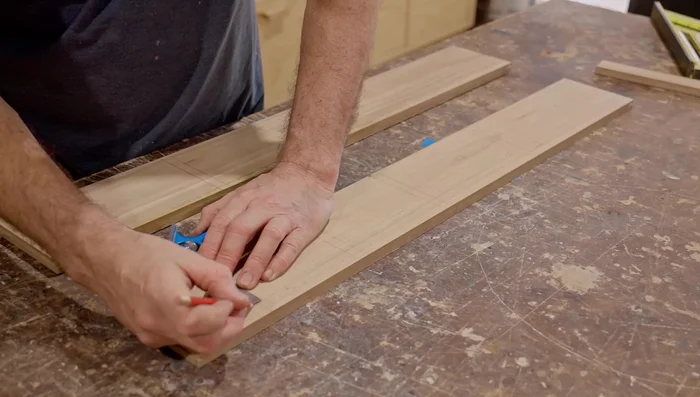
- Marking Knife
- Spines
- Glue
- Clamps
- Sandpaper
- Paint
- Varnish
- Foam Roller
- Contact Adhesive
- Laminate
- Screws
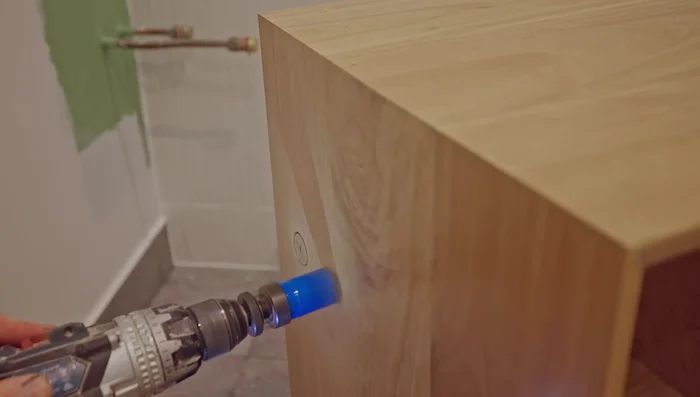
- Drill
- Diamond Drill Bit
- Silicone
- Plexiglass
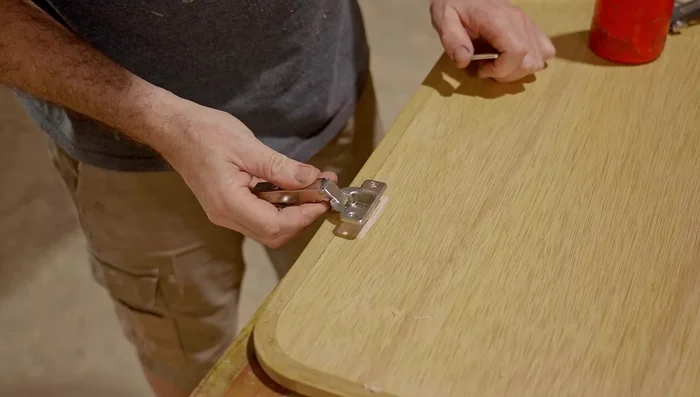
- Hinges
- Always disconnect the power to the bathroom circuit before starting any electrical work, even if just installing a light inside the cabinet. Improper wiring can lead to serious injury or death.
- Use appropriate safety glasses and gloves when working with glass, mirrors, and sharp tools. Broken glass can cause serious cuts.
- Ensure the cabinet is securely fastened to the wall using appropriate wall anchors and screws suitable for the weight of the cabinet and its contents. A poorly secured cabinet could fall, causing injury or damage.
Step-by-Step Instructions
Mirror Removal and Cabinet Construction
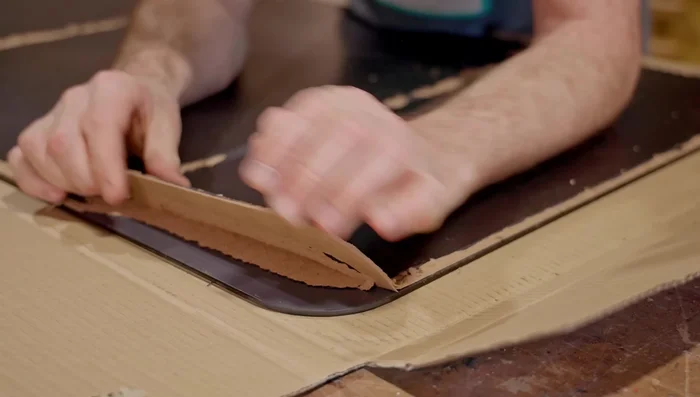
- Remove the mirror from its existing frame. Use TPS (presumably a type of adhesive remover) to soften the adhesive for easier removal.
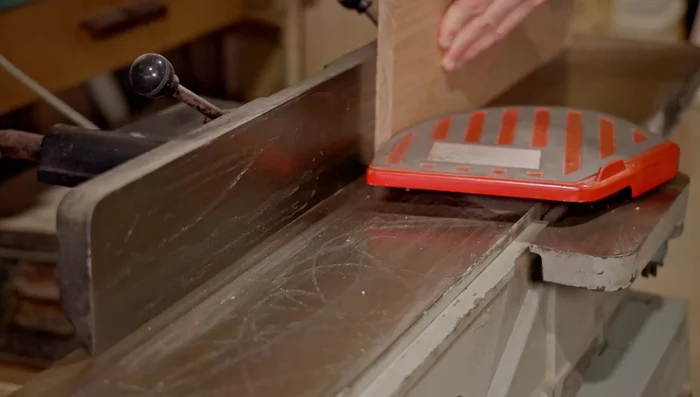
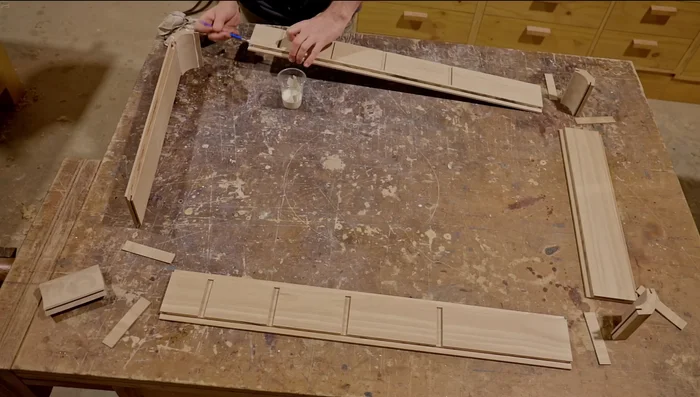
- Mill the top, bottom, and sides of the cabinet from wood.
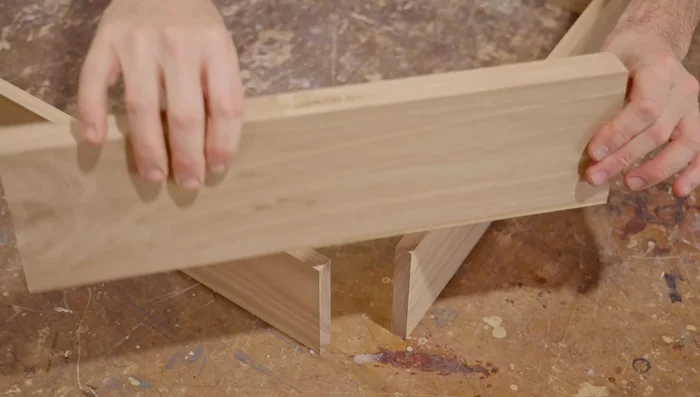
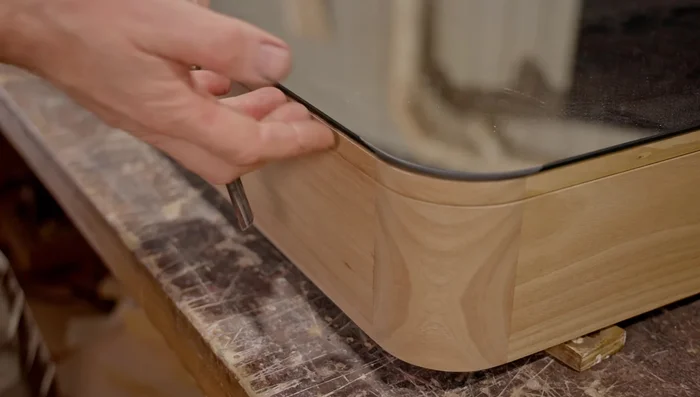
- Cut curves in thicker stock to match the mirror's shape and connect the corners.
- Cut grooves in both sides of each joint to create a spline joint. This strengthens the cabinet.

Mirror Removal and Cabinet Construction - Cut and shape the splines, ensuring a tight fit.
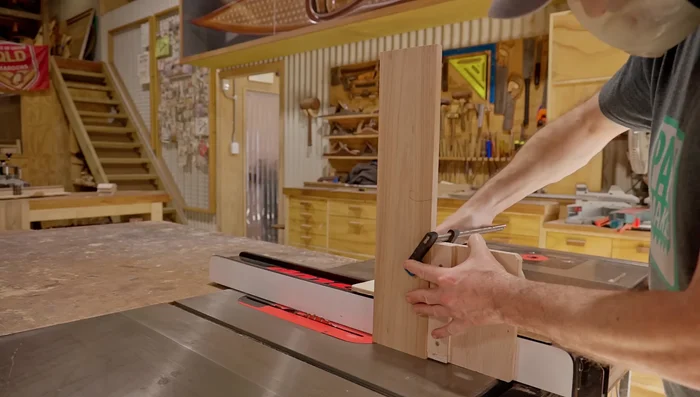
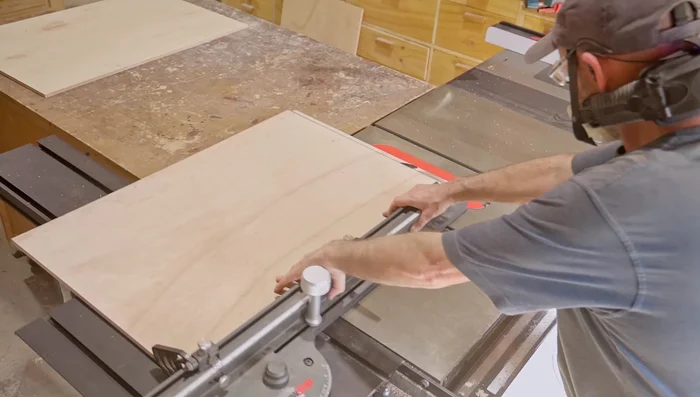
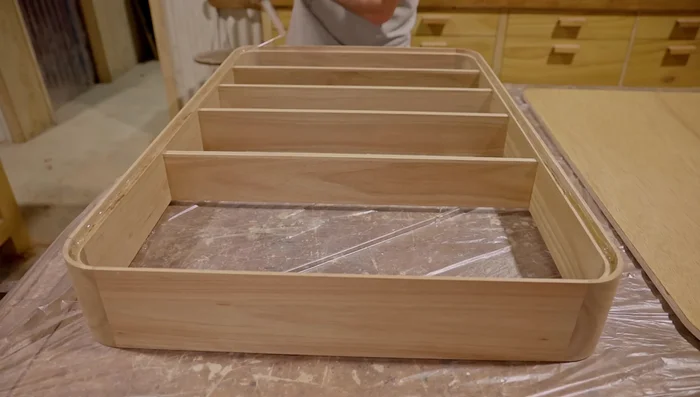
- Cut shelves to size, accounting for the wall outlet in the bottom shelf.
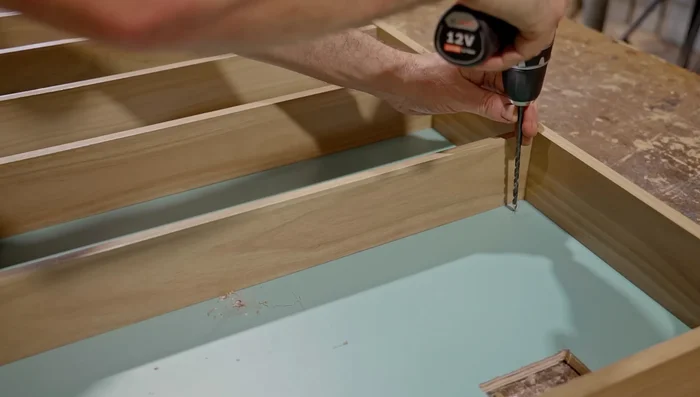
- Cut dadoes for the shelves using a simple jig setup.
- Cut rebates on both sides of the cabinet for panels (back and door).
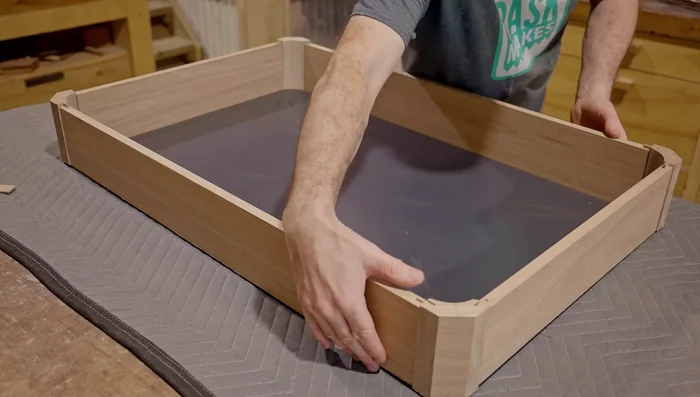
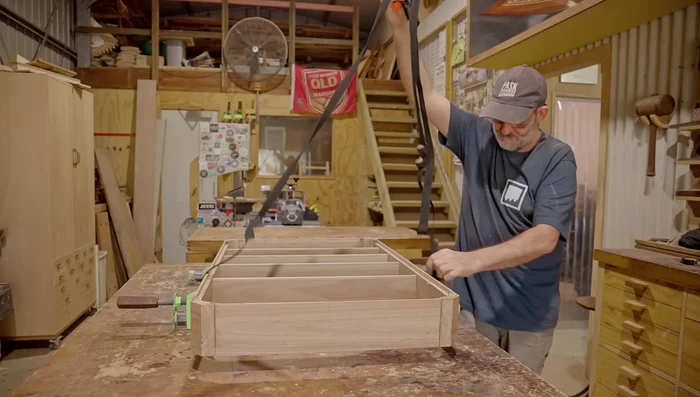
Mirror Removal and Cabinet Construction - Glue and clamp the cabinet together. Sand the interior.
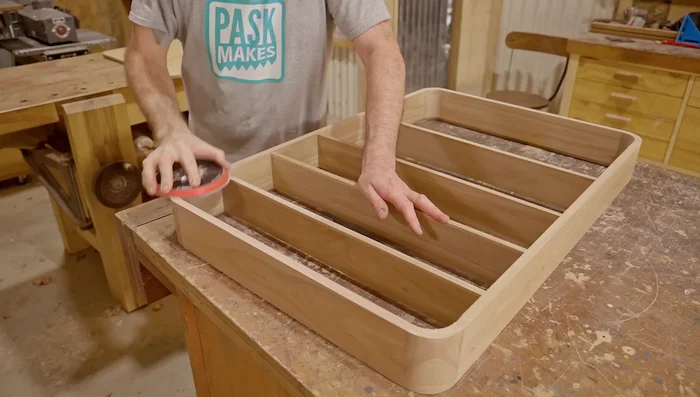
- Sand the inside corners, using a flap sander or similar tool.
- Route rebates on the inside corners.
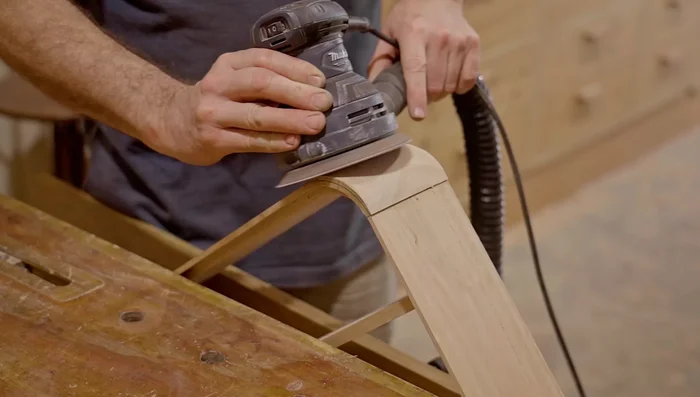
- Shape the outside corners using an orbital sander.
Mirror Removal and Cabinet Construction Panel Preparation and Finishing
- Cut and paint/varnish the back and door panels. Use pearl-escent paint for a unique look.
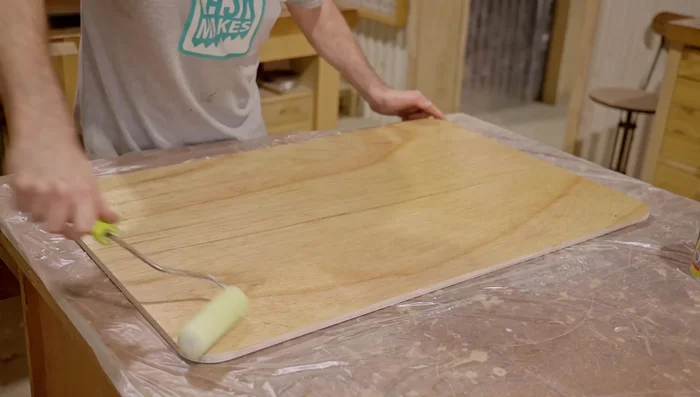
- Glue laminate to the back panel using contact adhesive.
- Apply varnish to the back of the door and the cabinet.
Panel Preparation and Finishing Cabinet Assembly and Door Installation
- Glue the door panel into place.
- Sand and varnish the door edges.
- Create and attach a handle to the door using a router and chisel.
- Attach hinges to the door and cabinet.
Cabinet Assembly and Door Installation Back Panel Installation and Outlet Setup
- Cut out a section of the divider for the waste track.
- Cut an opening in the back panel for the electrical outlet.
- Glue the back panel into the cabinet.
Back Panel Installation and Outlet Setup Final Installation and Finishing Touches
- Glue the mirror to the door.
- Install the cabinet into the bathroom using stainless steel screws and a diamond drill bit for the tiles.
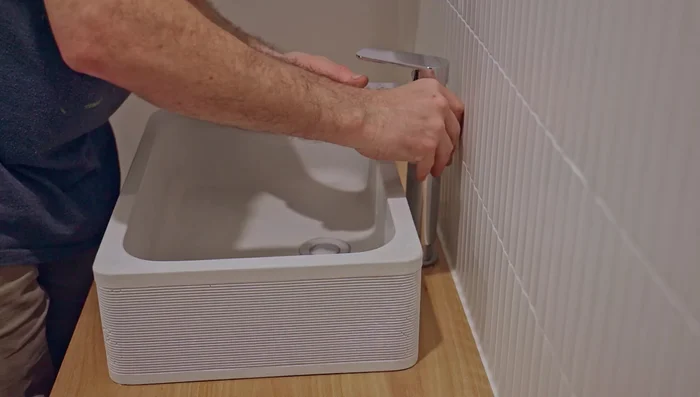
Final Installation and Finishing Touches Vanity and Sink Installation (External)
- Install the vanity and sink (steps not detailed).
Vanity and Sink Installation (External)


Read more: DIY Mason Jar Soap Dispensers: A Step-by-Step Guide with Two Stunning Designs
Tips
- Use TPS to remove stubborn adhesive from mirrors.
- Spline joints offer excellent strength.
- A simple jig can greatly assist in cutting dadoes.
- Use a flap sander for efficient inside corner sanding.
- Consider pearl-escent paint for a unique finish.