Tired of cluttered bathroom counters and a lack of storage space? Wish you could add some stylish shelving without the hassle of drilling holes and damaging your walls? Then you're in the right place! This guide will walk you through a simple, no-drill DIY project to create a beautiful and functional leaning bathroom shelf, perfect for showcasing your favorite toiletries, plants, or decorative items. Forget expensive, pre-made solutions and embrace the satisfaction of creating something yourself. This project requires minimal tools and affordable materials, making it accessible to even the most novice DIY enthusiast.
Transform your bathroom from chaotic to chic in just a few easy steps! No special skills are needed, and we'll guide you every step of the way, from selecting the right materials to ensuring a sturdy and secure shelf. Ready to get started on your stylish and practical leaning bathroom shelf? Let's dive into the step-by-step instructions below.
Preparation and Safety Guidelines
- Plywood boards (18mm)
- Speed square
- Saw
- Sandpaper (80, 180, 300 grit)
- Light aqua stain
- Edge banding (80mm white)
- Wood glue
- Brad nails
- Clamps
- Drill
- Countersink drill bit
- Screws
- Ensure the wall surface is clean, dry, and capable of supporting the weight of the shelf and its contents. Avoid placing heavy items on a shelf leaning against a weak or unstable surface.
- Use strong adhesive strips rated for the weight of your shelf and its contents. Follow the manufacturer's instructions carefully for best adhesion and weight capacity.
- Regularly check the adhesive strips for any signs of loosening or damage. If you notice any issues, immediately remove the shelf and re-secure it with new adhesive strips.
Step-by-Step Instructions
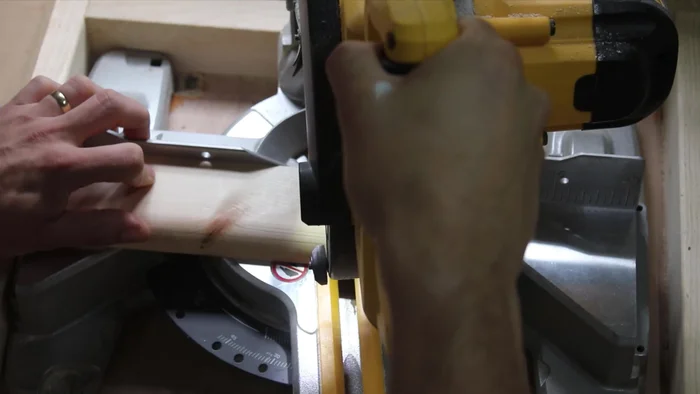
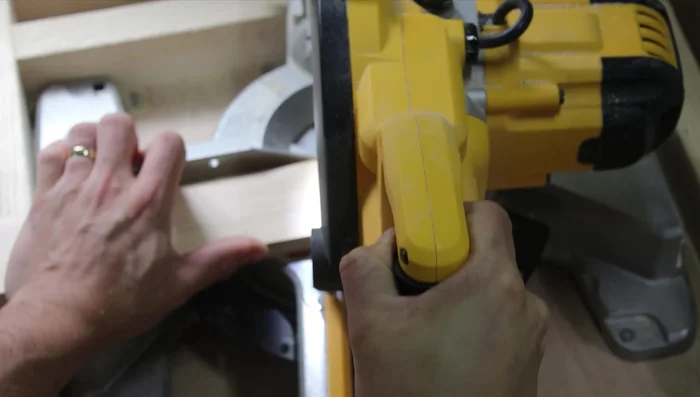
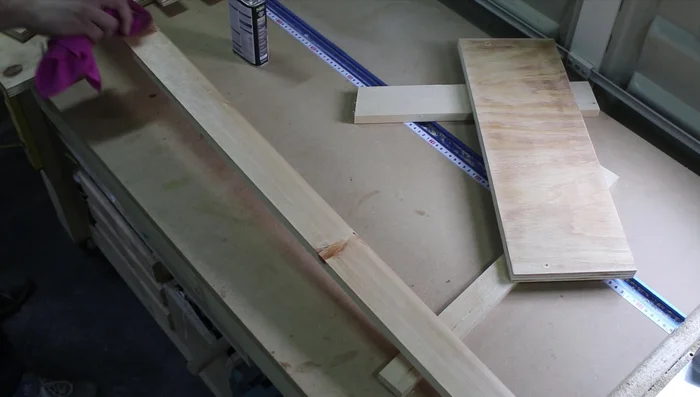
Prepare the Legs
- Cut both ends of the legs to a 10-degree angle.
- Mark a 90-degree angle on the top of the legs using a speed square and cut them off. This side will lean against the wall.

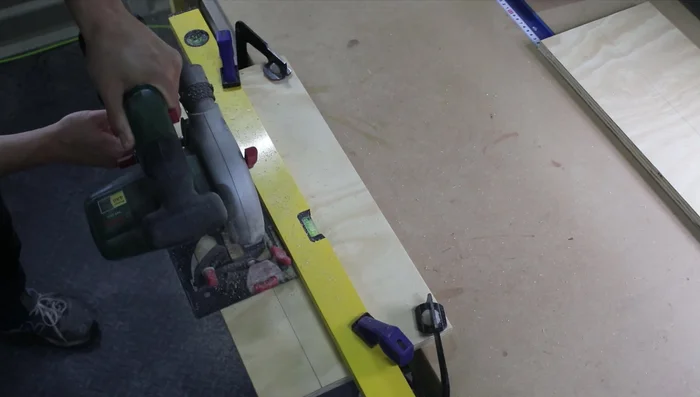
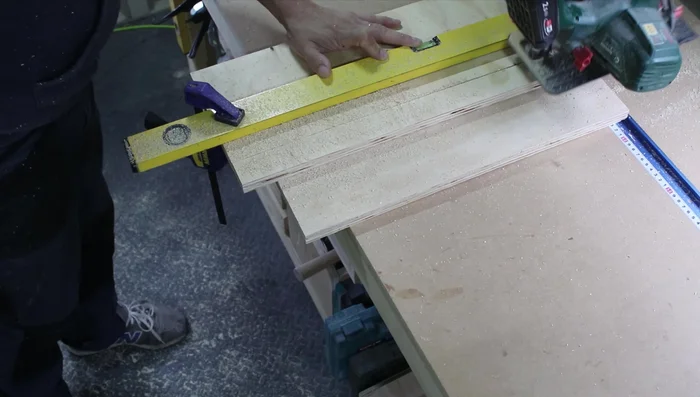
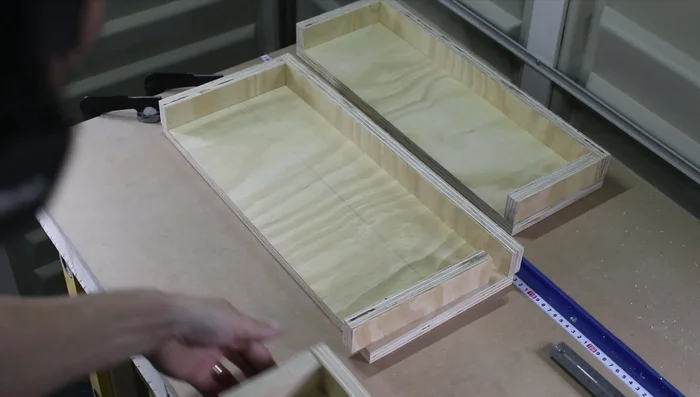
Prepare the Legs Cut Shelf Components
- Cut out three shelves from 18mm plywood boards.
- Cut out the four-centimeter-tall walls for the shelves from plywood.
Cut Shelf Components Sand and Stain
- Sand the shelves and walls with 80, 180, and 300 grit sandpaper.
- Apply a layer of light aqua stain.
Sand and Stain Apply Edge Banding
- Apply the edge banding.
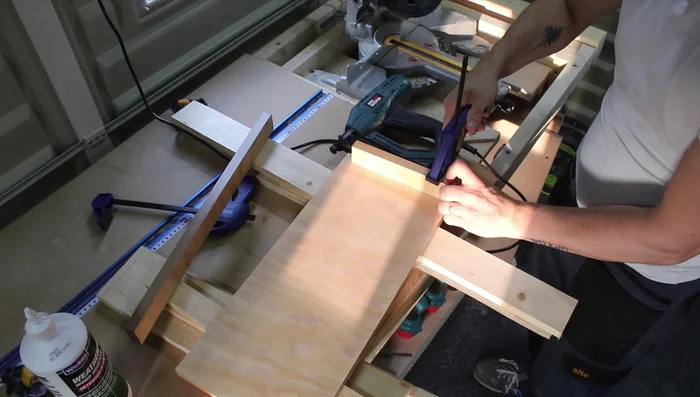
Apply Edge Banding Assemble the Shelves
- Assemble the shelves using wood glue and brad nails. Glue the sides first, then the back. Use clamps to hold the pieces together while securing with nails.
Assemble the Shelves Protect with Polyurethane
- Apply two coats of poly to protect the wood.
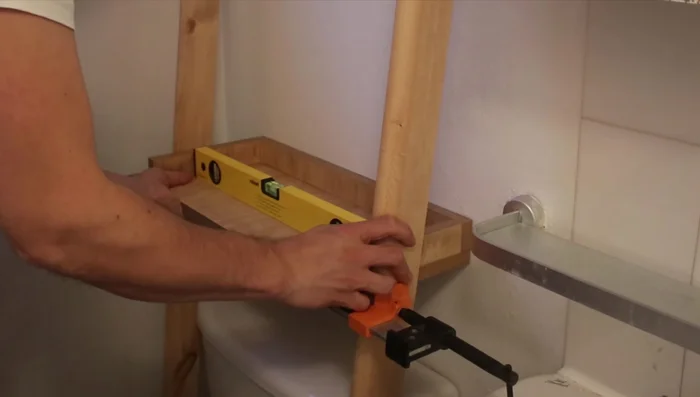
Protect with Polyurethane Install the Shelves (Note: This step is inaccurate based on the 'No Drilling Required' title. It should be revised to reflect a no-drill installation method.)
- Position the shelves in the bathroom. Use a clamp to hold the shelves between the legs while drilling holes and inserting screws. Ensure shelves are level and screws are flush with the surface.
- Drill pilot holes to prevent wood splitting. Use another wall for support, ensuring both walls are plumb.
Install the Shelves (Note: This step is inaccurate based on the 'No Drilling Required' title. It should be revised to reflect a no-drill installation method.)


Read more: DIY Mason Jar Soap Dispensers: A Step-by-Step Guide with Two Stunning Designs
Tips
- Use a speed square for accurate 90-degree angles.
- Pre-drilling pilot holes prevents wood from splitting, especially in tight spaces.
- Ensure both walls are plumb before securing the shelf unit.
- Clamps are essential for holding pieces together while gluing and nailing.