Tired of the same old jewelry? Yearning for unique, handcrafted pieces that reflect your personal style? Then look no further! DIY paper beads offer a fantastically creative and surprisingly simple way to elevate your accessory game. This accessible craft utilizes readily available materials, turning humble scraps of paper into stunning, vibrant beads that are perfect for necklaces, earrings, bracelets, and more. The possibilities are truly endless, limited only by your imagination and the colours of paper you choose. You can experiment with different paper types, textures, and patterns to create truly one-of-a-kind designs.
Forget expensive beads and complicated techniques; crafting your own paper beads is both rewarding and budget-friendly. This easy tutorial will guide you through the process step-by-step, from preparing your paper strips to finishing your gorgeous, handcrafted beads, ready to be strung and worn. Let's dive in and unlock your inner jewelry designer!
Preparation and Safety Guidelines
- Paper cutter
- Scrapbooking paper/magazines/wallpaper
- Floral wire/dowel
- Tacky glue
- Polyacrylic top coat
- Needle-nose pliers
- Head pins
- Jump rings
- Seed beads
- Elastic beading cord (optional)
- Always supervise children when using sharp objects like scissors or craft knives. Paper can also be a choking hazard for young children.
- Use water-based sealant or varnish designed for paper crafts; avoid flammable materials. Ensure adequate ventilation when working with any potentially strong-smelling products.
- Be mindful of the paper type; some papers may be more fragile and difficult to work with than others. Thicker, sturdy paper is generally recommended for beginners.
Step-by-Step Instructions
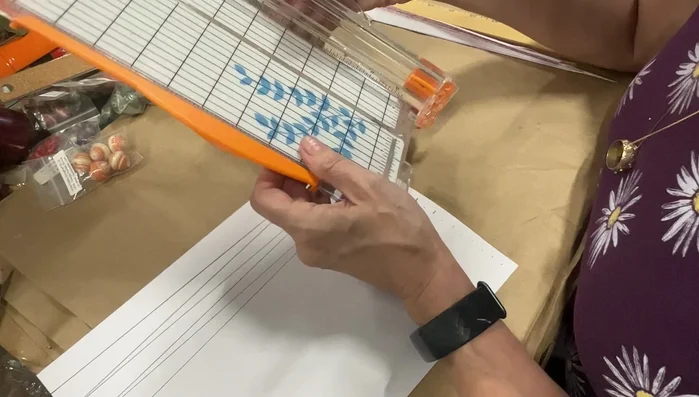
Prepare Paper Triangles
- Measure and mark the desired bead length on the reverse side of your paper. Draw a line in the middle. Create triangles by drawing lines from the midpoint to the marked edges.
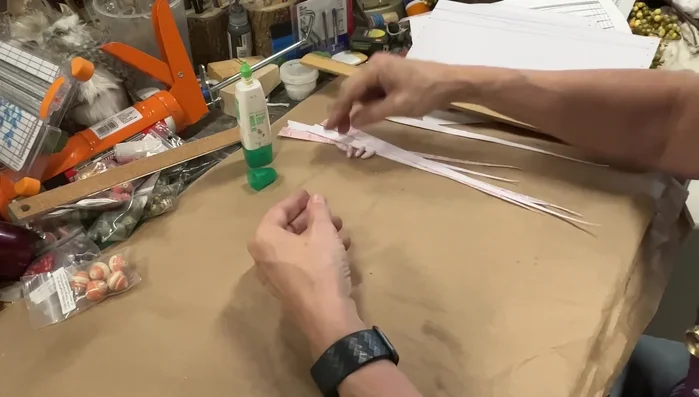
Cut Paper Triangles
- Using a paper cutter, carefully cut along the drawn lines to create triangular strips.

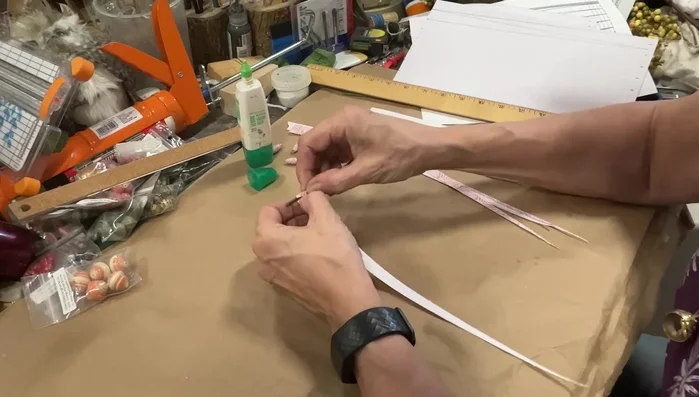
Cut Paper Triangles Wind and Glue Paper Beads
- Starting from the wide end, tightly wind each strip around a piece of wire or dowel, keeping the bead centered. Glue the tip to secure the winding.
Wind and Glue Paper Beads Dry the Beads
- Set the beads aside to allow the glue to dry completely.
Dry the Beads Seal the Beads
- Once dry, apply a polyacrylic top coat to seal and protect the beads.
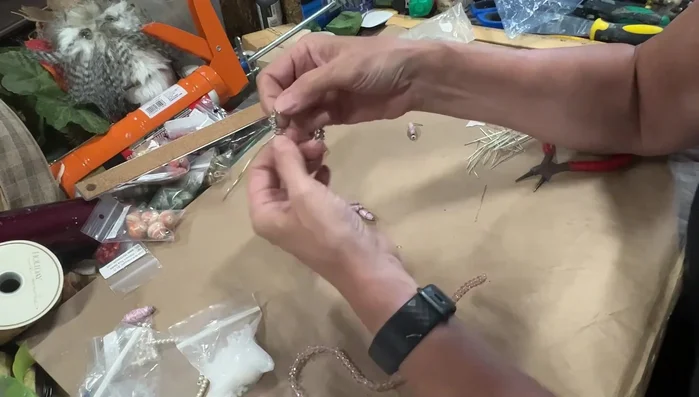
Seal the Beads Create Dangles (Optional)
- Attach beads to headpins and create loops using round-nose pliers. Attach the loops to jump rings.
Create Dangles (Optional) Assemble Jewelry
- String the beads onto elastic beading cord or use them in any jewelry design.

Read more: DIY King-Size Tufted Headboard: Budget-Friendly Guide
Tips
- Use any scrap paper: Experiment with different types of paper for varied effects.
- Create larger beads: Use multiple strips of paper layered together for bigger beads.
- Alternate colors: Layer different colored paper strips for colorful beads.