Are you tired of cluttered drawers and overflowing craft supplies? Do you crave a touch of rustic charm in your home organization? Then look no further! This simple and elegant DIY project offers a delightful solution, transforming humble popsicle sticks into a beautiful and functional storage box. Perfect for storing small trinkets, jewelry, office supplies, or even your favorite crafting tools, this project is as satisfying to make as it is to display. Its charming aesthetic blends seamlessly with various décor styles, from farmhouse chic to modern minimalist.
This charming little box requires minimal materials and surprisingly few tools, making it an ideal project for beginners and seasoned crafters alike. The natural beauty of the wood provides a warm and inviting feel, and the customizable design allows for personal expression. Ready to embark on this creative journey? Let's dive into the step-by-step instructions and transform those leftover popsicle sticks into a stunning addition to your home.
Preparation and Safety Guidelines
- Popsicle sticks
- Cardboard box
- Ribbon
- Hot glue gun
- Glue sticks
- Cutter
- Scissors
- Fabric
- Swing pins
- Use wood glue specifically designed for crafts. Other adhesives may not bond properly to popsicle sticks or may be toxic.
- Adult supervision is required, especially when using glue, scissors, or any sharp tools.
- Allow ample drying time for the glue to ensure the box is sturdy and doesn't fall apart.
Step-by-Step Instructions
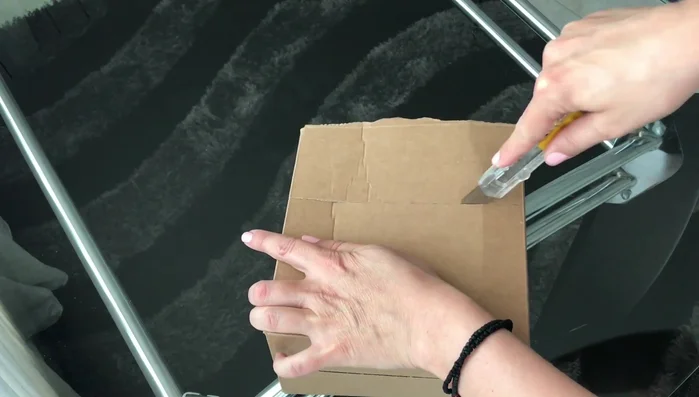
Prepare the Box
- Cut the cardboard box to your desired size.

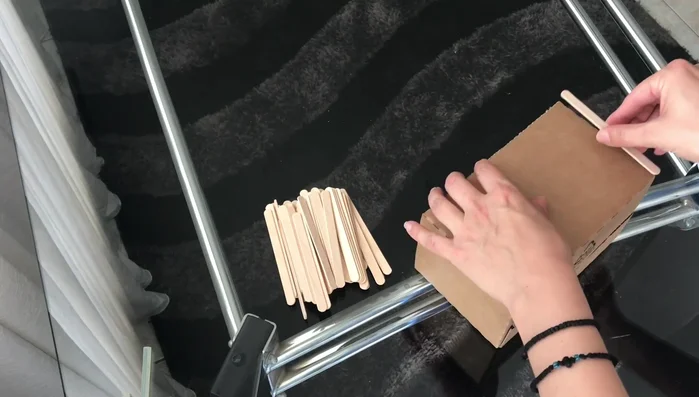
Prepare the Box Cover the Box with Popsicle Sticks
- Apply hot glue to the top and bottom of a popsicle stick and attach it to the box. Repeat until the box is covered.
Cover the Box with Popsicle Sticks Decorate the Exterior
- Glue the ribbon around the bottom edge of the box.
Decorate the Exterior Create the Fabric Liner
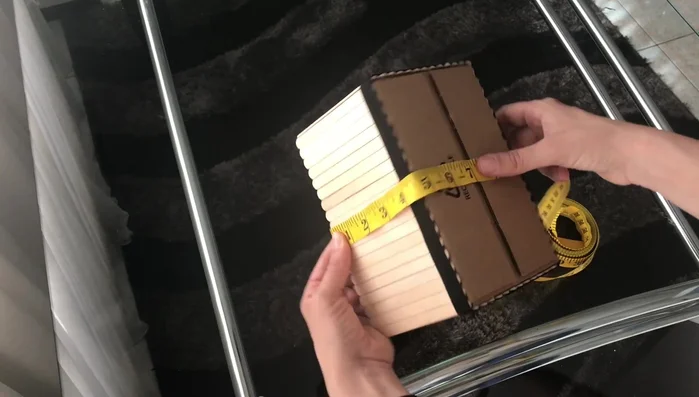
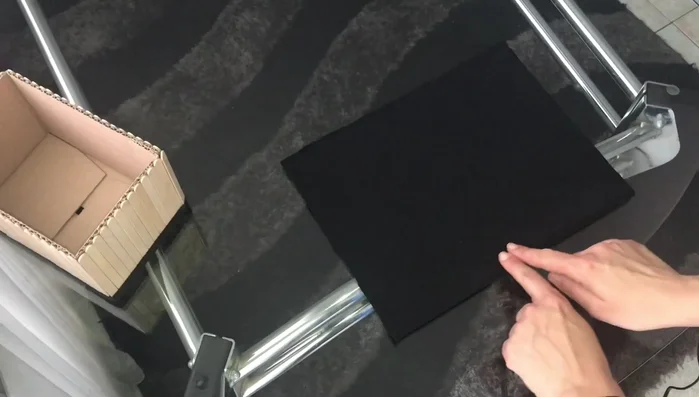
- Measure and cut fabric for the inner liner (consider the box's dimensions and add extra for the bottom).
- Glue the short sides of the fabric together to form a box shape.
Create the Fabric Liner Attach the Fabric Liner
- Place the fabric liner inside the popsicle stick box, and trim the excess corners diagonally before gluing the fabric to the inside of the box.
Attach the Fabric Liner


Read more: DIY King-Size Tufted Headboard: Budget-Friendly Guide
Tips
- Take your time and enjoy the relaxing crafting process.
- This method creates a beautiful, easy-to-make storage box suitable for various home uses.