Rusty radiator pipes are a common homeowner headache, often leading to leaks, reduced heating efficiency, and even potential water damage. The sight of corroded metal and the constant worry of a burst pipe can be incredibly stressful, especially during colder months when reliable heating is crucial. Fortunately, tackling this problem doesn't always necessitate a costly professional call-out. With the right tools, materials, and a little know-how, many rusty radiator pipe issues can be permanently resolved through DIY repair. Ignoring the problem only leads to escalating costs and potential for more extensive damage.
This guide provides a comprehensive, step-by-step approach to permanently fixing rusted radiator pipes, empowering you to tackle this repair confidently and effectively. We'll cover everything from identifying the extent of the damage and selecting appropriate materials, to the crucial techniques for ensuring a long-lasting, leak-free solution. Let's get started with the first step in our detailed, practical guide.
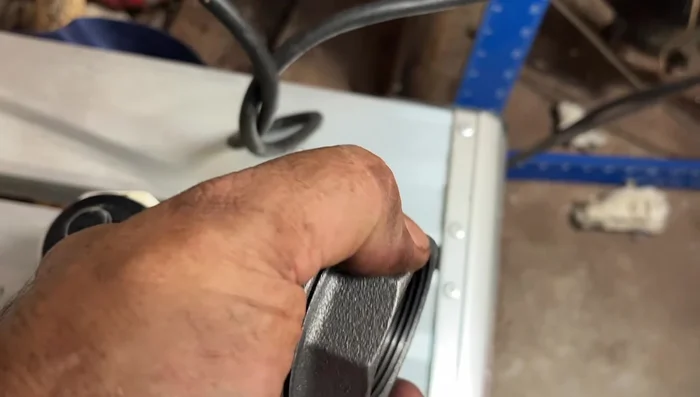
Preparation and Safety Guidelines
- Sawzall with demo blade
- PB Blaster/penetrating oil
- Wire brush
- Pipe wrench
- Union fitting
- Nipple
- Pipe dope
- Hammer
- Pry bars
- Measuring tape
- Always turn off the water supply to the radiator before starting any repair work. Failure to do so could result in flooding and significant property damage.
- Wear appropriate safety gear, including gloves and eye protection, to protect yourself from sharp edges, rust, and potentially harmful chemicals.
- If you are uncomfortable working with plumbing or are unsure about any aspect of the repair, consult a qualified plumber. Attempting repairs beyond your skill level could worsen the problem or cause further damage.
Step-by-Step Instructions
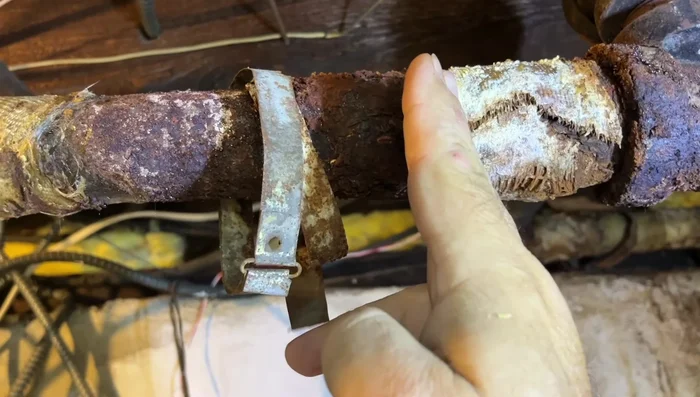
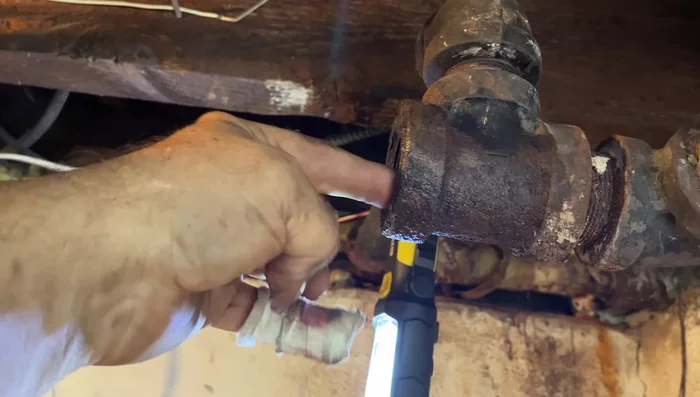
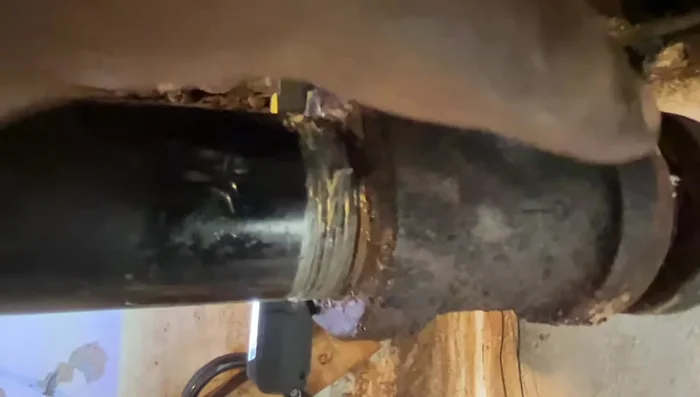
Cut the Rusted Pipe
- Use a Sawzall to cut the rusted pipe at both joints. Be mindful of any supporting structures (like chains or straps) to prevent the pipe system from collapsing.

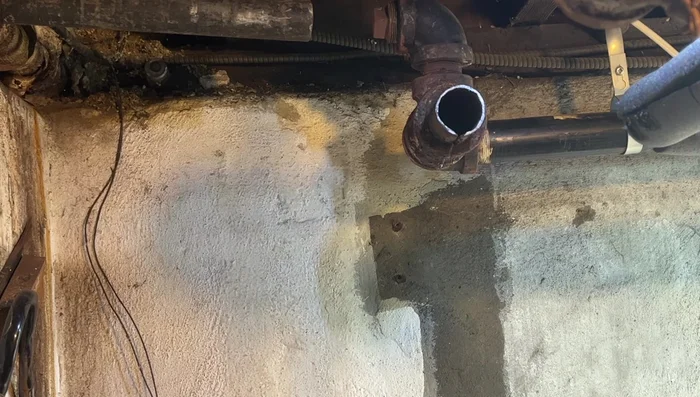
Cut the Rusted Pipe Remove the Old Pipe
- Carefully remove the rusted pipe sections from the fittings. This might require using pry bars and penetrating oil to loosen the rusted joints.
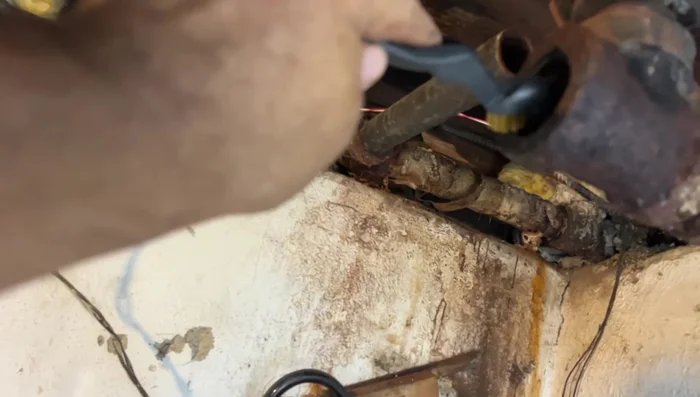
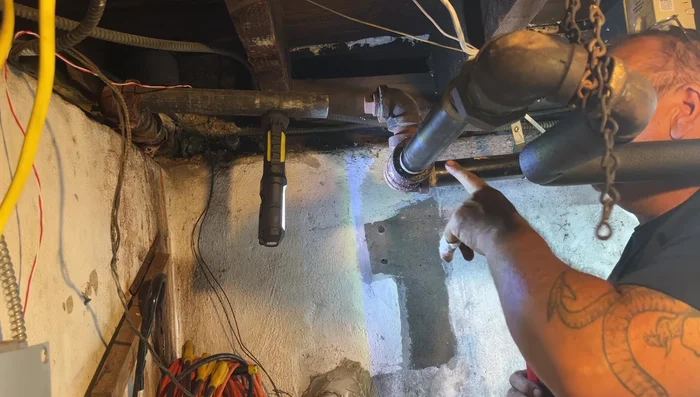
Remove the Old Pipe Clean the Threads
- Use a wire brush to thoroughly clean the threads of the remaining pipe sections to ensure a good seal with the new fittings.
Clean the Threads Prepare and Install the Union Fitting
- Apply pipe dope to the threads of a nipple and screw it into the looser end of the pipe.
- Apply pipe dope to the threads of the union fitting and screw it onto the nipple. Tighten securely using a pipe wrench.
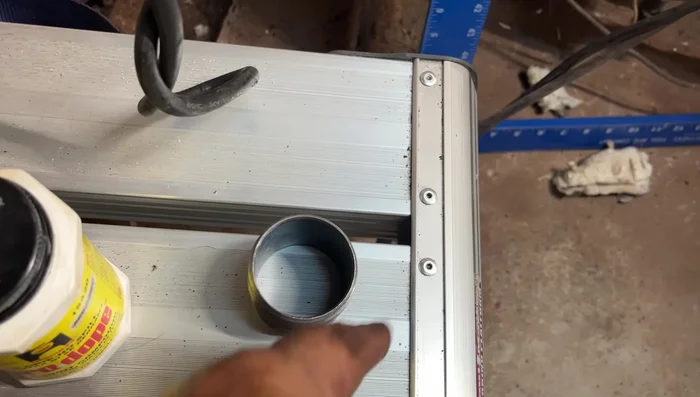
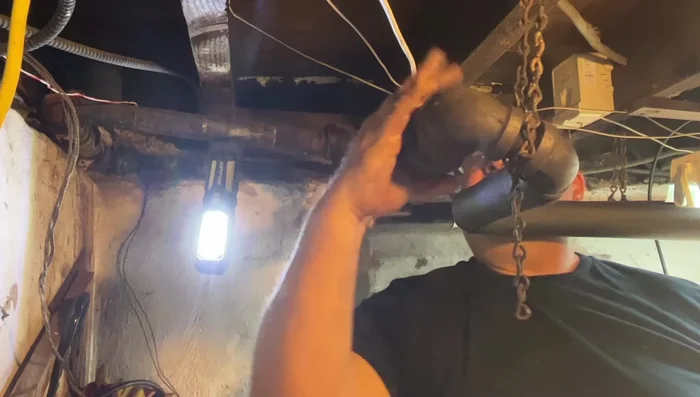
Prepare and Install the Union Fitting Measure and Prepare Replacement Pipe
- Measure the required length of the replacement pipe, adding extra for threading. Get the pipe cut and threaded at a hardware store.
Measure and Prepare Replacement Pipe Install the Replacement Pipe
- Apply pipe dope to the threads of the replacement pipe and screw it into the union fitting. Tighten securely.
Install the Replacement Pipe Secure the Connection
- Tighten the large nut on the union fitting to lock everything into place.
Secure the Connection Test for Leaks
- Turn on the furnace and check for any leaks.
Test for Leaks
Read more: Fixing a Leaky Toilet Tank: A Step-by-Step Guide
Tips
- Use penetrating oil: Apply penetrating oil liberally to rusted joints before attempting to remove the old pipe. This will help to loosen the rusted connections.
- Consider draining the pipes: Drain the pipes before cutting to avoid water spills.
- Use a union fitting: A union fitting allows you to easily disconnect and reconnect the pipe in the future if needed. While more expensive than other options, it provides flexibility and simplifies repairs.
- Always use pipe dope: Apply pipe dope to all threaded connections to ensure a watertight seal.
- Be careful when cutting near threads: Avoid damaging the threads when cutting the old pipe.