In a world increasingly conscious of environmental impact, the desire to reduce waste and embrace sustainability is stronger than ever. One simple yet impactful way to contribute to this movement is by creating your own recycled paper. Forget the messy, pulpy results of traditional methods; this guide introduces a revolutionary approach utilizing a common household appliance – the blender – to produce remarkably smooth and high-quality recycled paper. This innovative technique transforms discarded paper into a reusable resource, minimizing your environmental footprint and providing a rewarding, creative outlet.
By harnessing the power of your blender, you can easily transform old newspapers, junk mail, and other unwanted paper into beautifully textured sheets perfect for crafting, note-taking, or even artistic endeavors. This straightforward method requires minimal equipment and produces surprisingly professional results. Ready to dive in and discover how to create your own recycled paper masterpiece? Let's proceed to the step-by-step instructions.
Preparation and Safety Guidelines
- Large container
- Sponge or absorbent cloth
- Blender (or potato masher/pestle and mortar)
- Cloth sheets (cotton preferred)
- Mold and deckle (DIY instructions provided)
- Stapler or staple gun
- Always use a blender specifically designated for crafting or food processing that you don't mind potentially staining. Paper pulp can be difficult to fully remove.
- Avoid using glossy or coated papers, as they contain chemicals that may not break down properly and can damage your blender. Stick to plain printer paper or newspaper.
- Exercise caution when handling the blender's sharp blades, both before and after processing. Always unplug the blender before cleaning or adding/removing ingredients.
Step-by-Step Instructions
Gather Supplies
- large container, sponge, blender (or alternative), cloth sheets, mold and deckle (DIY instructions provided), stapler or staple gun.

Gather Supplies Prepare the Paper
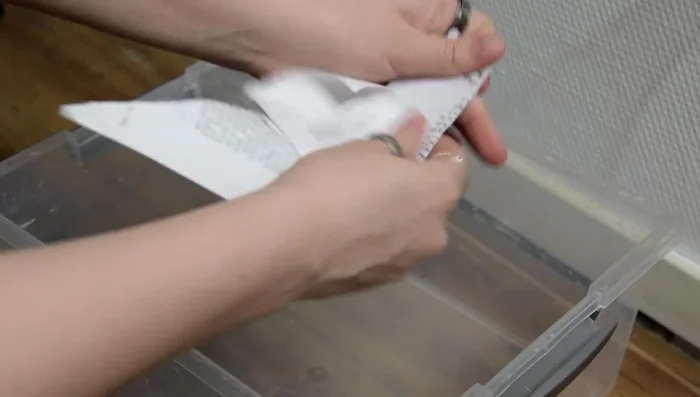
- Tear or shred desired recycling material (notebook pages, junk mail, newspaper, egg cartons) into small pieces. Soak in water for at least 12 hours (longer for non-blender methods).
Prepare the Paper Create Paper Pulp
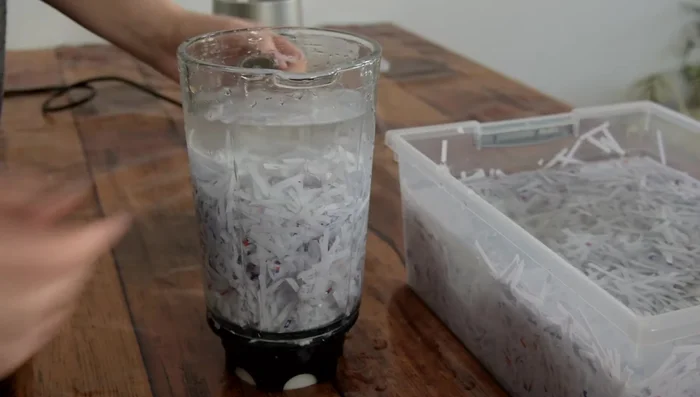
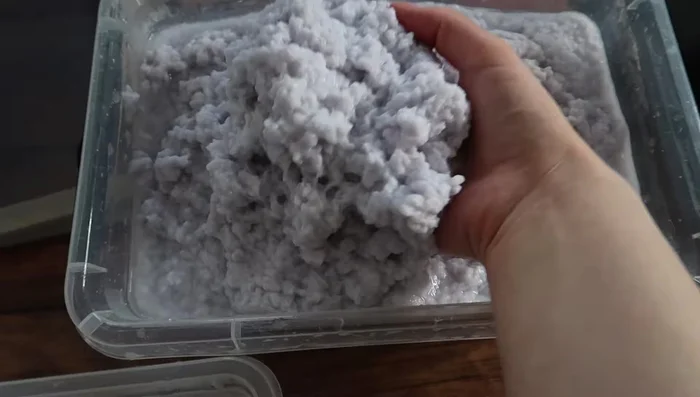
- Add soaked paper to blender with water and blend on high speed until smooth. If using an alternative to a blender, mash or shake until a pulp consistency is achieved.
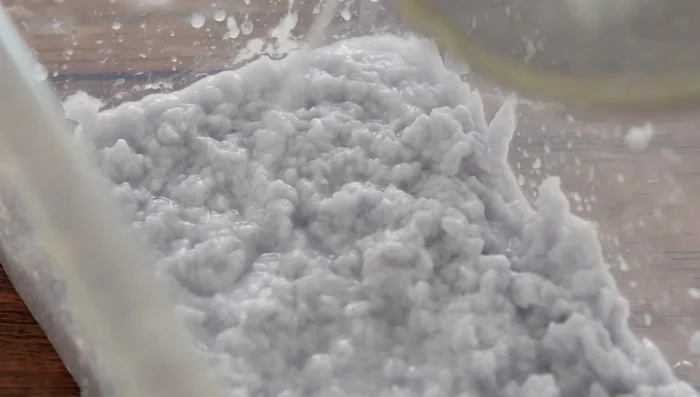
Create Paper Pulp Optional: Strain Pulp
- Partially strain the pulp to remove excess water, ensuring some moisture remains for a less lumpy paper.
Optional: Strain Pulp Form the Paper Sheet
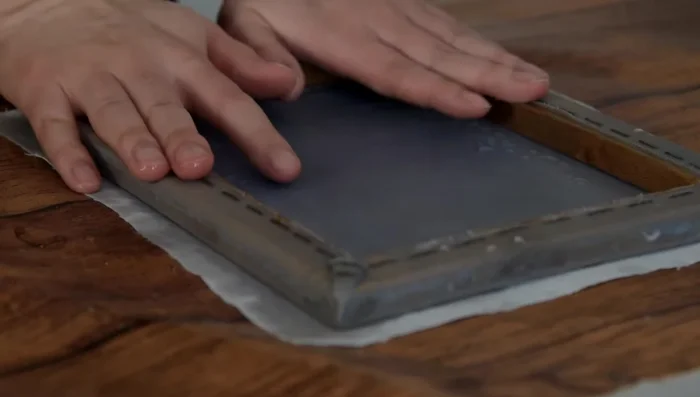
- Add water and plenty of pulp to your container, stirring well to distribute the pulp evenly. Submerge the mold and deckle into the pulp. Lift straight up.
Form the Paper Sheet Remove Excess Water
- Place the mold onto a cloth sheet. Carefully lift the deckle off the mold. Use a sponge (or alternative) to press out excess water.
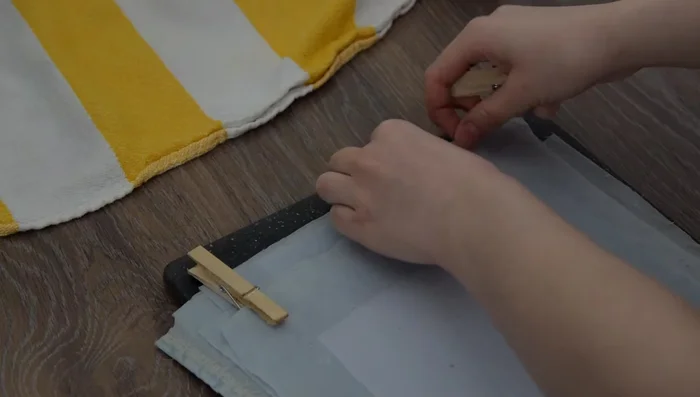
Remove Excess Water Dry the Paper
- Hang the sheets with clothespins to dry quickly, or lay them out to dry. This typically takes overnight.
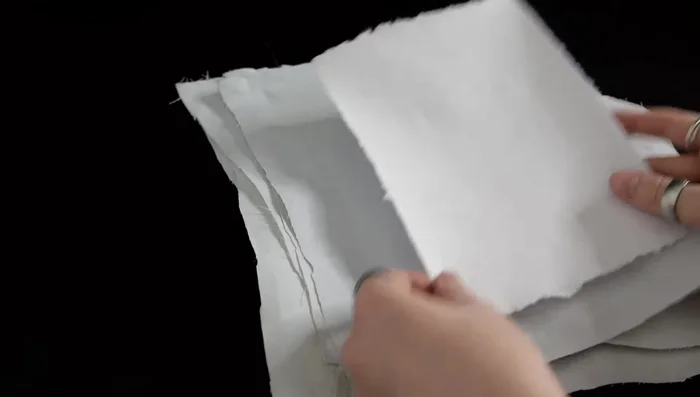
Dry the Paper Finish and Flatten
- Once dry, carefully peel the paper from the cloth. Flatten the sheets using a book press or heavy objects for a day or two.
Finish and Flatten
Read more: DIY King-Size Tufted Headboard: Budget-Friendly Guide
Tips
- The stronger the paper you start with, the stronger your recycled paper will be.
- Finely textured mesh produces smoother paper.
- Adjust pulp and water amounts to control paper thickness.
- Don't worry about mistakes; it's a forgiving craft. You can easily fix errors by remixing the pulp.
- Experiment with different paper sources to add unique textures and colors.