A leaking roof isn't just an inconvenience; it's a potential disaster waiting to happen, especially when that leak is compromising the integrity of your septic system. Water damage to your roof can lead to costly repairs, but the consequences are exponentially worse when that water infiltrates your septic pipes, causing backups, structural damage, and serious health hazards. The pungent smell of sewage is a clear sign something's wrong, and ignoring the problem will only exacerbate the situation and inflate the final repair bill. A compromised septic system is a serious matter, demanding immediate attention.
Fortunately, many smaller roof leaks impacting septic pipes are manageable with a DIY approach, saving you hundreds or even thousands of dollars on professional services. This article provides a comprehensive, step-by-step guide to effectively seal minor roof leaks affecting your septic system, preventing further damage and protecting your home. Let's dive into the process and get that leak sealed!
Preparation and Safety Guidelines
- Rubber boot
- Flex seal or roofing caulk (Loctite polyurethane sealant recommended)
- Caulk gun
- Scissors
- Ladder
- Working on a roof involves heights and potential falls. Use appropriate safety equipment like harnesses and fall protection systems if working at significant heights. Always have a spotter if possible.
- Roofing materials, especially sealants, can be hazardous. Wear appropriate personal protective equipment (PPE) including gloves, eye protection, and a respirator as directed by the sealant manufacturer's instructions.
- Before starting any repairs, identify the precise location and extent of the leak. Improperly addressing the problem can worsen the situation. If you are unsure of the cause or repair process, it's best to consult a professional roofing contractor.
Step-by-Step Instructions
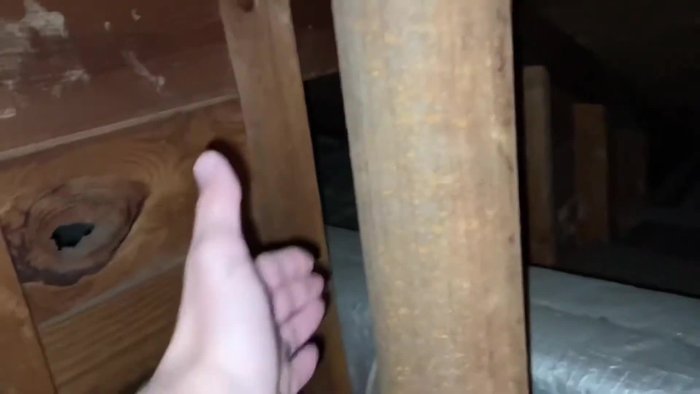
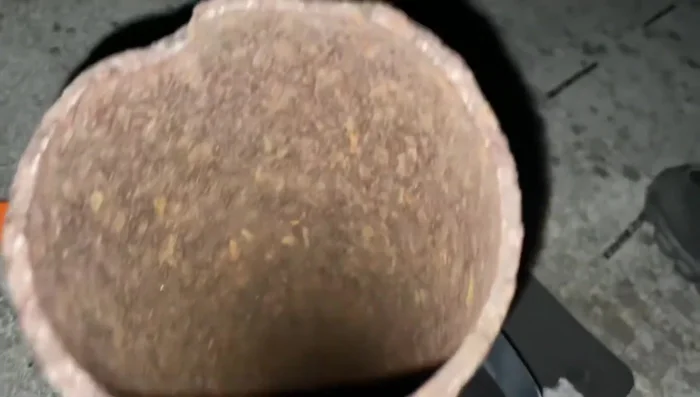
Assess the Damage
- Inspect the leak in the attic.

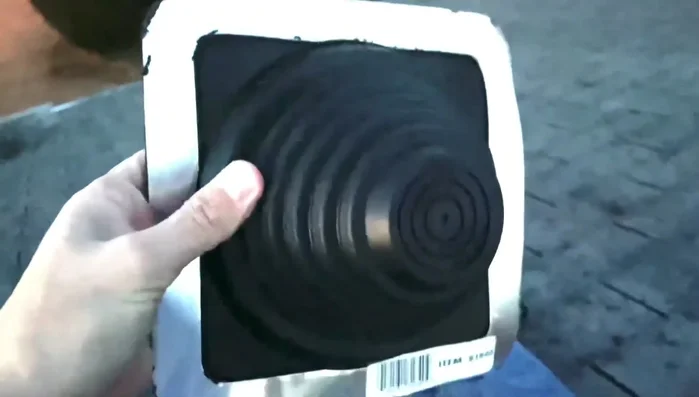
Assess the Damage Gather Supplies
- Purchase a rubber boot from a home improvement store.
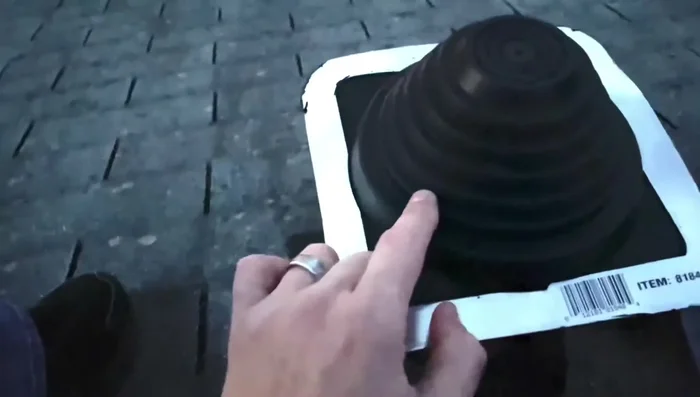
Gather Supplies Prepare the Rubber Boot
- Cut the rubber boot to the appropriate size to fit over the septic pipe.
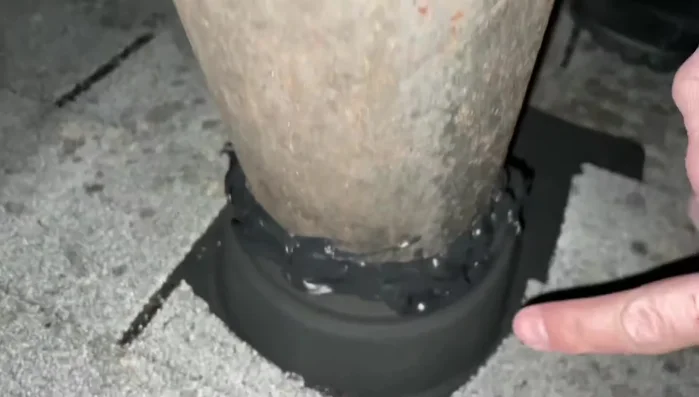
Prepare the Rubber Boot Apply Sealant
- Apply a bead of sealant around the entire circumference of the boot, on both the inside and outside.
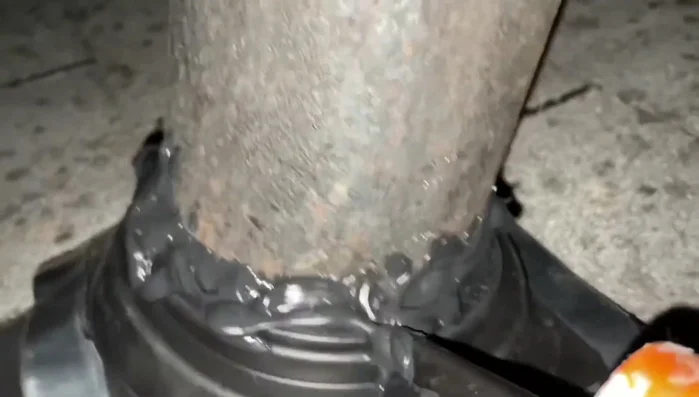
Apply Sealant Install the Rubber Boot
- Place the rubber boot over the existing cracked seal, ensuring it covers the damaged area completely.
Install the Rubber Boot Seal and Finish
- Seal the edges of the rubber boot to the roof using more sealant, creating a waterproof barrier.
Seal and Finish
Read more: DIY Roof, Shingle, Fence, and Flashing Repair with Henry Wet Patch 208
Tips
- Use a high-quality sealant designed for roofing applications.
- Apply a generous amount of sealant to ensure a complete seal.
- Borrow tools from neighbors if you don't own them; don't be afraid to ask for help.