In a world increasingly conscious of sustainability and mindful consumption, upcycling old fabrics into something beautiful and useful is gaining popularity. Turning discarded clothing, linens, and scraps into vibrant, handwoven rugs is a rewarding project that allows you to creatively repurpose materials while adding a unique, personalized touch to your home. This process not only diverts textile waste from landfills but also provides an engaging and therapeutic crafting experience, allowing you to express your personal style through the textures and colors you choose.
This step-by-step guide will walk you through the entire process of transforming your unwanted fabrics into a stunning, durable rug, perfect for adding warmth and character to any room. From preparing your materials to finishing your masterpiece, we'll cover all the essential techniques and considerations needed to ensure a successful and satisfying weaving experience.
Preparation and Safety Guidelines
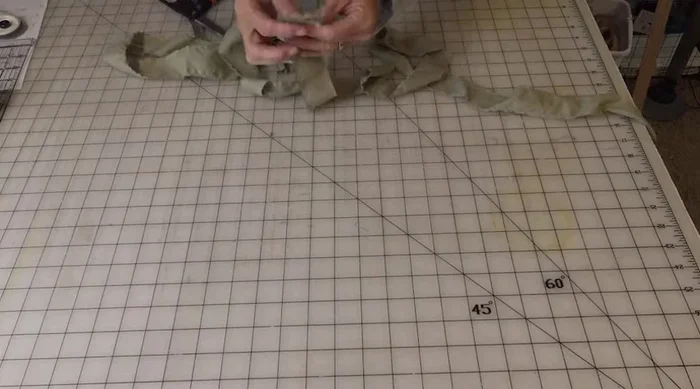
- Old fabric (sheets, t-shirts, jeans, etc.)
- 1.5-inch strips of fabric
- Loom (can be homemade)
- Steel rods (1/8 inch diameter)
- Scissors
- Foam backing
- Thread
- Crochet hook
- Always use sharp, clean scissors or rotary cutters to prevent injury. Blunt tools increase the risk of slips and accidents.
- Thoroughly wash and dry all fabric scraps before using them to remove any potential allergens, chemicals, or dirt. This will also prevent dye bleeding.
- Be mindful of your posture and take breaks to avoid strain. Rug making can be physically demanding.
Step-by-Step Instructions
Prepare Fabric Strips
- Cut fabric into 1.5-inch strips. Join strips together using a simple overlapping and tucking method (see detailed instructions at 99.2).

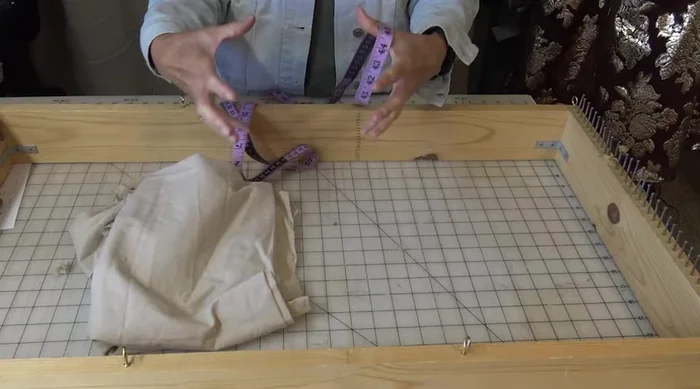
Prepare Fabric Strips Warp the Loom
- Measure the distance between loom nails, double it, and multiply by the number of nails to determine the total warp length. Join strips end to end to create one long warp length. Wind the warp onto the loom.
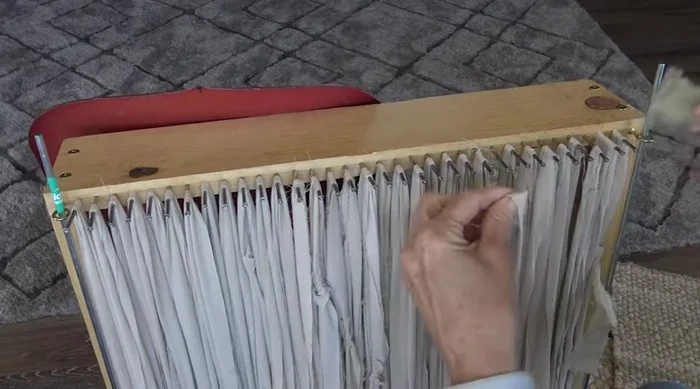
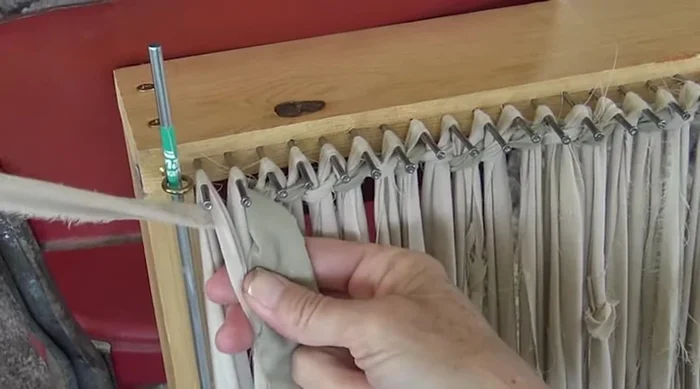
Warp the Loom Start the First Row
- Begin weaving by going under and over two warp threads, securing your weaving around the steel rods to keep edges straight . Alternate colors and maintain tension.
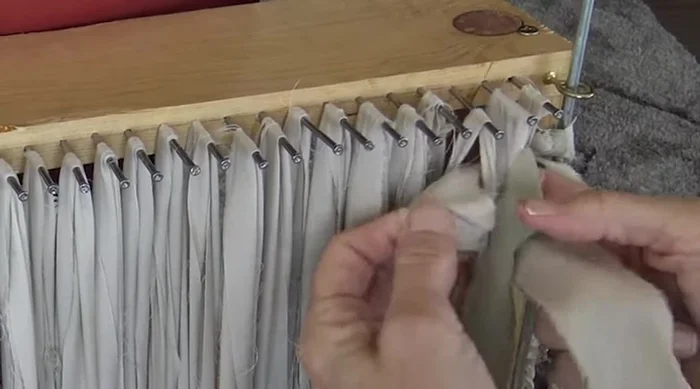
Start the First Row Continue Weaving
- Continue the under-two-over-two pattern across the loom. At the end of each row, wrap the weaving around the steel rods, switching the order of your colors.
Continue Weaving Finish Weaving
- Continue weaving until the desired rug length is achieved.
Finish Weaving Add Foam Backing
- Attach foam backing to the back of the rug using a slip stitch.
Add Foam Backing

Read more: DIY Vibrant Car Organizer: A Step-by-Step Quilting Tutorial
Tips
- Bed sheets are ideal for rug making due to their abundant yardage.
- Join fabric strips as you weave or during the warping process.
- Steel rods for the loom can be found in the fastener department of hardware stores.
- Loom size is flexible; adjust according to your needs and available materials.
- Combine smaller rugs to create larger ones.