A sagging door is more than just an eyesore; it can be a frustrating inconvenience, leading to poor closure, drafts, and even damage to the door frame over time. That annoying gap at the bottom, the difficulty in closing, the frustrating creaks – these are all telltale signs your door needs attention. Ignoring the problem only allows it to worsen, potentially leading to more expensive repairs down the line. Fortunately, fixing a sagging door is often a manageable DIY project, saving you the cost of a professional carpenter.
This simple DIY guide provides a straightforward, step-by-step process for restoring your door to its former glory. We'll cover everything from identifying the cause of the sag to the tools you'll need, ensuring even a novice DIY enthusiast can tackle this common household issue with confidence. Ready to get started and reclaim a perfectly functioning door? Let's dive into the step-by-step instructions.
Preparation and Safety Guidelines
- Screwdriver
- Longer screws
- Matchsticks
- Wood glue
- Hammer (optional)
- Hinge pin puller (optional)
- Crescent wrench
- Shims (plastic or card)
- Always wear safety glasses to protect your eyes from flying debris.
- Use caution when handling power tools. Ensure they are unplugged before making adjustments or repairs.
- If you are uncomfortable working with tools or are unsure about any step, consult a professional handyman.
Step-by-Step Instructions
Initial Assessment
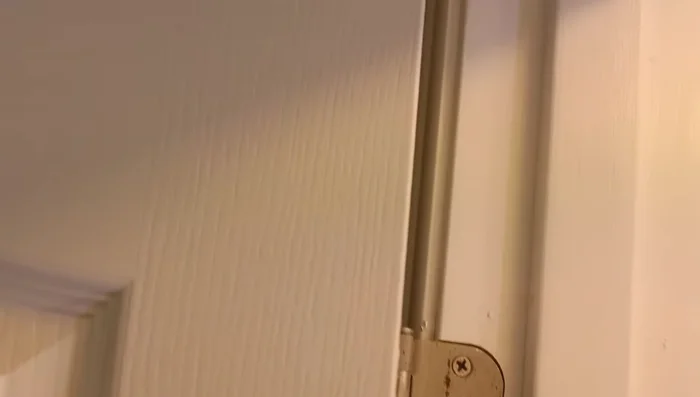
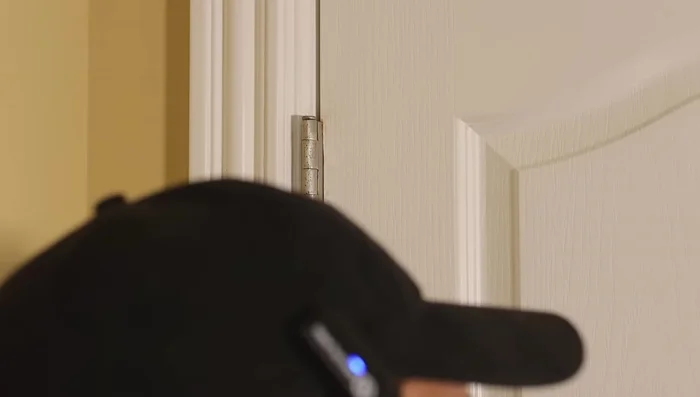
- Open the door, jiggle it, and identify any movement, especially in the hinges.
- Look for cracks, damage, or separation of the jamb from the wall.
- Observe gaps at the top and bottom of the door on both sides. Uneven gaps indicate the need for alignment.

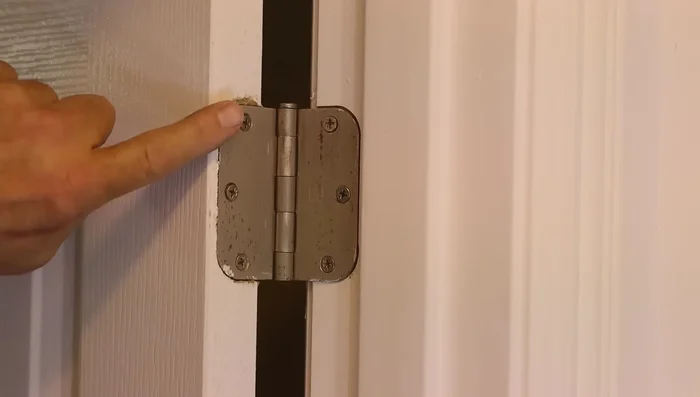
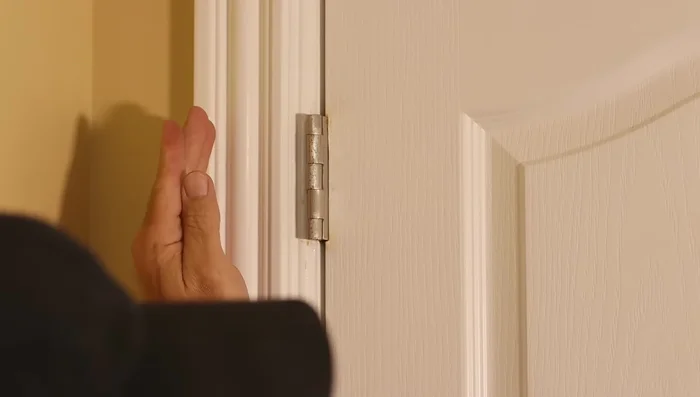
Initial Assessment Tighten Existing Hardware
- Check all hinge screws. If screws are loose, tighten them snugly but avoid overtightening.
- Ensure all screws on all hinges are tight and flush.
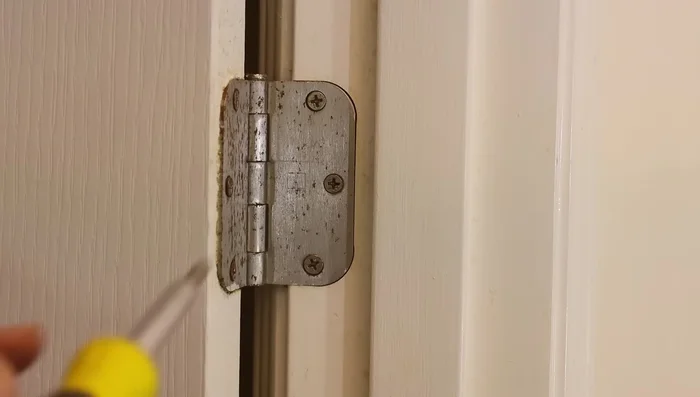
Tighten Existing Hardware Repair Stripped Screw Holes
- If a screw hole is stripped, use matchsticks or small pieces of wood glued into the hole to provide a surface for the screw to grip.
Upgrade Fasteners
- Use longer screws on the center hinge to firmly attach to the door jamb studs.
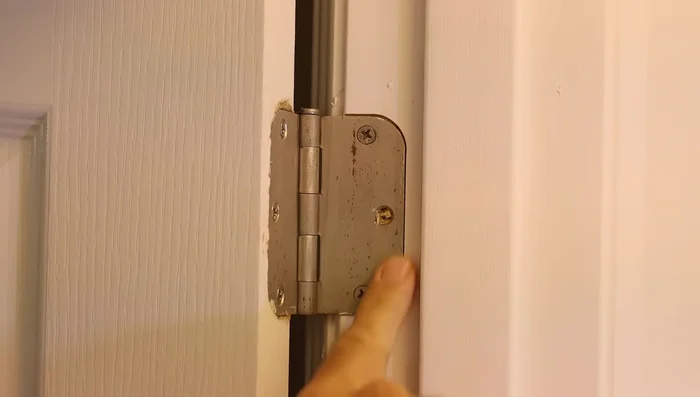
Upgrade Fasteners Adjust Hinge Alignment
- Use a hinge pin puller or a nail and hammer to carefully remove the hinge pins.
- Use shims to push the door into its proper alignment. Then, use a crescent wrench to gently bend the hinge knuckles (on the door side) to straighten them and restore proper alignment.
- Once aligned, reinsert the hinge pins.
Adjust Hinge Alignment Final Check
- Check if the door now closes evenly with consistent gaps on all sides.
Read more: 3M Thinsulate Window Film Installation: A Step-by-Step Guide
Tips
- Always address the simpler fixes (tightening screws) before moving on to more complex solutions (knuckle bending).
- Use a flat-head screw to avoid interference with other parts of the hinge.
- When bending knuckles, only bend the knuckles attached to the door; avoid bending the ones attached to the jamb.