Cracked smartphone screen? Don't panic! A shattered display often leads to hefty repair bills from professional services, leaving many feeling frustrated and financially burdened. But what if you could fix it yourself and save a significant amount of money? Believe it or not, replacing a cracked screen is achievable with a little patience and the right tools. DIY screen replacements are becoming increasingly popular, offering a viable alternative to expensive professional repairs, empowering users to take control and reclaim their device's functionality.
This guide provides a comprehensive, step-by-step approach to tackling this common problem. We'll walk you through the entire process, from sourcing the necessary parts and tools to carefully disassembling your device, installing the new screen, and finally testing your repair. By following the detailed instructions in this guide, you'll be well on your way to a fully functional phone – all while significantly reducing the cost of repair.
Preparation and Safety Guidelines
- Roll of screen material (fiberglass preferred)
- Spline insertion tool
- Razor blade
- Screwdriver
- Static electricity can damage screen components. Ground yourself frequently by touching a grounded metal object before handling any parts.
- Broken glass is sharp! Wear safety glasses and gloves to protect yourself from cuts. Use caution when removing the broken screen.
- Consult your device's specific repair guide before starting. Incorrect steps can cause irreversible damage. Plenty of videos and guides are available online, but be sure they match your exact model.
Step-by-Step Instructions
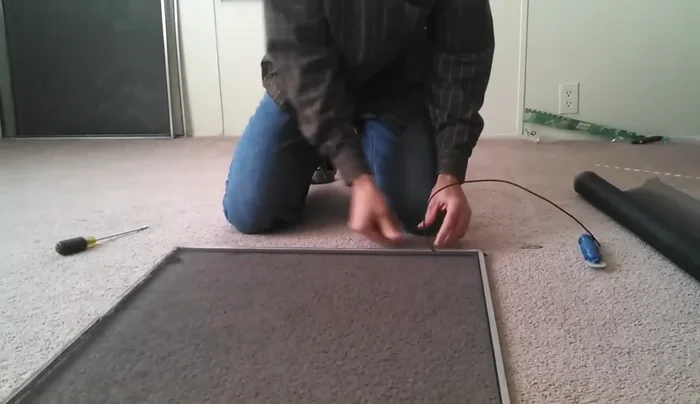
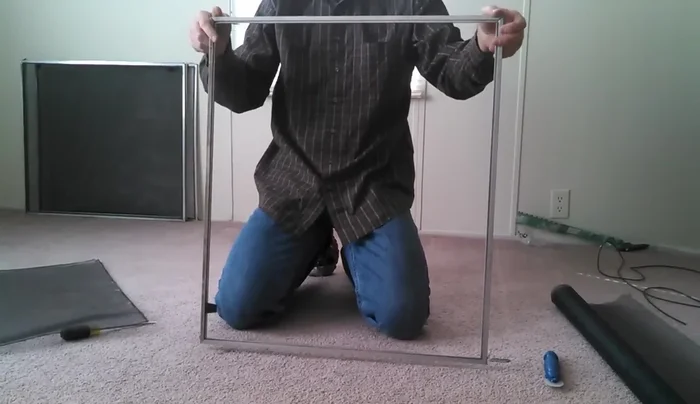
Prepare the Frame
- Remove the old spline.
- Remove the old screen.
- Inspect the frame for damage. Repair if necessary.

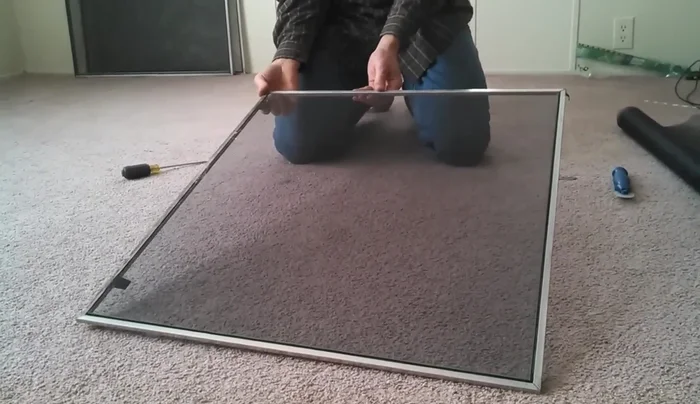
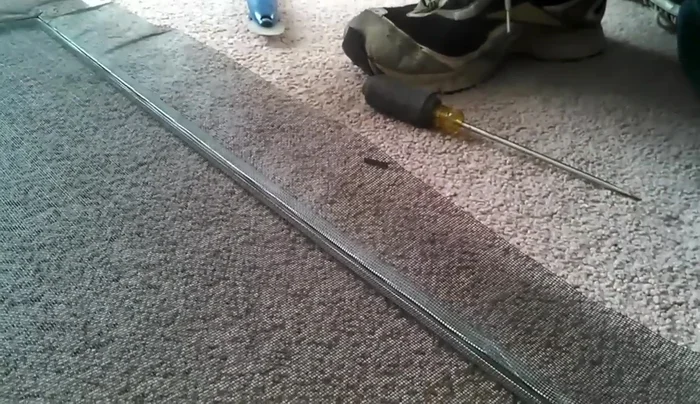
Prepare the Frame Install New Screen Material
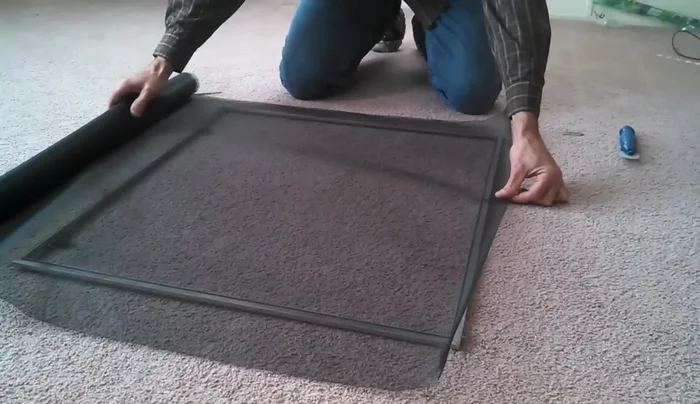
- Lay the new screen material on top of the frame, aligning it with the spline channel.
- Insert the spline, starting at the edge with the ridge and working your way around the frame. Take extra care at the corners.
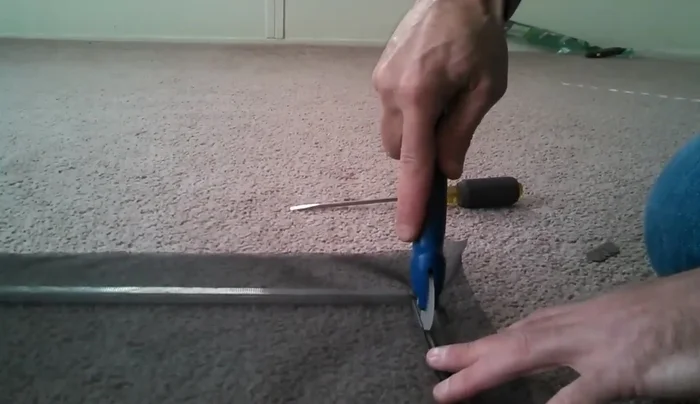
Install New Screen Material Trim and Finish
- Once most of the spline is inserted, cut off the excess screen material, being careful not to cut the screen itself. Use a slightly elevated razor blade, following the frame.
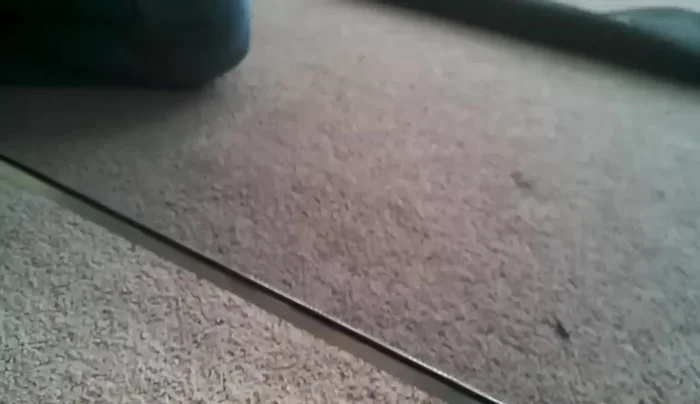
- Push the spline all the way in to tighten the screen.
Trim and Finish
Read more: 3M Thinsulate Window Film Installation: A Step-by-Step Guide
Tips
- Fiberglass screen material is easier to work with than aluminum.
- You can reuse the old spline in most cases.
- When inserting the spline, start halfway in to avoid tearing the screen.
- Don't overstretch the screen material; the spline will provide the necessary tension.
- Take your time and be careful not to poke holes in the screen material.