In a world increasingly conscious of environmental impact, crafting with sustainable materials is more important than ever. DIY seed paper offers a beautiful and eco-friendly alternative to traditional paper crafts, allowing you to create personalized gifts and decorations while simultaneously nurturing new life. This unique craft combines the artistry of handmade paper with the promise of blossoming flowers or vibrant herbs, resulting in truly memorable and meaningful creations. Forget mass-produced cards and impersonal gifts; seed paper empowers you to make truly unique presents that keep on giving.
This ultimate guide will walk you through the entire process of creating your own seed paper from start to finish, providing detailed instructions and helpful tips to ensure your success. From selecting your seeds and preparing your materials to pressing the finished paper and planting your creations, we'll cover every step, so prepare to get your hands dirty and discover the rewarding world of DIY seed paper crafting. Let's dive into the step-by-step instructions below!
Preparation and Safety Guidelines
- Bowl
- Seeds
- Frame (popsicle sticks or picture frame)
- Cheesecloth or thin cloth
- Stationery clips or stapler
- Blender or mixer
- Old towels
- Shredded paper (or any paper)
- Baking tray (optional)
- Always handle papermaking materials with care. Some ingredients like certain dyes or inks can be irritating to skin or eyes. Wear gloves and eye protection when necessary.
- Ensure your workspace is well-ventilated, especially when working with water and potentially moldy materials. Proper ventilation helps prevent respiratory issues.
- Avoid consuming any materials used in the seed paper process. Seeds are meant for planting, not eating.
Step-by-Step Instructions
Prepare the Paper Pulp
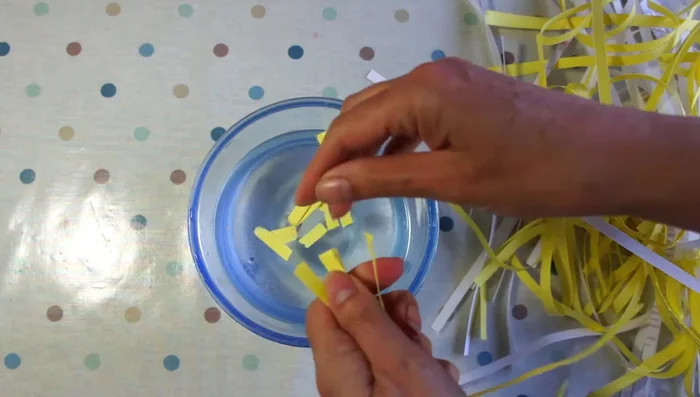
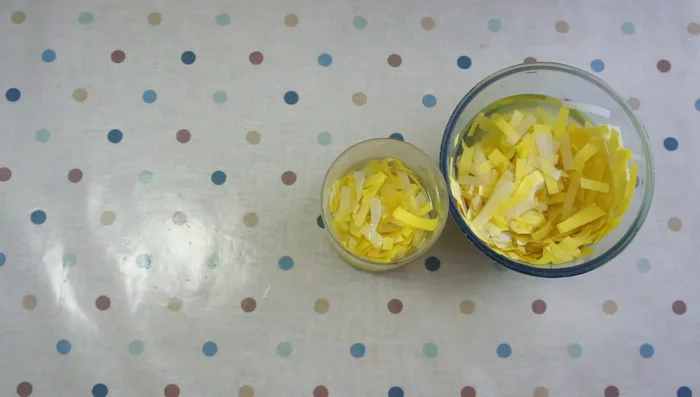
- Tear or shred paper into small pieces. Soak in warm water for about an hour (or until softened).
- Place the soaked paper in a blender or mixer (a stick blender in a glass works well). Blend until you have a smooth pulp. Do this in batches if necessary.

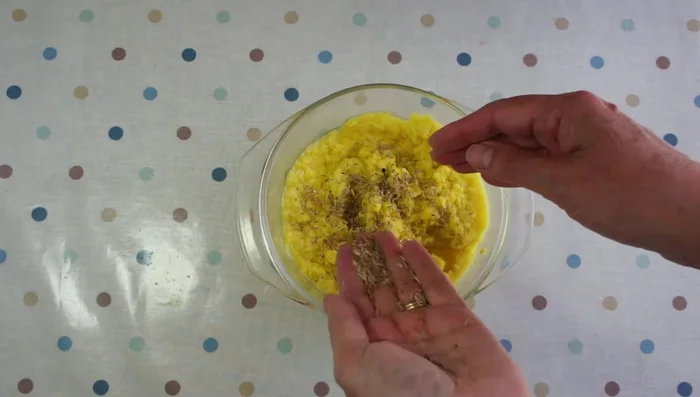
Prepare the Paper Pulp Incorporate Seeds
- Add your chosen seeds to the pulp and mix thoroughly to ensure even distribution.
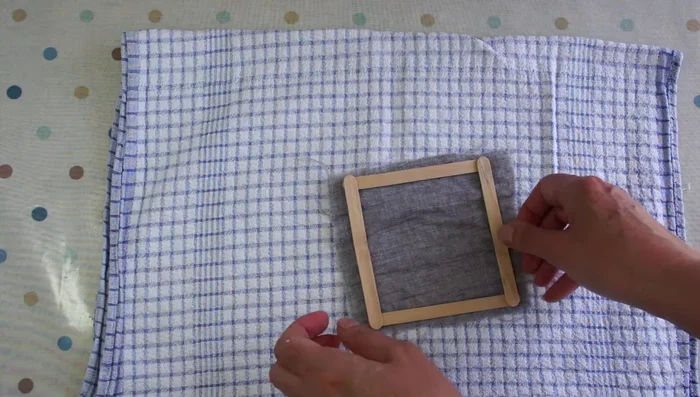
Incorporate Seeds Prepare the Drying Frame
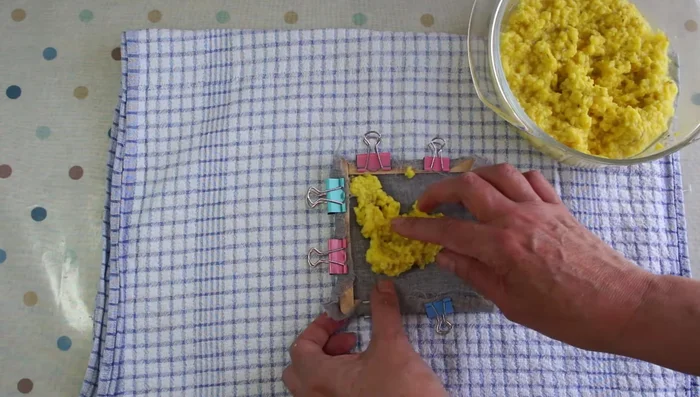
- Attach cheesecloth or thin fabric to a frame using clips or a stapler, ensuring the fabric is taut.
Prepare the Drying Frame Spread and Dehydrate the Pulp
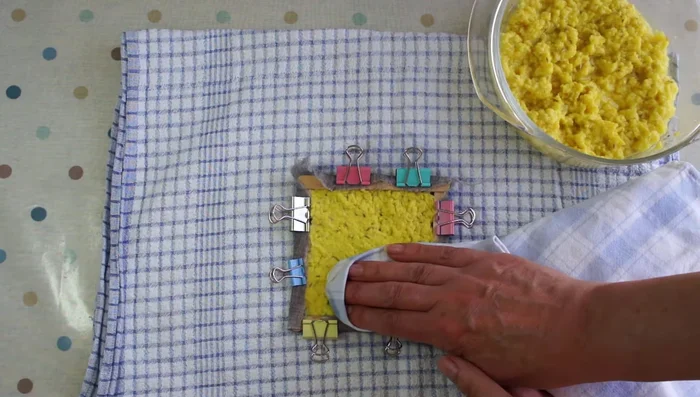
- Place the frame on a towel. Spread the seed pulp evenly within the frame, pressing gently to achieve desired thickness.
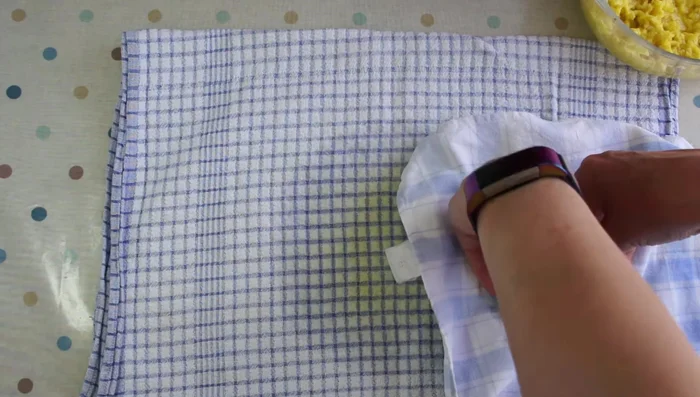
- Press another towel firmly on top of the pulp to absorb excess water. Flip the frame and repeat.
Spread and Dehydrate the Pulp Dry the Seed Paper
- Carefully remove the seed paper from the frame and the fabric. Place it on a flat surface (baking tray recommended) to dry completely (2-3 days).
Dry the Seed Paper
Read more: DIY King-Size Tufted Headboard: Budget-Friendly Guide
Tips
- Use warm water to soak the paper quicker.
- Mix different colored papers to create unique shades.
- Don't overload the blender; work in batches for a smooth pulp.
- Don't use too many seeds to avoid them being bunched together.
- Ensure even distribution of seeds in the pulp.