Facing a sewer line backup is a homeowner's nightmare, often leading to costly plumbing bills that can quickly drain your savings. The thought of excavating your yard and replacing entire sections of pipe is enough to send shivers down anyone's spine. But what if there was a simpler, more affordable solution? What if you could potentially save thousands of dollars by tackling the repair yourself? This isn't about amateurish fixes; we're talking about a surprisingly accessible method that can effectively resolve many common sewer line issues.
This article details a practical DIY sewer line repair technique suitable for minor clogs and certain types of damage, empowering you to take control and handle the problem efficiently. Forget the expensive plumber; we’ll guide you through each step of the process, equipping you with the knowledge and confidence to tackle this challenging home repair. Ready to get started and learn how to save thousands? Let's dive into the step-by-step guide.
Preparation and Safety Guidelines
- Shovel
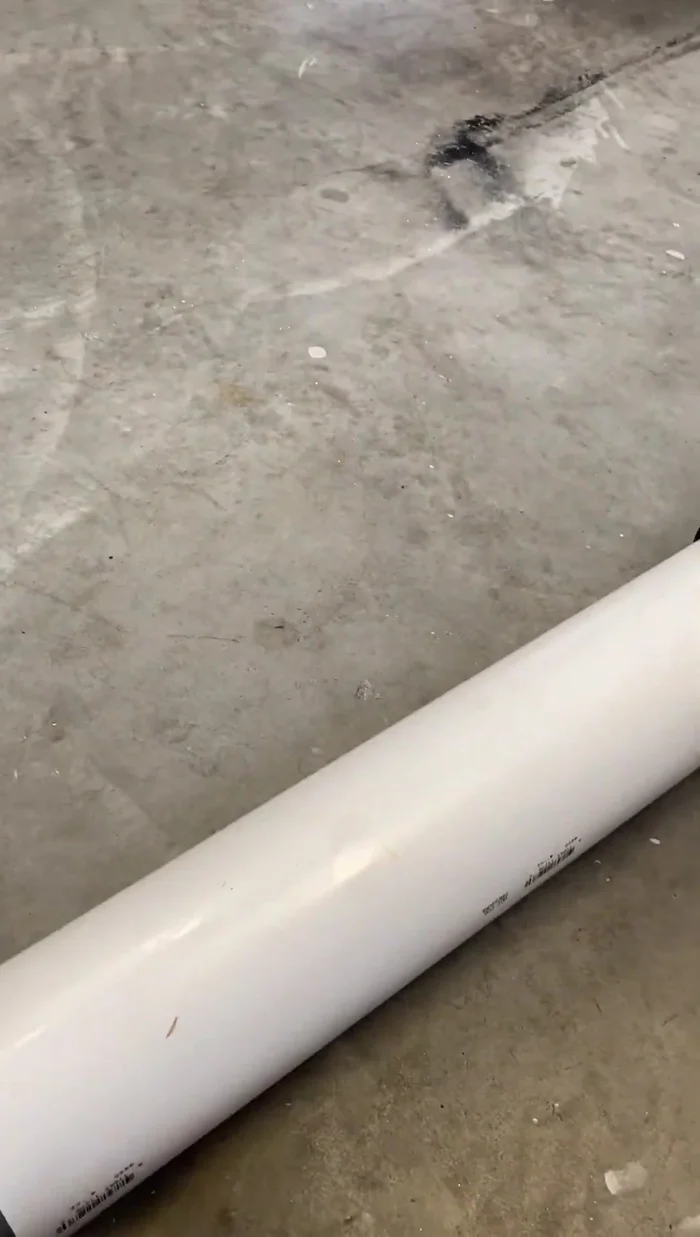
- 4-inch PVC pipe (short section)
- 4-inch PVC elbow (thin-walled sewer pipe)
- Tapered boots (4x4)
- Hose clamps
- PVC cement
- Measuring tape
- Saw
- Utility knife
- Sheet of material (for dirt containment)
- Nut driver
- DIY sewer line repair is inherently risky. If you're uncomfortable working with plumbing or lack experience, call a professional. Serious injury or significant property damage can result from improper repair.
- Always turn off the main water supply before starting any sewer line work. Failure to do so could lead to flooding and extensive water damage.
- Wear appropriate safety gear, including gloves, eye protection, and a respirator, to protect yourself from harmful bacteria and chemicals present in sewage.
Step-by-Step Instructions
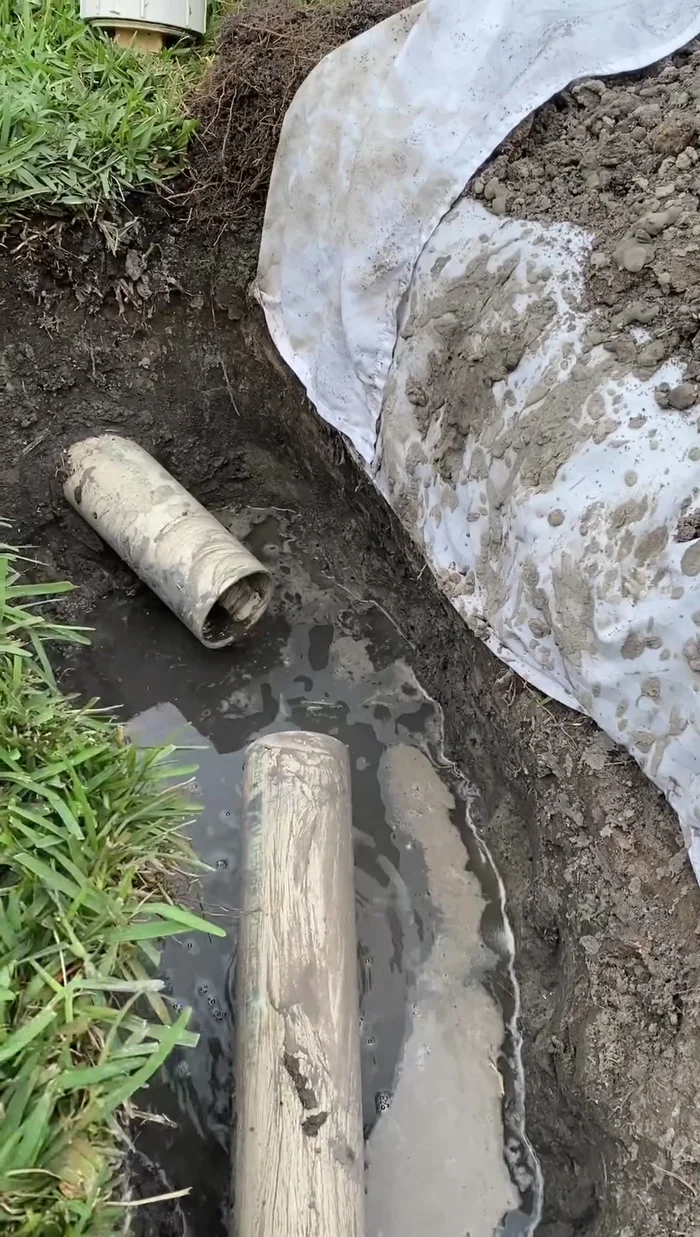
Locate and Access the Damage
- Locate the broken section of the sewer line. A plumber can use specialized equipment to pinpoint the exact location.
- Dig up the broken section of the sewer line.
- Identify the damaged area. This may involve a cracked joint or other damage to the pipe.

Locate and Access the Damage Gather Materials
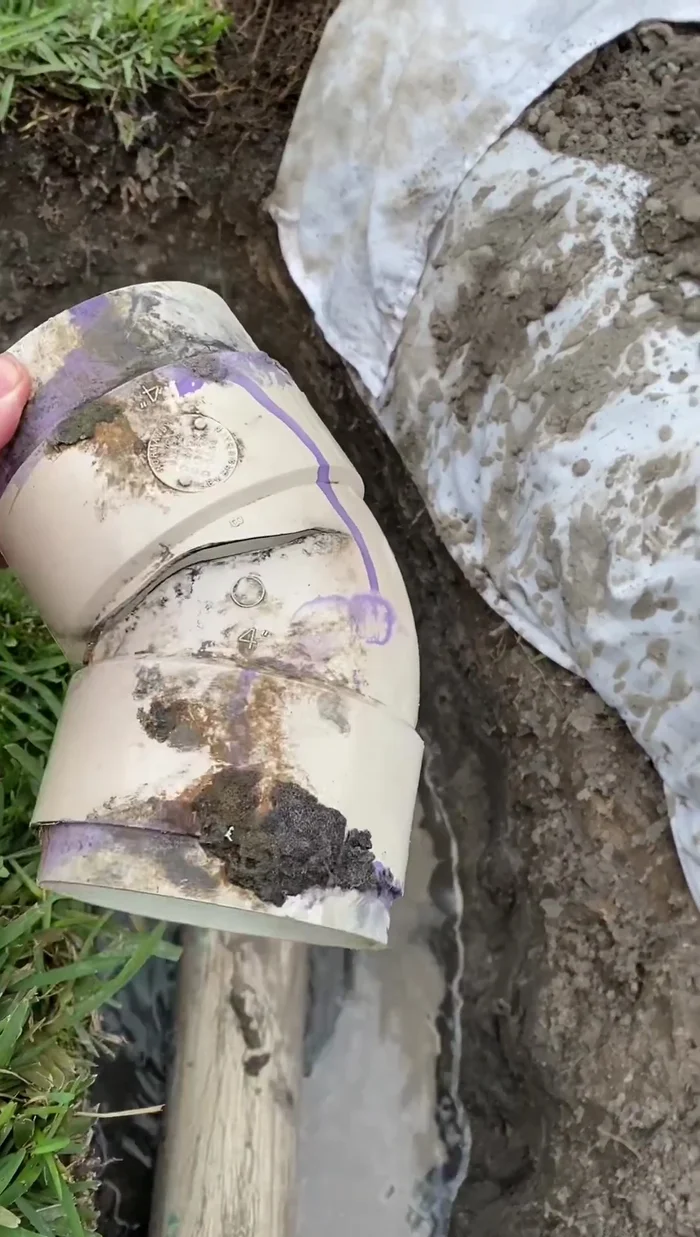
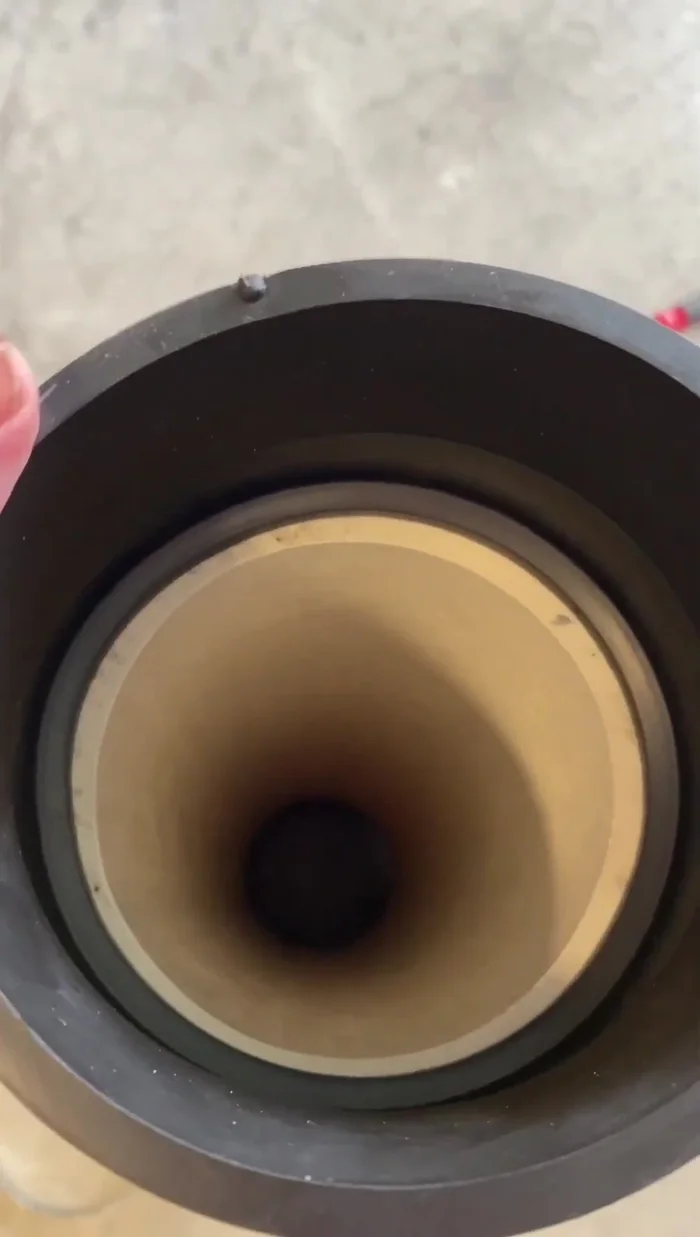
- Acquire the necessary parts. Note that sewer lines use thin-walled pipe, different from standard pressure PVC. You'll need a short section of 4-inch PVC pipe, a 45-degree elbow (thin-walled sewer pipe is preferred but full-thickness is usable; cut in half and glued), and tapered boots (4x4) with bands on both sides.
Gather Materials Prepare the Replacement Section
- Cut the 4-inch PVC elbow in half, and glue the two halves together to create a 45-degree joint to replace the broken section.
Prepare the Replacement Section Dry Fit and Adjust
- Dry-fit the new elbow to the existing pipe and make precise cuts to ensure a good fit. Allow for some play to compensate for any misalignment.
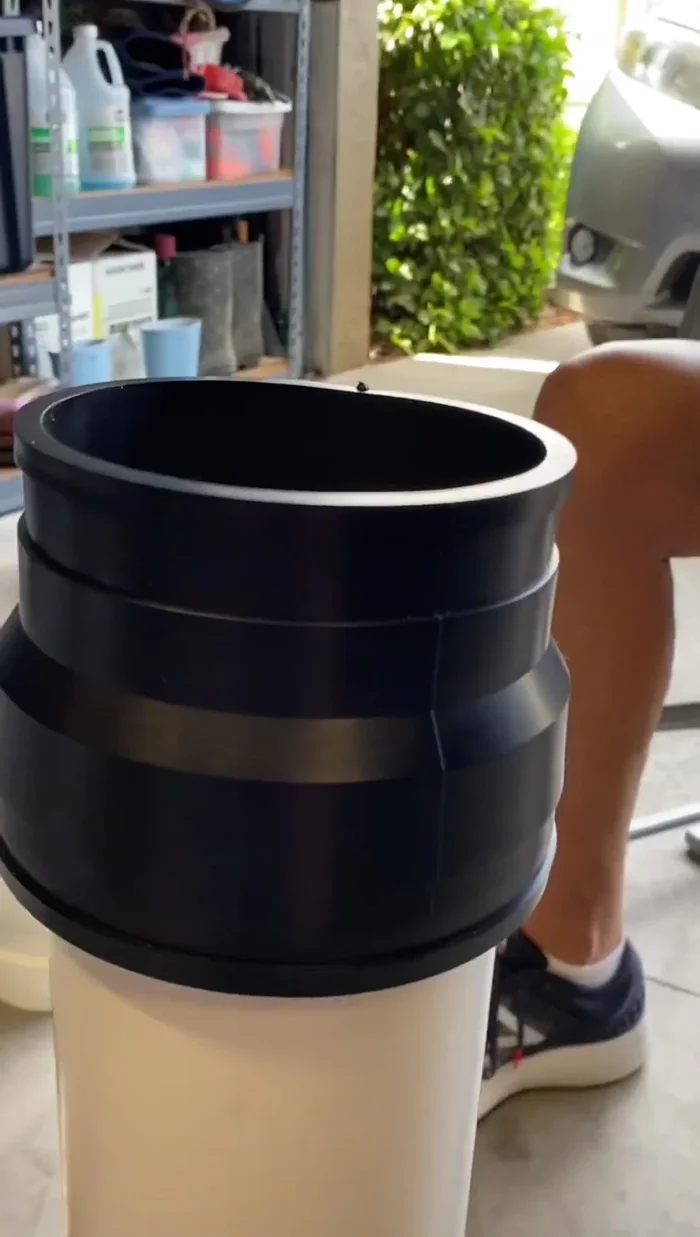
Dry Fit and Adjust Prepare for Connection
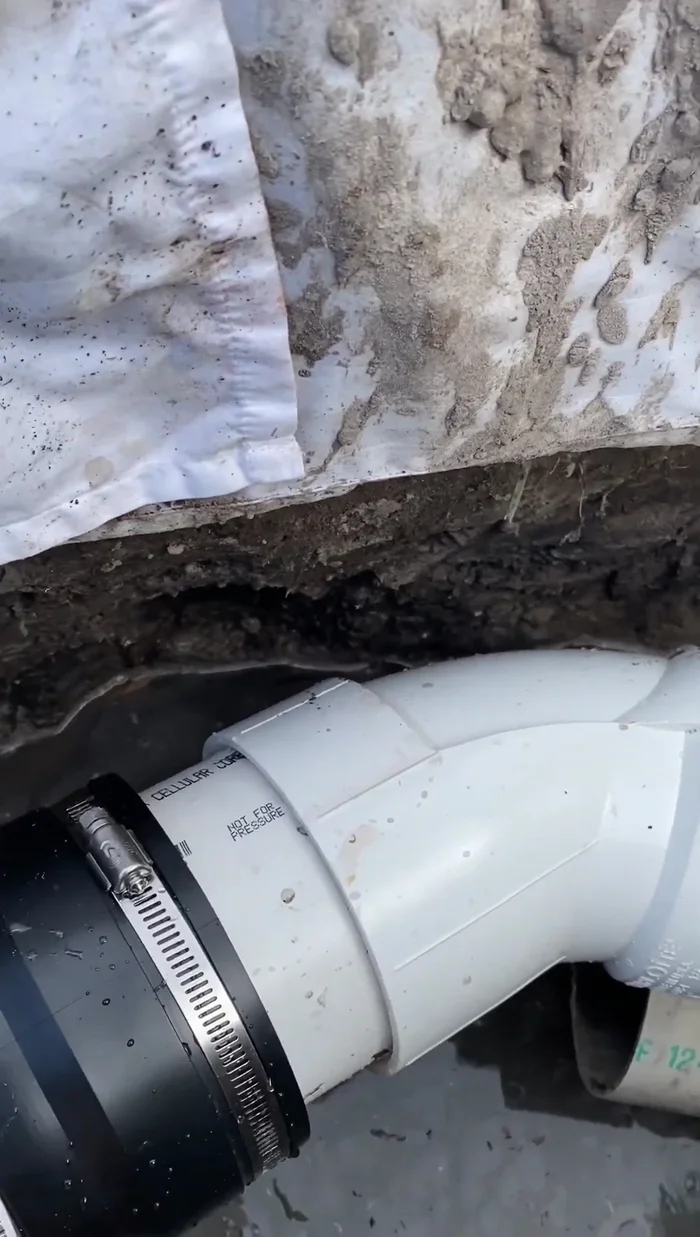
- Slide the tapered boots onto the new pipe section. These will connect the thicker 4-inch pipe to the thinner sewer pipe. Mark the position of the boot where it will sit against the existing pipe before sliding it back on for precise cutting.
Prepare for Connection Assemble and Glue
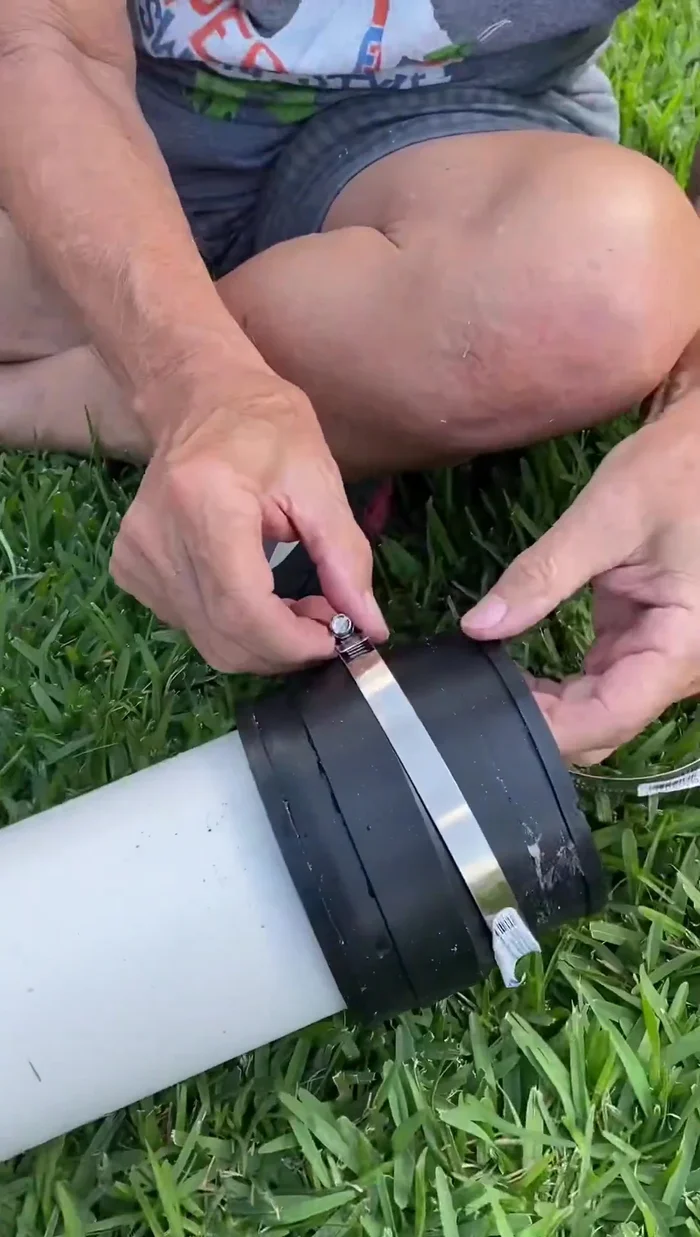
- Apply PVC cement and glue the new elbow and pipe sections together. Ensure the clamps are oriented correctly before assembly to allow for tightening.
Assemble and Glue Install and Secure
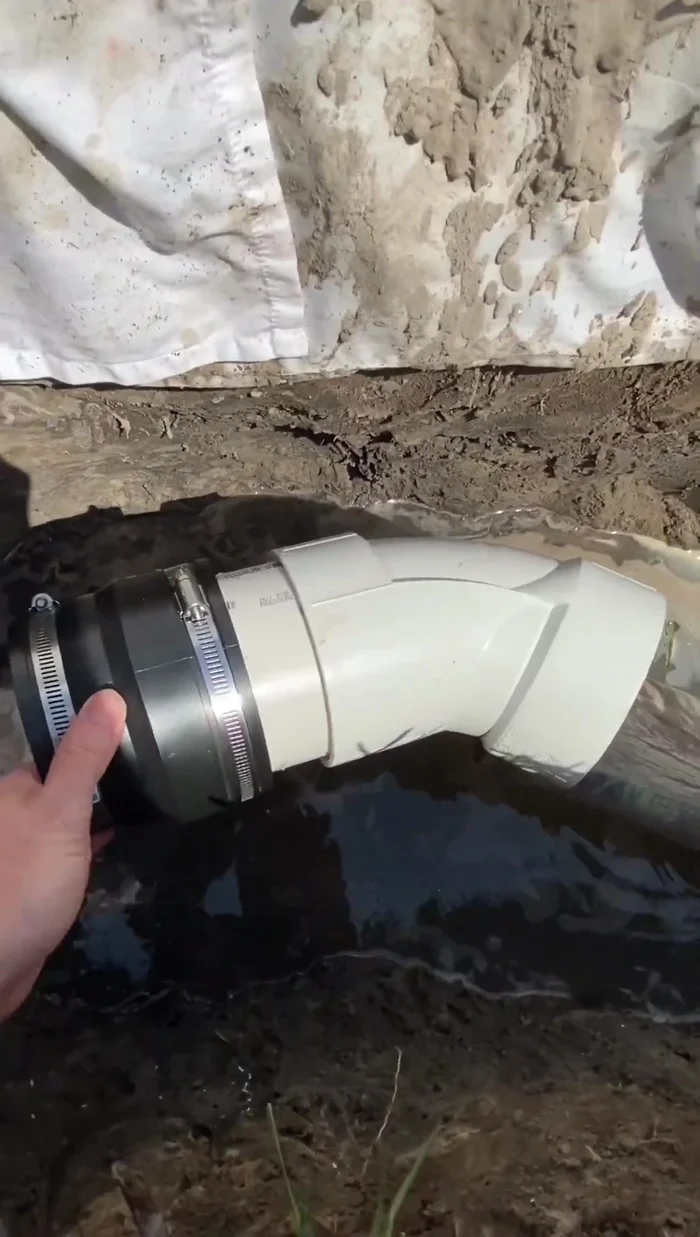
- Insert the new section into the existing sewer line, aligning it with the markings.
- Tighten the hose clamps to secure the connection between the new section and the existing pipe.
Install and Secure Complete the Repair
- Backfill the hole, ensuring the area is properly compacted.
Complete the Repair
Read more: Fixing a Leaky Toilet Tank: A Step-by-Step Guide
Tips
- Use a sheet of material next to the hole to collect dirt for easy backfilling.
- Mark utility lines before beginning the repair to avoid damaging underground services.
- Take photos of the utility lines for future reference.