Tired of hunching over your laptop, straining your neck and back? Do you wish there was a simple, affordable, and eco-conscious solution to improve your posture and workspace ergonomics? Then look no further! This guide will show you how to easily construct a functional and surprisingly sturdy laptop stand using nothing more than a readily available shoebox and a few simple tools. We’ll transform this everyday household item into a practical and stylish addition to your desk setup, proving that sometimes the best solutions are the most unexpected.
Forget expensive, mass-produced laptop stands – this project is budget-friendly and environmentally responsible, repurposing materials you likely already have at home. By following these easy-to-understand instructions, you'll create a personalized laptop stand tailored to your needs, all while minimizing your environmental impact. Ready to get started? Let's dive into the step-by-step process to build your own DIY shoebox laptop stand.
Preparation and Safety Guidelines
- Empty shoebox
- Pen
- Knife
- Glue gun
- Laptop
- Ensure the shoebox is sturdy and can support the weight of your laptop without bending or collapsing. A heavier laptop may require a stronger box or additional support.
- Proper ventilation is crucial. Leave sufficient space around your laptop to prevent overheating. Do not obstruct any ventilation openings on the laptop itself.
- Avoid placing the laptop stand on unstable surfaces. Make sure the surface is level and can support the weight of both the stand and the laptop to prevent accidental drops.
Step-by-Step Instructions
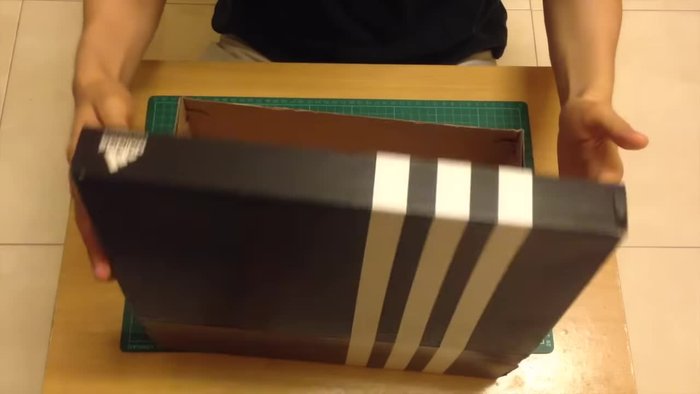
Prepare the Shoebox
- Prepare an empty shoebox.

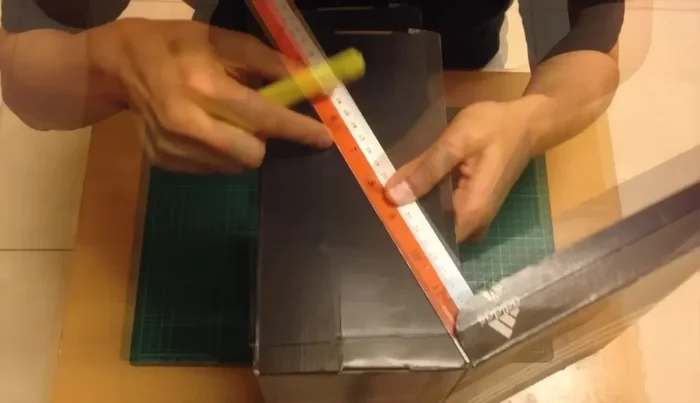
Prepare the Shoebox Create the Base Wedge
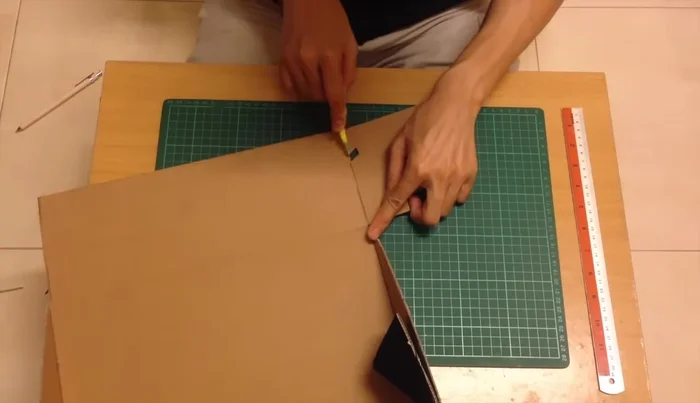
- Cut the shoebox diagonally through the sides.
- Fold away the inner flaps without cutting them completely to form a wedge shape.
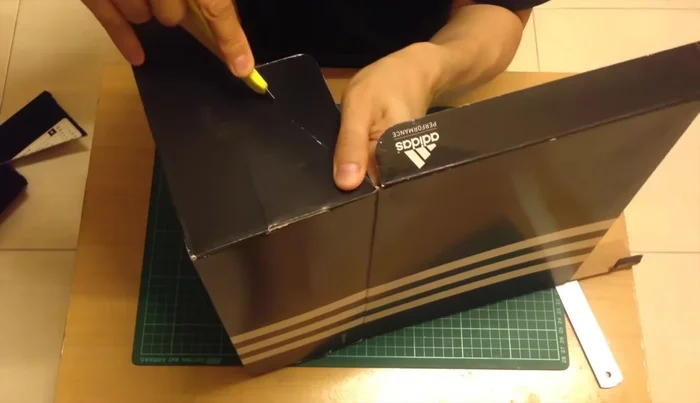
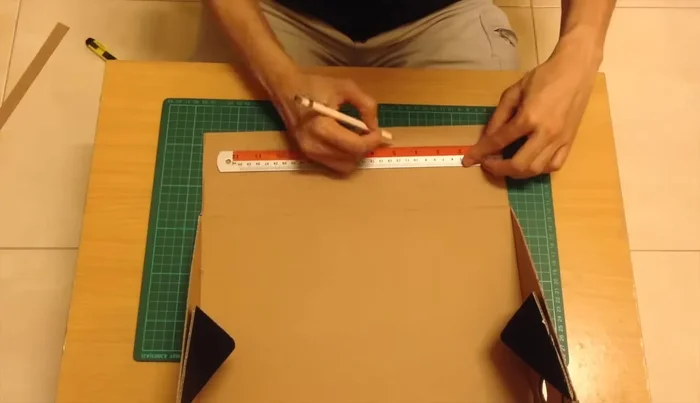
Create the Base Wedge Mark and Cut the Slots and Tabs
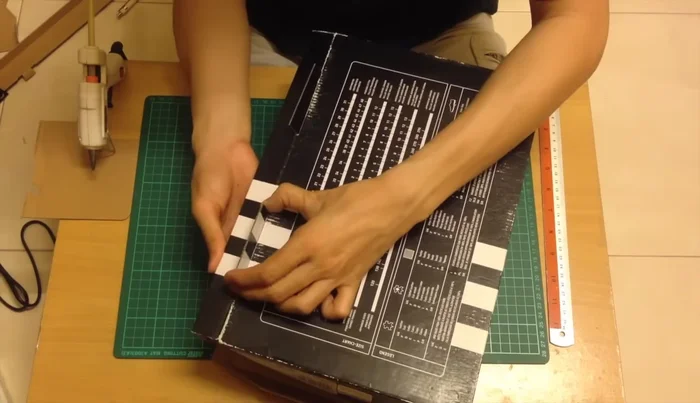
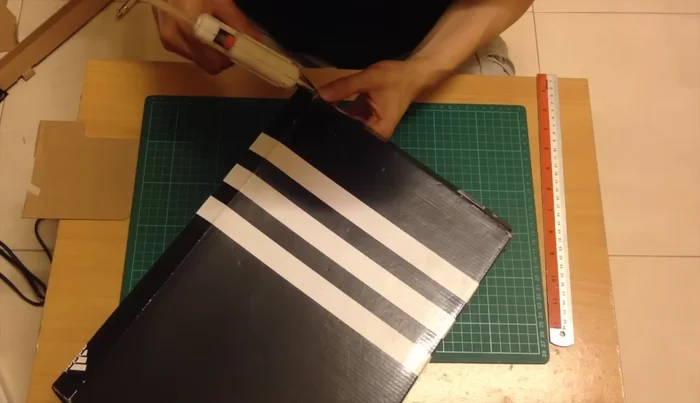
- Draw four lines 1 inch apart, starting from the bottom folding lines.
- Cut out the excess parts.
- Make two 1-inch tabs, about 3 inches long, and create two slots for the tabs along the drawn lines.
- Cut out the tabs and slots.
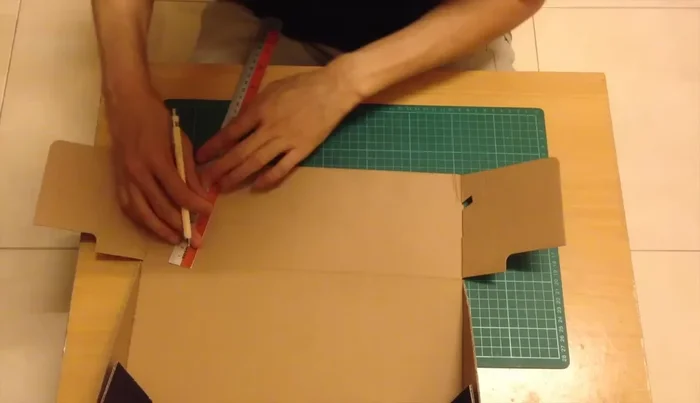
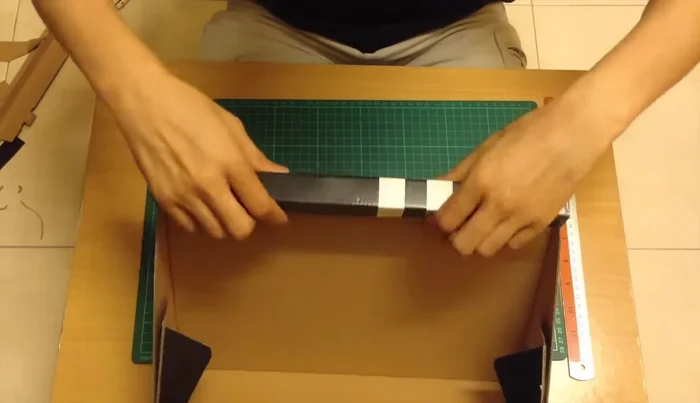
Mark and Cut the Slots and Tabs Prepare the Lid
- Cut the box cover to match the size of the base.
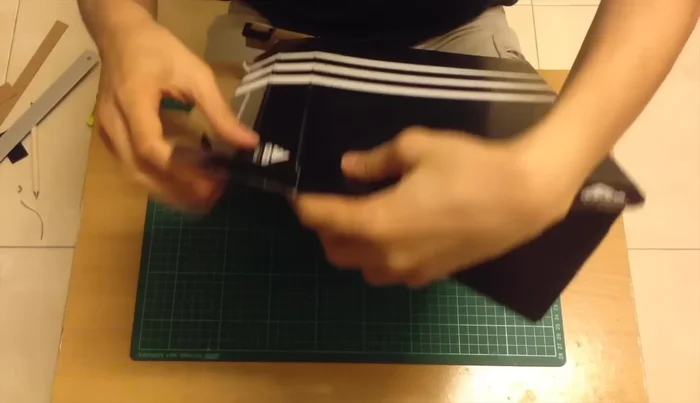
Prepare the Lid Assemble the Stand
- Fold the cover to form a triangle shape and slot it into place.
- Glue the tabs to the bottom of the box.
- Glue the split end of the cover (optional).
Assemble the Stand

Read more: DIY King-Size Tufted Headboard: Budget-Friendly Guide
Tips
- You can permanently glue the cover on or leave it as extra storage space.