Frustrated with a window that stubbornly refuses to stay open? A common culprit is a malfunctioning spiral balance, the often-overlooked spring mechanism within your window frame. These vital components are responsible for the smooth, effortless operation of your window, allowing it to gently rise and fall. When a spiral balance breaks or becomes unattached, your window becomes a frustrating inconvenience, potentially leading to drafts, security concerns, and even damage to the frame itself. Fortunately, repairing this issue is often simpler than you might think, saving you the expense of a professional.
This DIY guide provides a clear, step-by-step approach to tackling a window that won't stay up due to faulty spiral balances. We'll walk you through identifying the problem, sourcing replacement parts, and safely installing them, all with readily available tools. Ready to reclaim the smooth operation of your window and avoid costly repairs? Let's get started!
Preparation and Safety Guidelines
- Spiral balance charging tool
- Screwdriver
- Ratchet
- Clamp or stick
- Always wear safety glasses to protect your eyes from broken glass or spring fragments.
- If you're uncomfortable working at heights, use a sturdy ladder and have someone assist you.
- Before starting any repair, take photos of the existing setup to help with reassembly. If you have trouble identifying the components, consider bringing images to a hardware store for assistance.
Step-by-Step Instructions
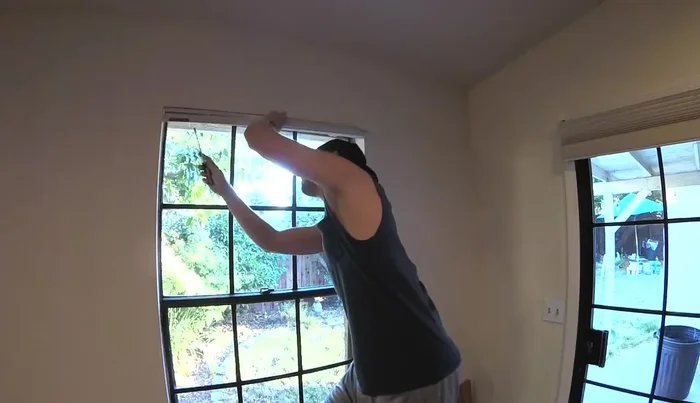
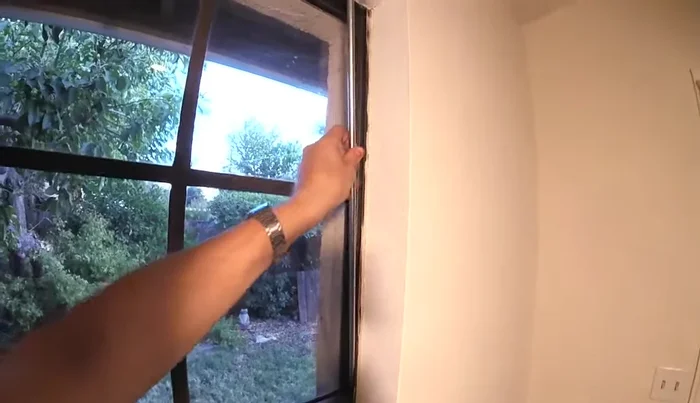
Prepare the Window
- Remove window blinds or curtains.
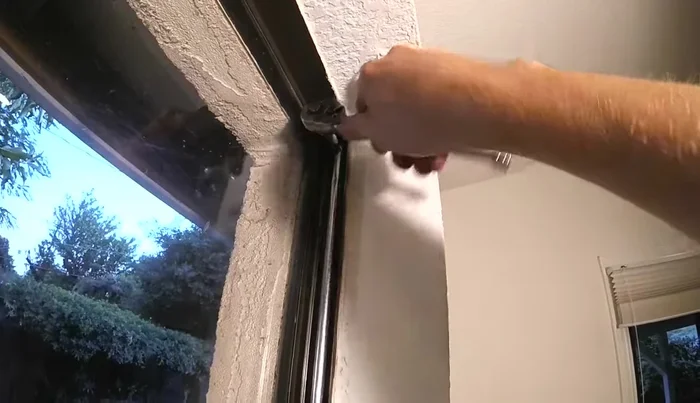
- Pry off or unscrew the stop blocks at the top of the window frame.
- Prop the window open using a stick or clamp.

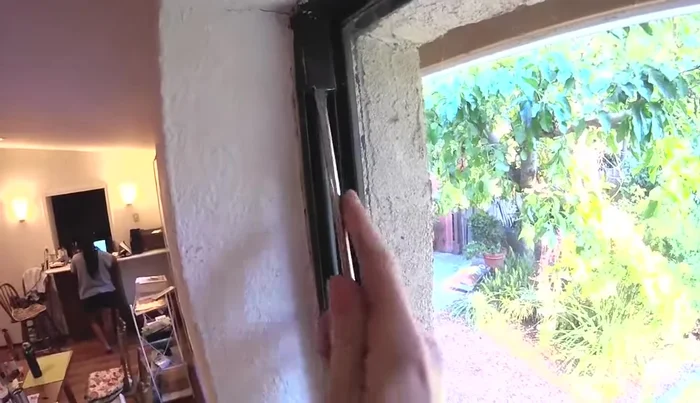
Prepare the Window Remove Old Balances
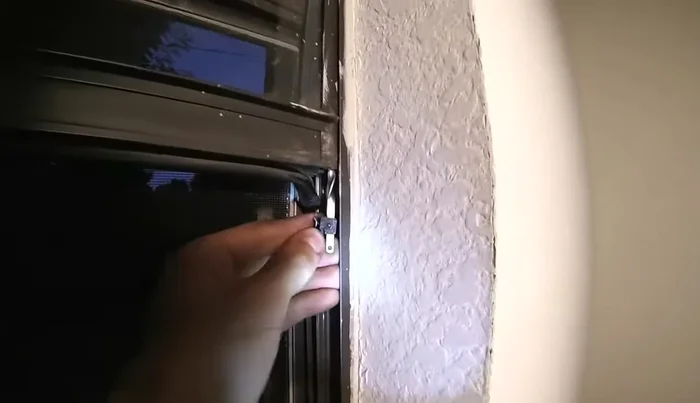
- Use a spiral balance charging tool to remove the old spiral balances. Loosen the screw holding the balance in place and pull it out.
Remove Old Balances Order Replacement Balances
- Measure the old balances (tube length and diameter, and bottom bracket type) to order replacements.
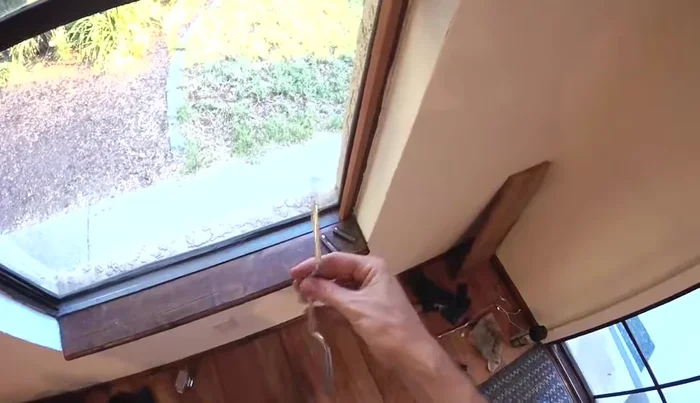
Order Replacement Balances Install New Balance (Side 1)
- Insert the new balance into the channel, clip side down.
- Tighten the quarter-inch screw to secure the balance.
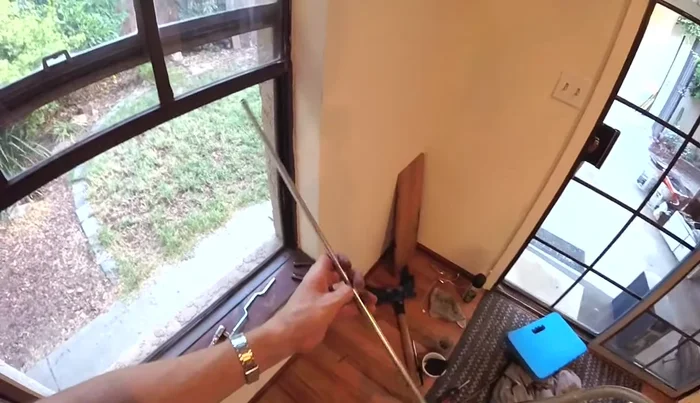
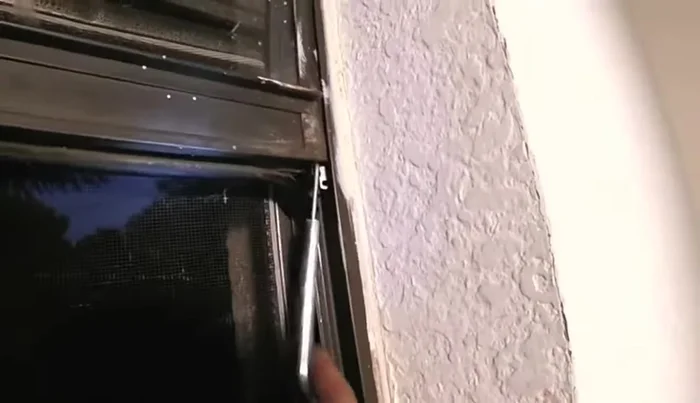
- Push the bottom of the balance up to engage it with the window sash. Use the spiral balance tool to hook into the hole at the bottom of the balance and turn it clockwise to add tension (5 turns).
- Slowly raise the window until the balance hook snaps into place.
Install New Balance (Side 1) Install New Balance (Side 2)
- Repeat steps 6-9 for the other balance, ensuring equal tension.
Install New Balance (Side 2) Final Steps
- Replace the safety stops at the top of the window frame.
Final Steps


Read more: 3M Thinsulate Window Film Installation: A Step-by-Step Guide
Tips
- Make sure you order the correct replacement spiral balances with the matching bottom bracket style.
- Adding equal tension to both balances is crucial for proper window function.
- If the window starts to fall, simply use your tool to add a few more turns to the balance.