Are you tired of uncomfortable bathroom experiences? Do you yearn for the ease and efficiency touted by the Squatty Potty, but balk at the price tag? Then get ready to revolutionize your restroom routine with a DIY solution! This guide provides a comprehensive, hands-on approach to crafting your very own custom-made Squatty Potty, proving that achieving optimal bowel health doesn't have to break the bank. We’ll walk you through selecting the right materials, ensuring a comfortable height and stable base, and adding your own personal touches for a truly unique and functional addition to your bathroom.
Forget complicated tools and confusing instructions; this project embraces simplicity and practicality. We’ll use readily available materials and straightforward techniques to guide you, step-by-step, through the entire process. Ready to transform your bathroom experience and save money while doing it? Let’s dive into the detailed instructions below and build your very own Squatty Potty!
Preparation and Safety Guidelines
- Miter saw
- Combination blade
- Table saw
- Hand plane
- Jigsaw
- Circle cutting jig
- Melamine
- CA glue
- Blue tape
- Double-sided tape
- Disk sander
- Rubio Monocoat finish
- Always use appropriate safety glasses and a dust mask when cutting wood to protect your eyes and lungs from debris.
- Ensure the wood is properly secured and clamped before cutting to prevent movement and potential injury. Use a sturdy work surface.
- Prioritize smooth, sanded edges and corners to avoid splinters and potential harm. Thoroughly check for any sharp edges after completion.
Step-by-Step Instructions
Initial Cutting
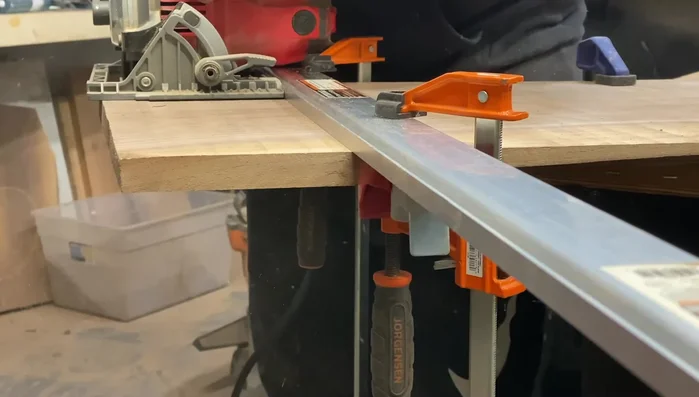
- Rough cut all pieces to approximate dimensions using the miter saw.
- Refine the width of all pieces using the miter saw.

Initial Cutting Create and Cut Tapered Sides
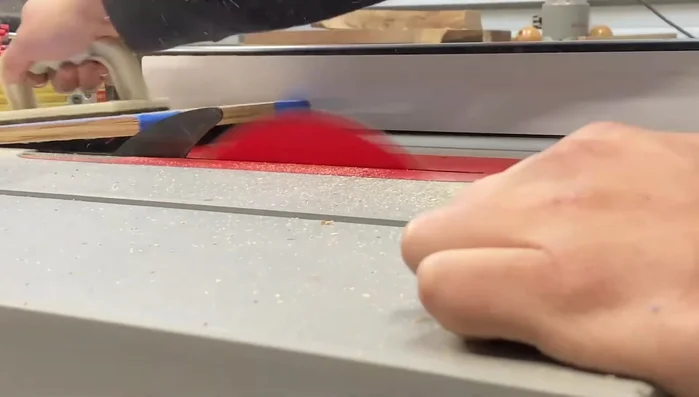
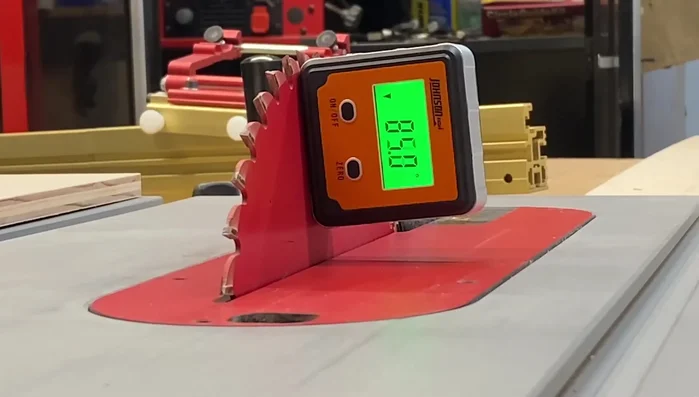
- Create a taper jig using melamine, CA glue, and tape to achieve a 5-degree angle on the sides.
- Cut the sides to the 5-degree angle using the taper jig.
Create and Cut Tapered Sides Shape the Front Piece
- Rough cut the front piece, marking the desired reveal.
- Cut the front piece to a 5-degree angle to match the sides.
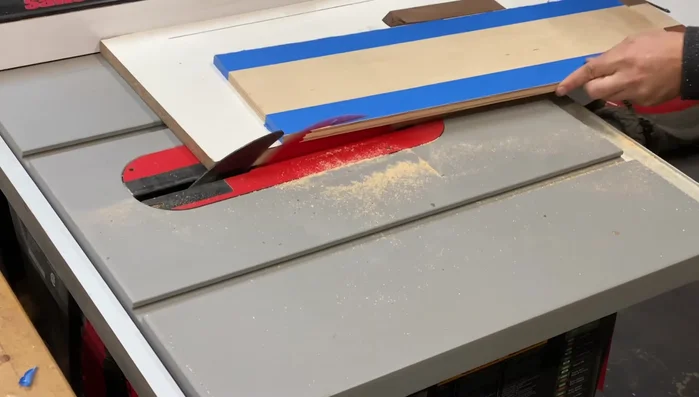
Shape the Front Piece Cut Grooves
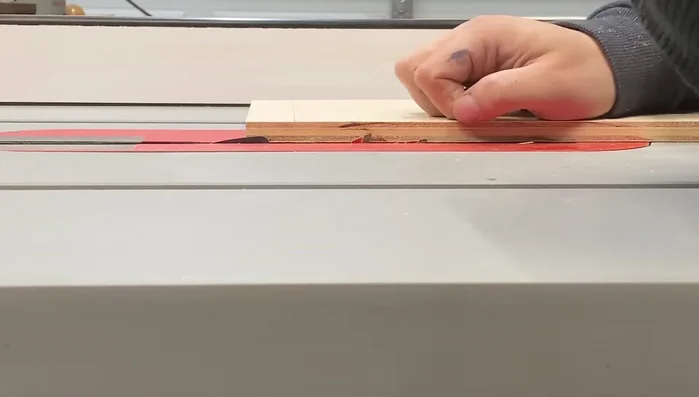
- Cut the grooves on the table saw.
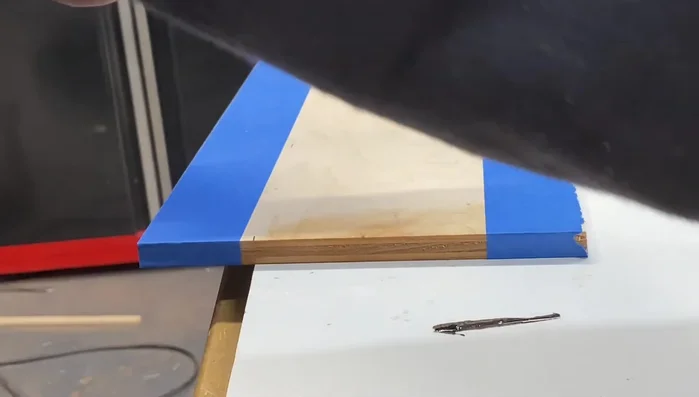
Cut Grooves Add and Finish Edge Banding
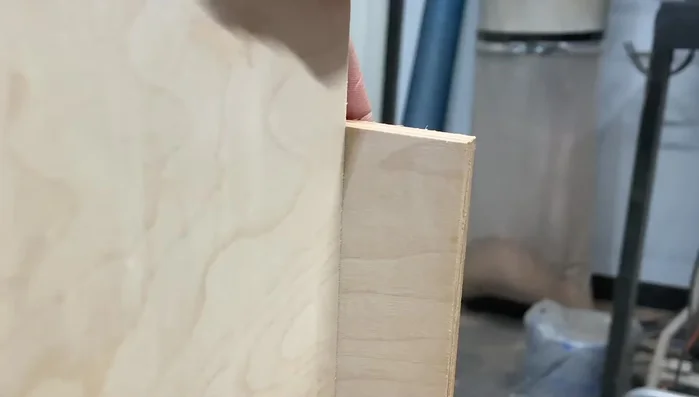
- Apply walnut edge banding to the front, using glue and clamps. Flush cut and plane to achieve a smooth finish.
Add and Finish Edge Banding Cut and Shape the Top (Showing Alternative Methods)
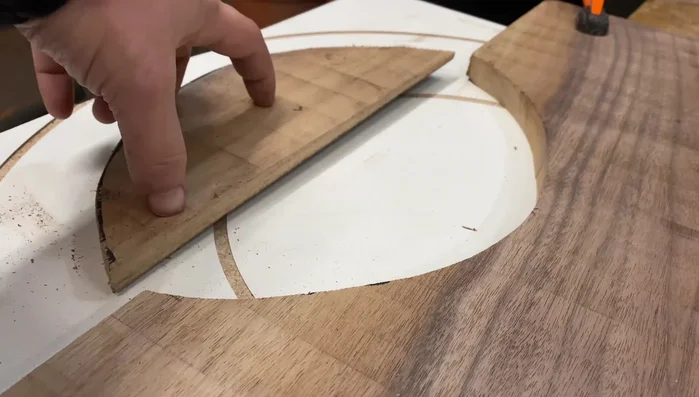
- Rough cut the top to almost exact dimensions. Initially attempt freehand cutting of the circle with a jigsaw (this is shown as a less effective method).
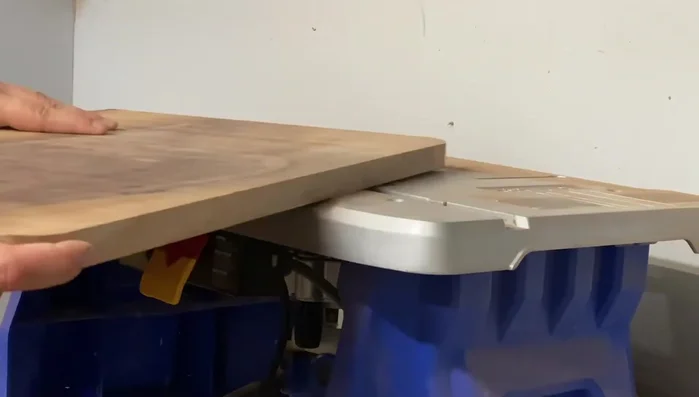
- Create a circle cutting jig using double-sided tape and a template. Use this jig with the table saw to cut a clean circle for the top.
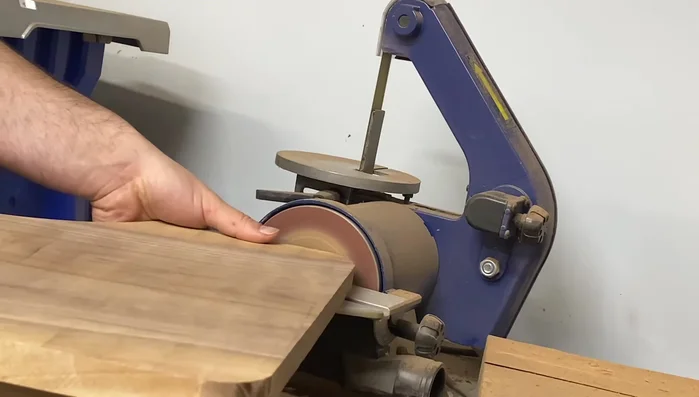
- Clean up the edges of the circle with a disk sander.
Cut and Shape the Top (Showing Alternative Methods) Finishing Touches
- Add a round-over to the top edges.
Finishing Touches Assembly
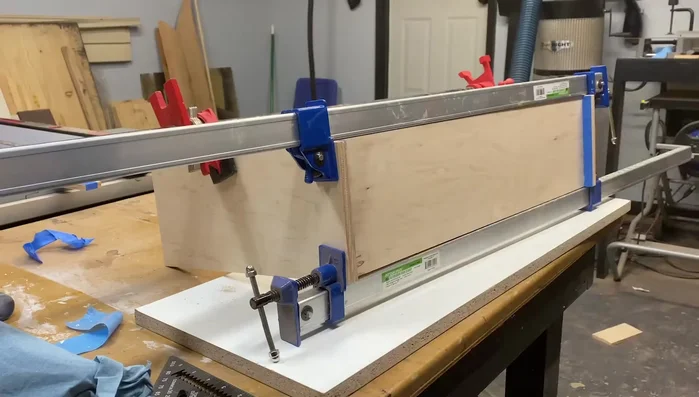
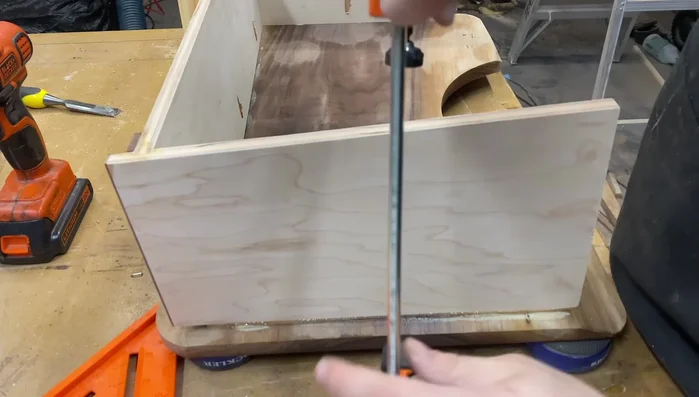
- Add pocket holes to the sides, apply glue and clamp for assembly.
Assembly Finishing
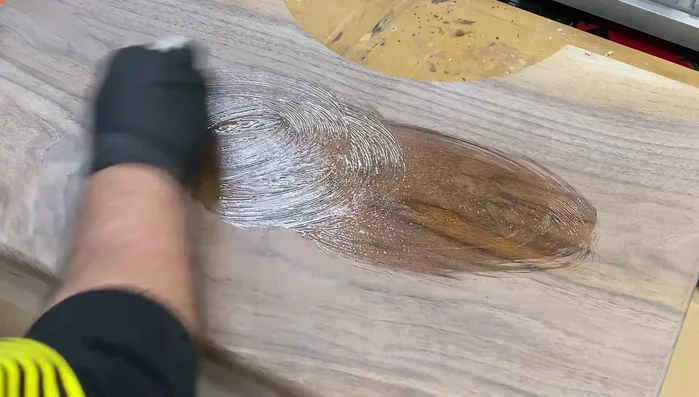
- Apply Rubio Monocoat finish.
Finishing

Read more: DIY Mason Jar Soap Dispensers: A Step-by-Step Guide with Two Stunning Designs
Tips
- Use a combination blade for better plywood cutting.
- Blue tape helps manage glue squeeze-out.