Transform your kitchen from drab to fab with a stunning DIY subway tile backsplash! Tired of staring at outdated or damaged countertops? A subway tile backsplash is a classic, timeless upgrade that instantly elevates the look of your kitchen, adding a touch of modern elegance or rustic charm, depending on your chosen style and grout color. This surprisingly manageable project is achievable even for novice DIYers, requiring only basic tools and readily available materials. Forget expensive professional installations; you can achieve a professional-looking result yourself, saving money and gaining a satisfying sense of accomplishment.
This weekend makeover project is more accessible than you think. From choosing the perfect tiles to mastering the grouting techniques, we'll guide you through every step of the process. Ready to get started and create a kitchen backsplash you'll love? Let's dive into our detailed, step-by-step guide below.
Preparation and Safety Guidelines
- Hammer
- Pry bar
- Scraper with razor blade
- Wet saw (or grinder with diamond tip blade)
- Square
- Sharpie
- V-notch trowel (3/8 inch)
- Rubber grout float
- Sponge
- Pre-mixed mortar
- Unsanded grout
- Grout caulk
- Level
- Ledger (scrap plywood)
- Drill
- Screws
- Always turn off the power to the electrical outlets and switches in the area before starting any work. Electrocution is a serious risk.
- Wear safety glasses and a dust mask to protect your eyes and lungs from debris and dust generated during cutting and installation.
- Use appropriate cutting tools for the tile material. Improper cutting techniques can lead to injury and damaged tiles.
Step-by-Step Instructions
Preparation
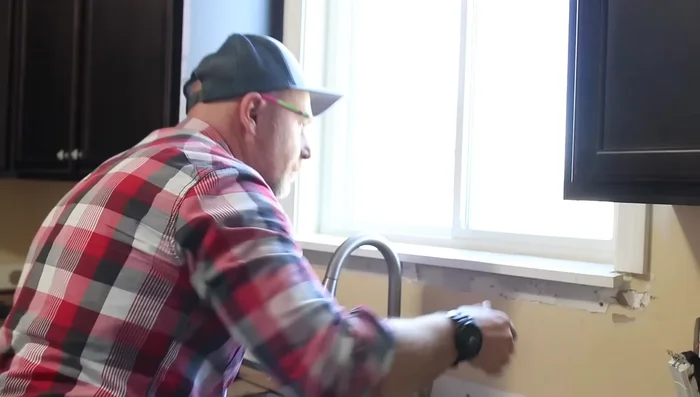
- Remove the old backsplash.
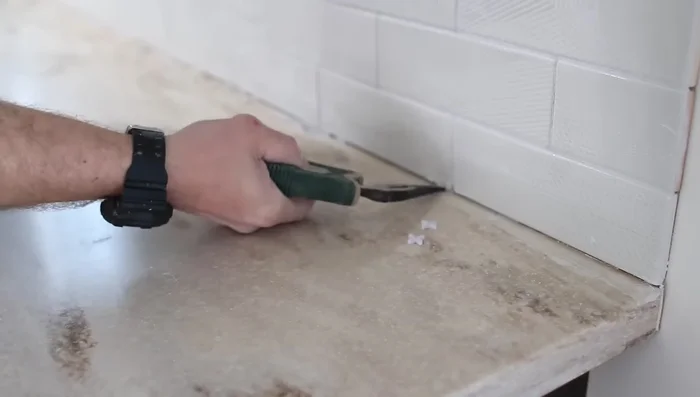
- Remove old caulking using a scraper with a razor blade.
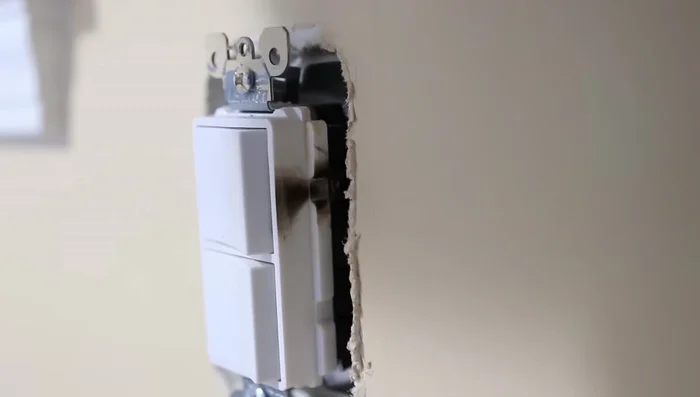
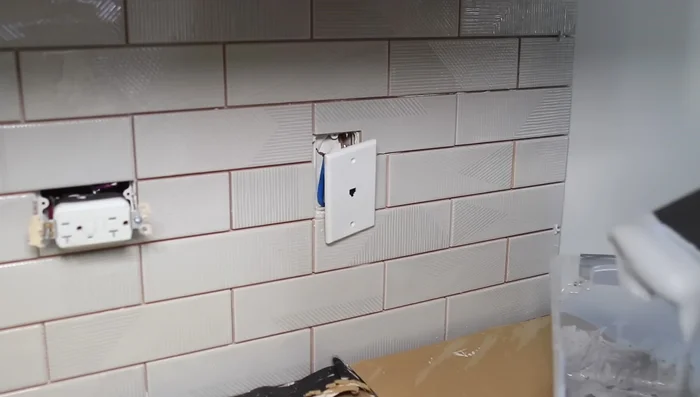
- Turn off power and carefully remove electrical outlets.
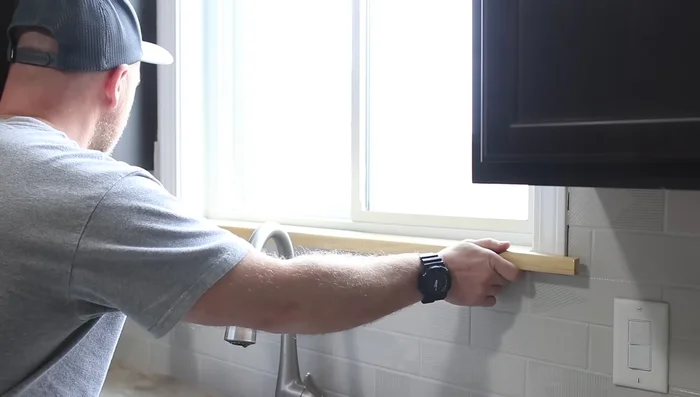
- Prepare walls; remove window sill if necessary (optional).

Preparation Tile Planning and Cutting
- Plan tile layout, considering full tiles at edges and avoiding small slivers.
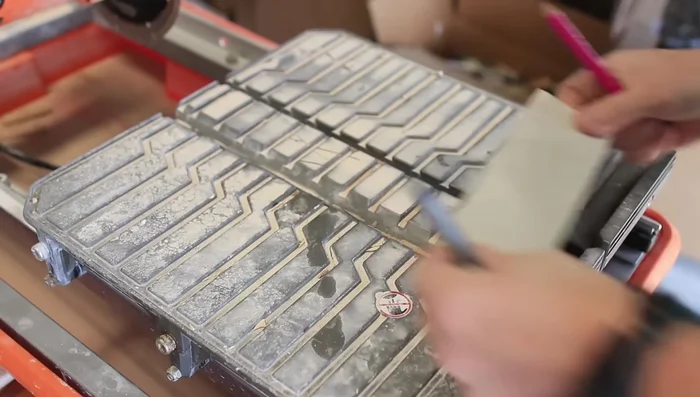
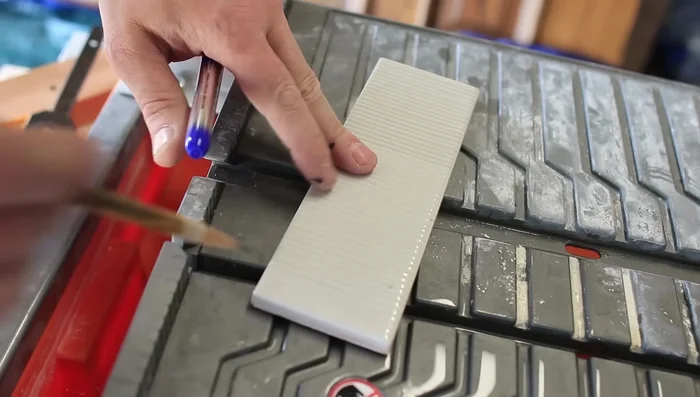
- Measure and mark tiles for cutting. Use a sharpie for clear marks.
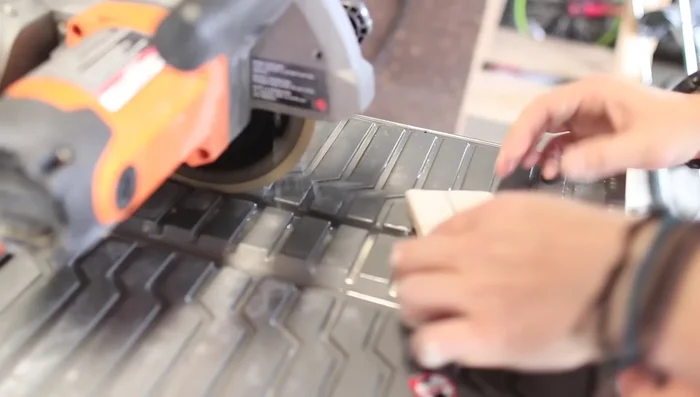
- Cut tiles using a wet saw or grinder (explained below).
Tile Planning and Cutting Tile Installation
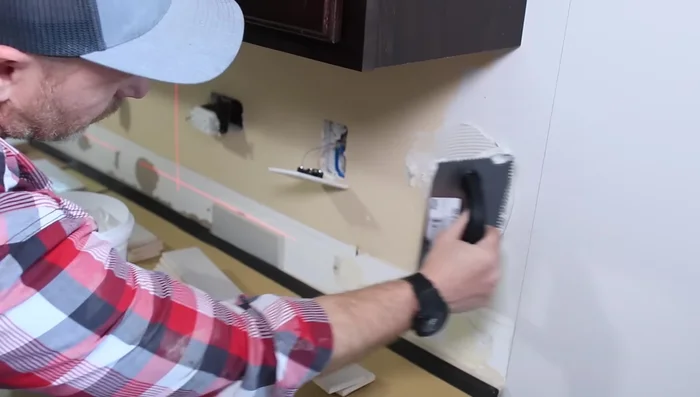
- Apply mortar evenly to the wall using a trowel. Use a consistent amount, ensuring it reaches the wall.
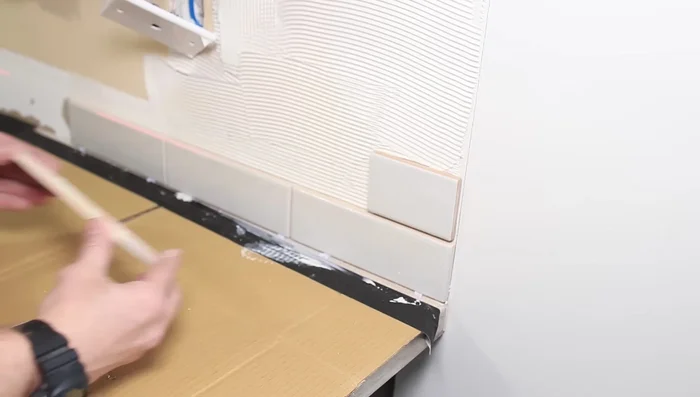
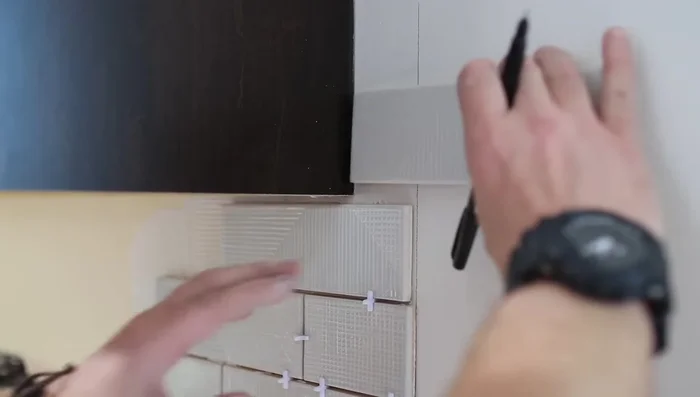
- Install tiles, using spacers to maintain consistent grout lines. Start with full tiles at the bottom.
- For small areas, back-butter tiles and apply directly to the wall.
- Cut tiles around outlets, stopping at the drywall.
Tile Installation - Allow mortar to dry for about four hours.
Addressing Gaps and Finishing
- Install ledger to support tiles across gaps (like over stove area).
Grouting and Final Touches
- Apply grout using a grout float; clean excess grout after 30 minutes with a sponge.
- Caulk the top and bottom edges of the tile.
- Reinstall outlets and cover plates; replace window sill (optional).
Grouting and Final Touches

Read more: DIY Mason Jar Soap Dispensers: A Step-by-Step Guide with Two Stunning Designs
Tips
- Cover countertops to protect them during the process.
- Use a wet saw for easier, more precise straight cuts; a grinder can be used for straight and curved cuts.
- Use the tile lift method to create L-shaped and U-shaped cuts.
- Apply mortar so it completely contacts the wall for consistent tile adhesion.
- Use unsanded grout for spacers 1/8 inch or smaller.