That favorite sweater, the one with the perfectly worn-in feel and the sentimental value beyond measure, has sprung a hole. Don't despair! Before you consign it to the back of the closet, consider the power of a simple, effective DIY sweater patch. A strategically placed patch not only mends the damage but can add a unique, personalized touch, transforming a minor mishap into a stylish statement piece. Forget expensive repairs or the heartbreak of losing a cherished garment – a quick and easy patch is the perfect solution. This isn't about intricate needlework; this is about a fast, functional fix that anyone can manage.
This guide offers a simple and efficient method for patching holes in your sweaters, resulting in a nearly invisible repair that will extend the life of your favorite knitwear. Ready to learn how to transform a damaged sweater into a wearable work of art? Let's dive into the step-by-step instructions below.
Preparation and Safety Guidelines
- Fabric scraps (wool-like recommended)
- Lightweight interfacing
- Scissors
- Needle
- Matching thread (white thread used in video for visibility)
- Always use a needle and thread appropriate for your sweater material. Using the wrong type can damage the fabric or cause the patch to unravel.
- Before sewing, test your stitching on a scrap piece of similar fabric to ensure your technique and thread tension are correct. This prevents ruining your sweater.
- If working with delicate fabrics like cashmere or silk, consider using a very fine needle and a delicate hand stitch to avoid pulling or damaging the fibers.
Step-by-Step Instructions
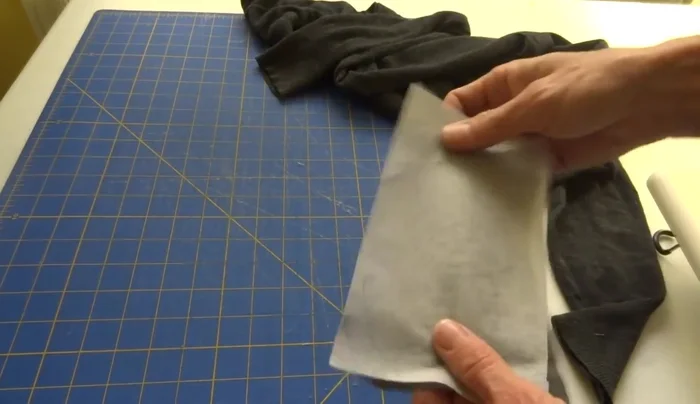
Prepare the Patch Fabric
- Cut a rectangle of fabric slightly larger than the hole (6x4 inches used in the example). Cut a same-sized piece of interfacing.

Prepare the Patch Fabric Shape the Patch
- Round the corners of your fabric piece to create a more aesthetically pleasing patch.
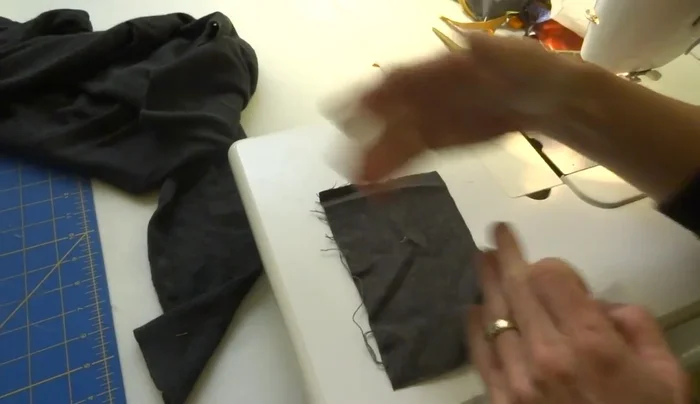
Shape the Patch Sew and Turn the Patch
- Place the fabric right sides together, with the interfacing on one side. Sew around the edges of the patch, leaving a small opening for turning it right side out.
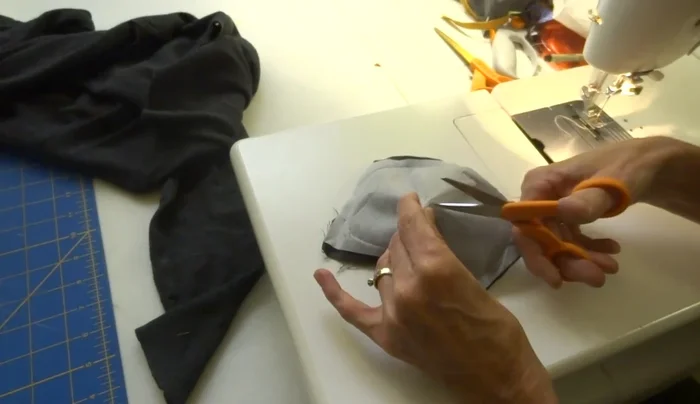
- Make a small slit in the interfacing, clip the curves and turn the patch right side out.
Sew and Turn the Patch Attach the Patch to the Sweater
- Position the patch over the hole in your garment. Pin the patch in place, making sure not to go through both layers of the garment.
- Use a needle and thread (matching thread is ideal) to hand-sew the patch onto the garment. Secure the knot on the inside of the garment. Stitch through only the outer fabric layers to avoid catching the interfacing.

Read more: DIY Vibrant Car Organizer: A Step-by-Step Quilting Tutorial
Tips
- Make your patch bigger than the hole to ensure adequate coverage.
- Use interfacing or a thin piece of cotton for added strength and structure to the patch, but the interfacing should not be visible from the outside.
- Choose thread that matches your garment's color for the most seamless finish.
- When hand-sewing the patch, only stitch through the outer fabric layers to keep the inner interfacing hidden and prevent bulkiness.